Trusted shipping
Easy returns
Secure shopping
Buy Dashing Diva Gloss Ultra Shine Gel Nail Art Kit - Frillseeker & Enchanted Lilac - 2pk in United States - Cartnear.com
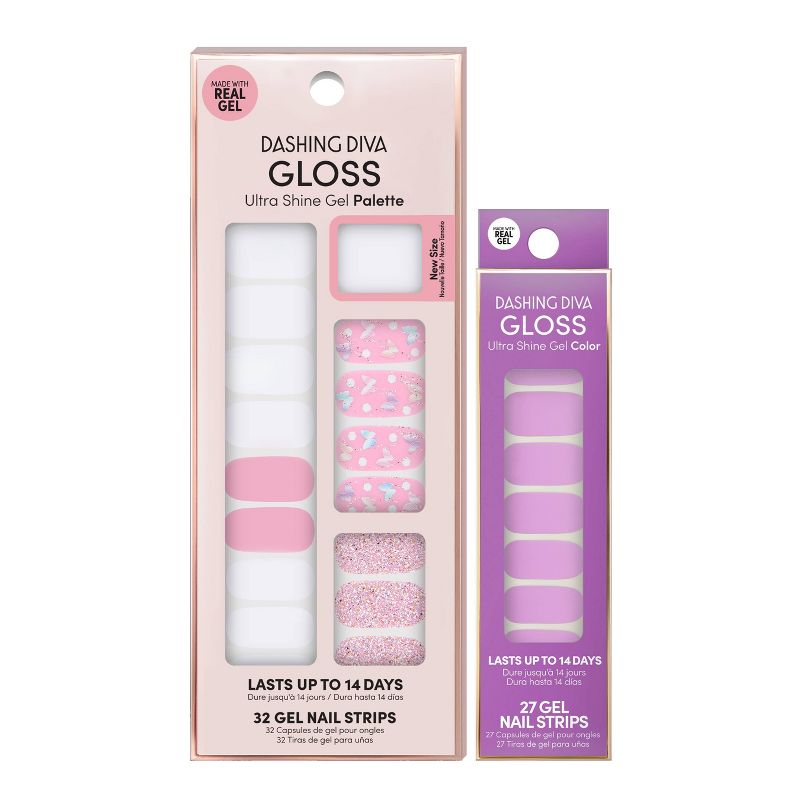
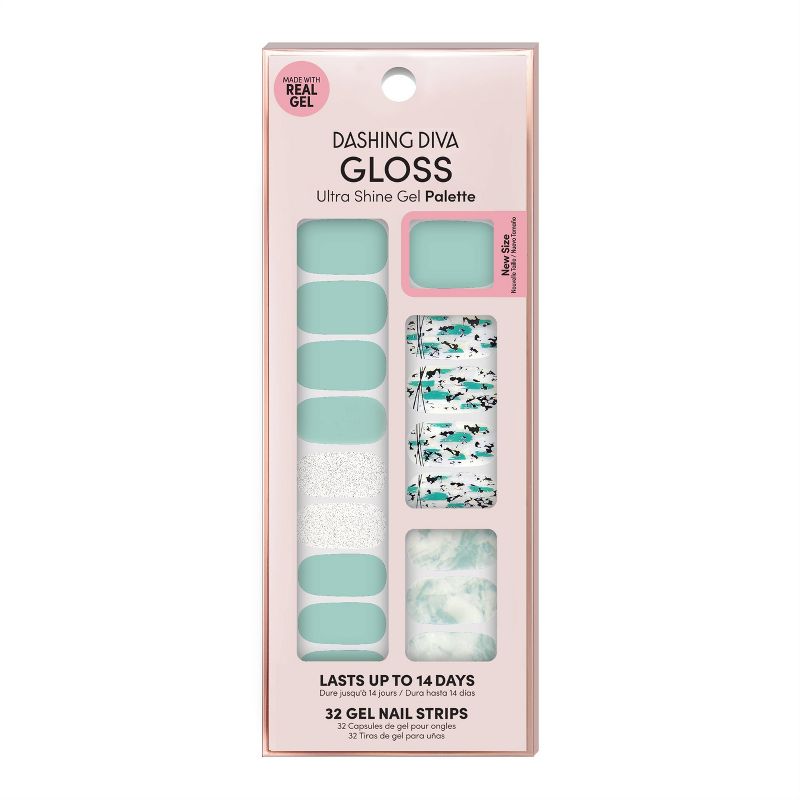
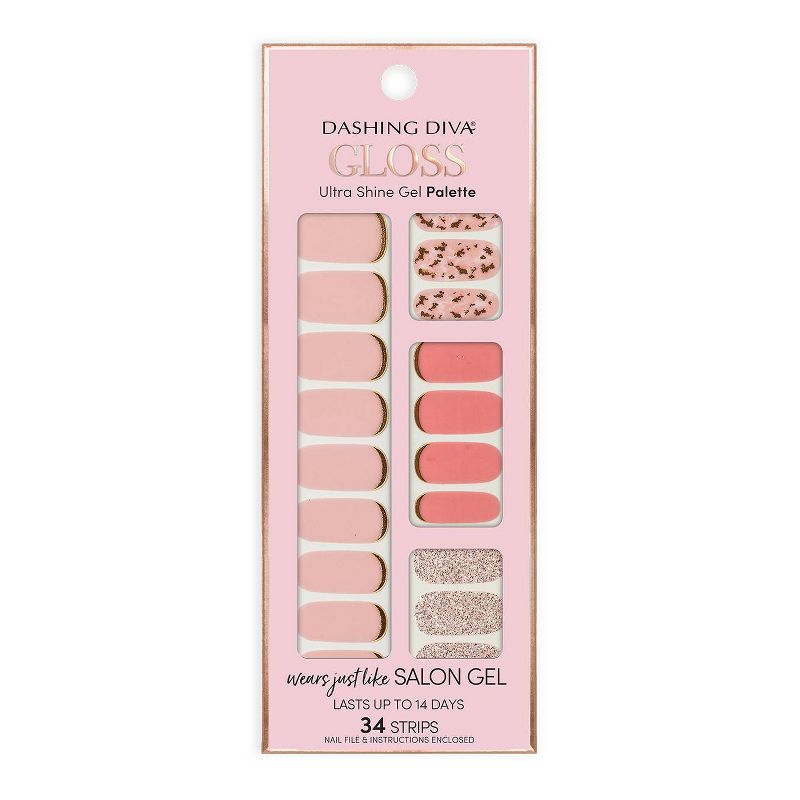
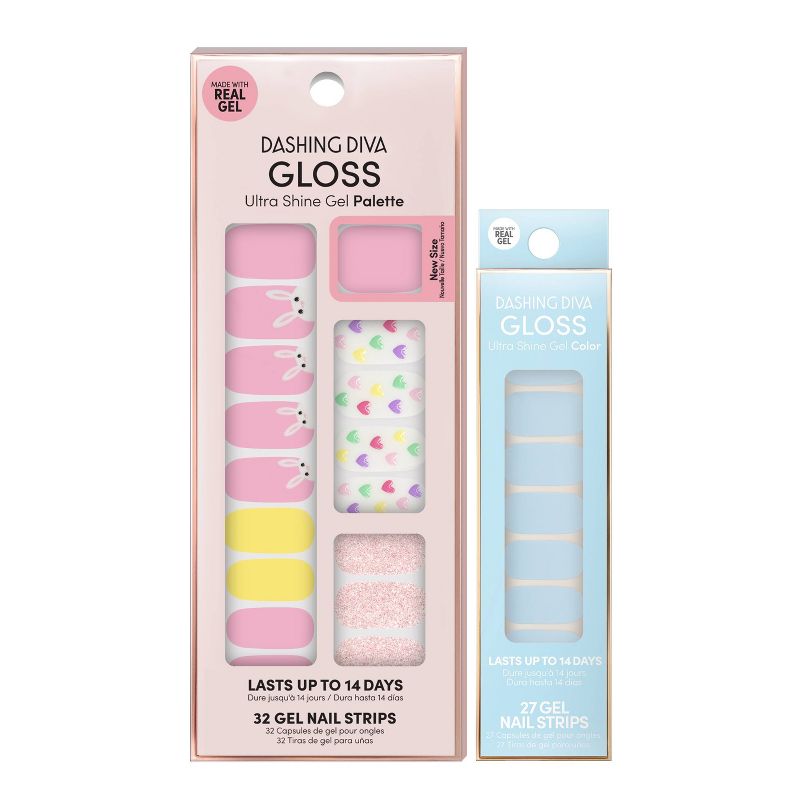
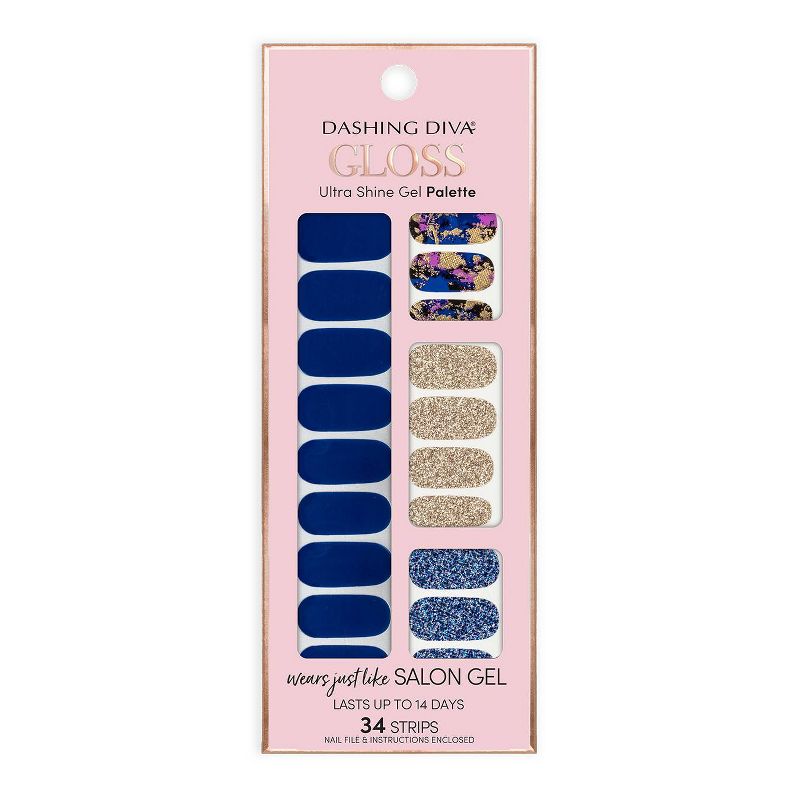
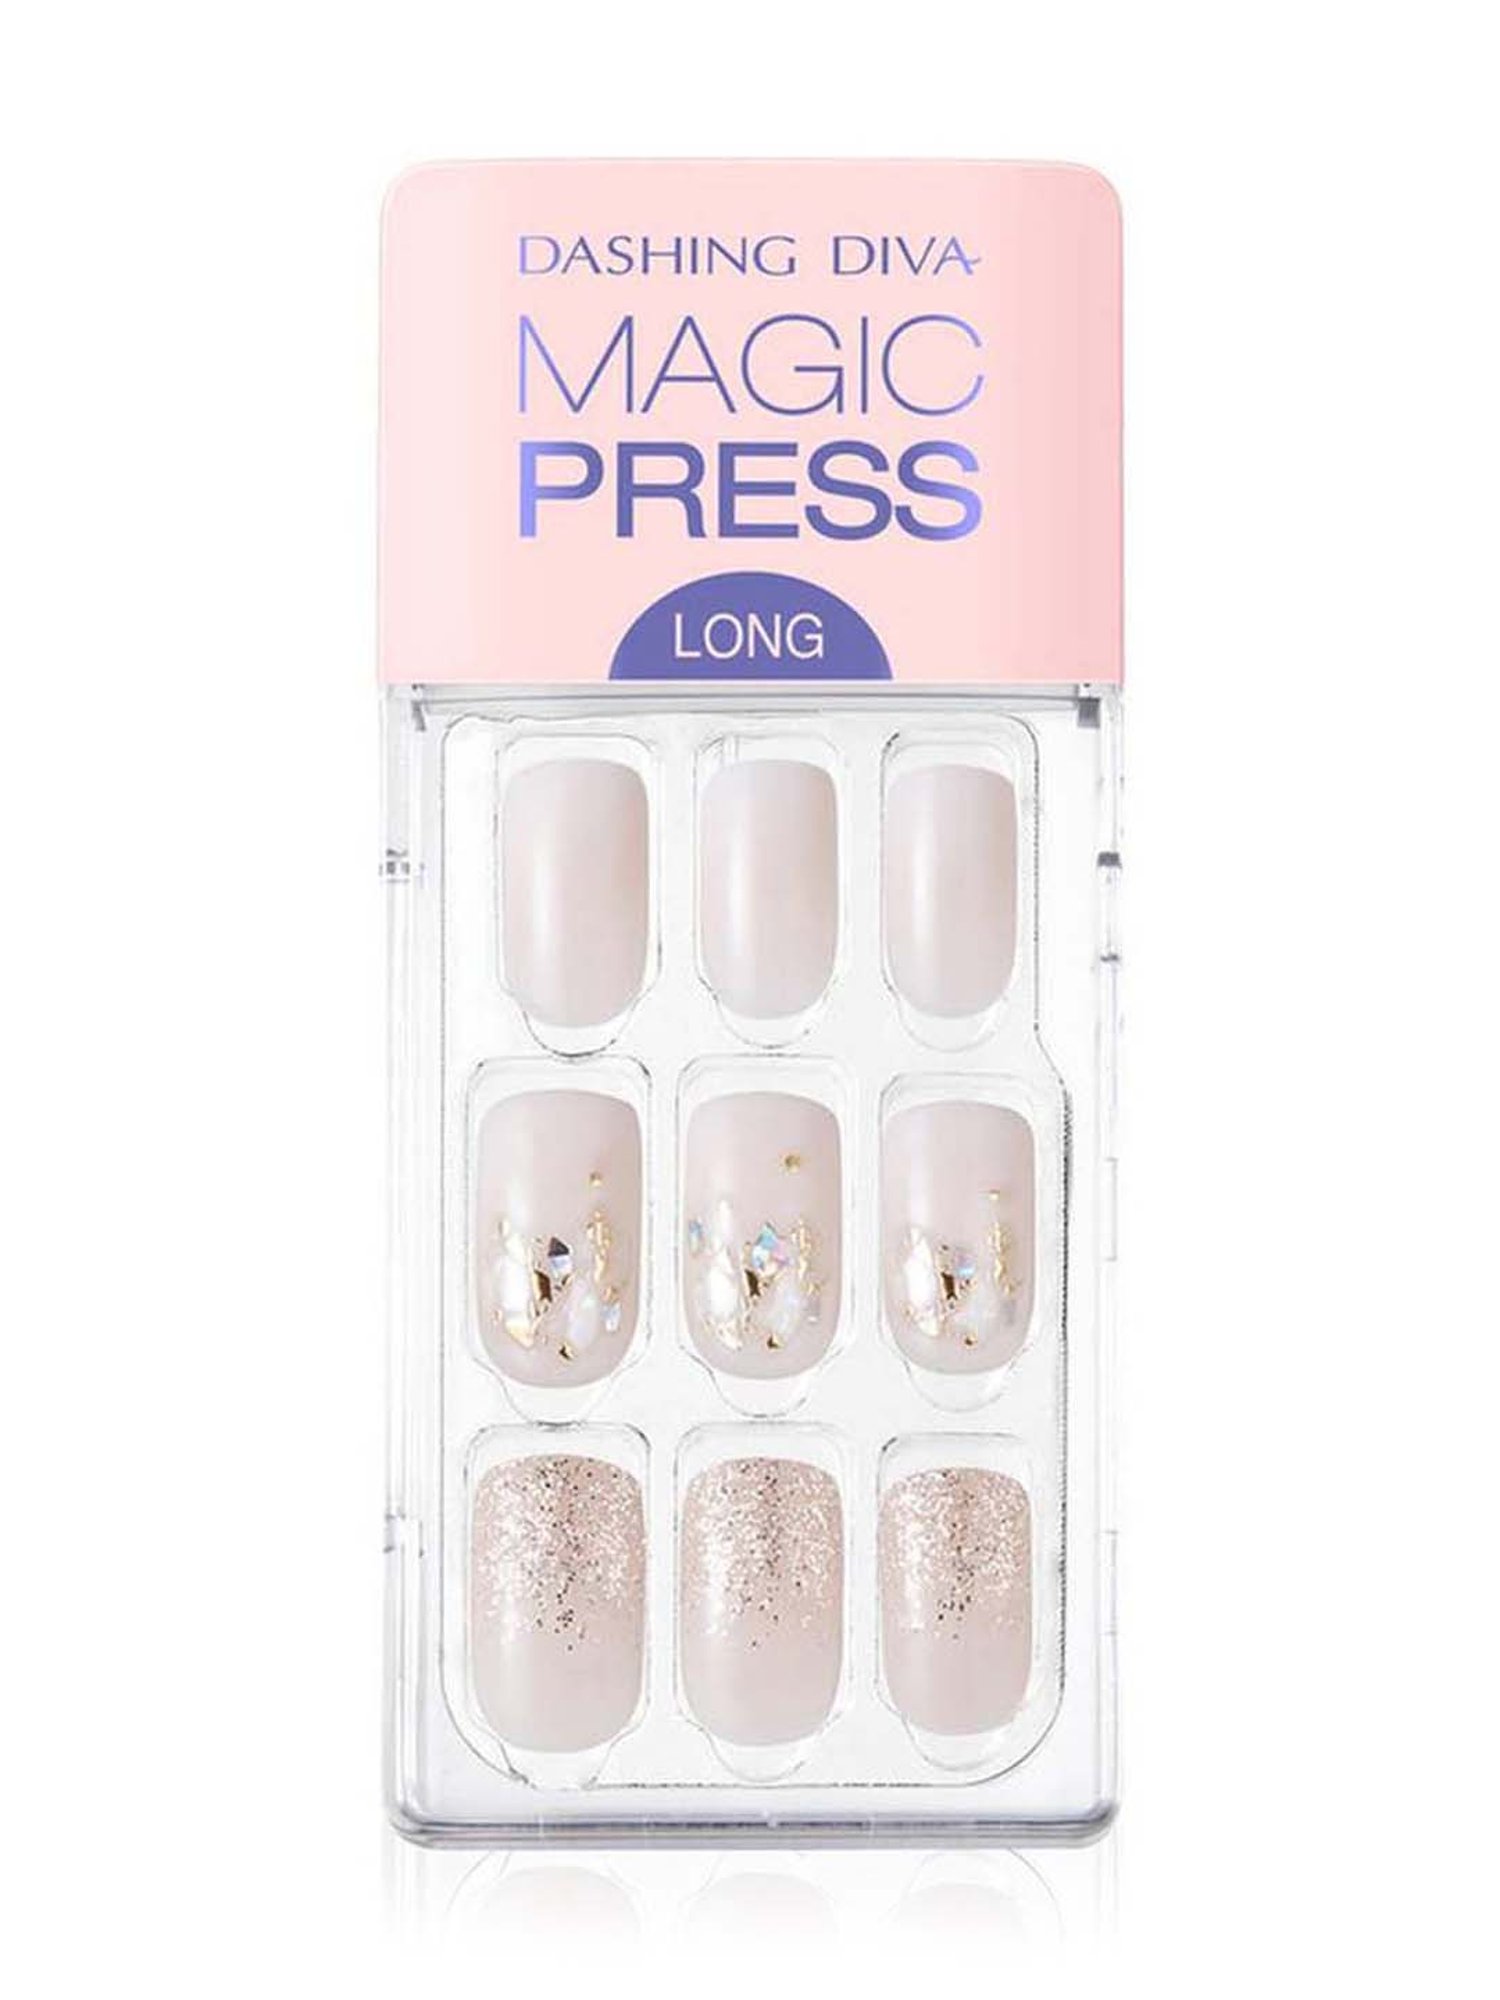
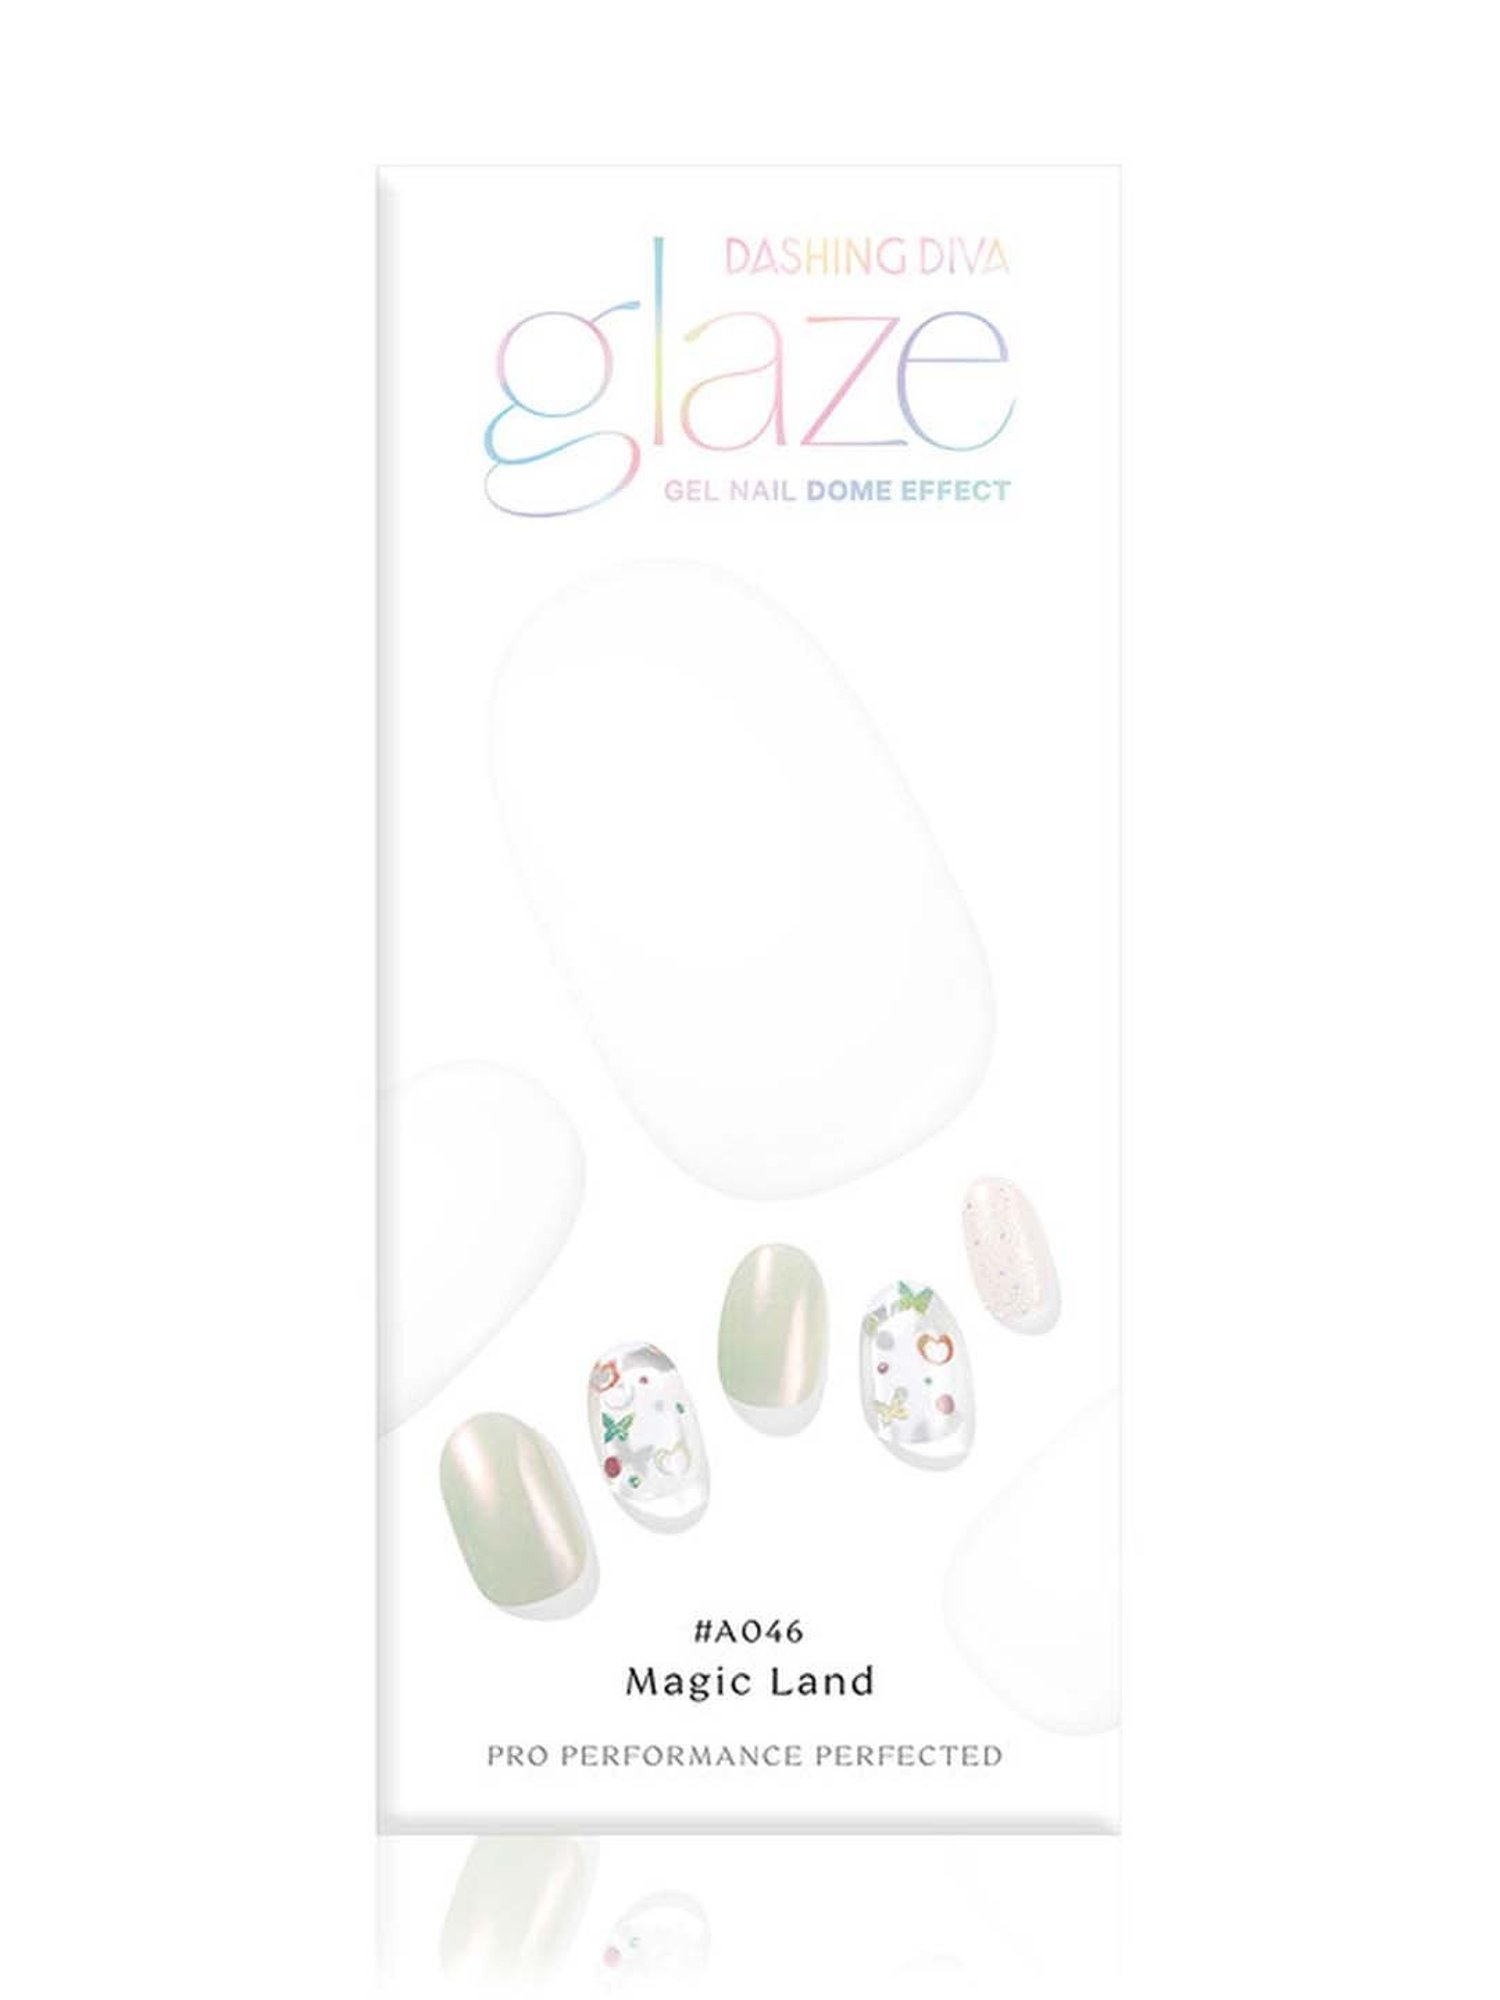
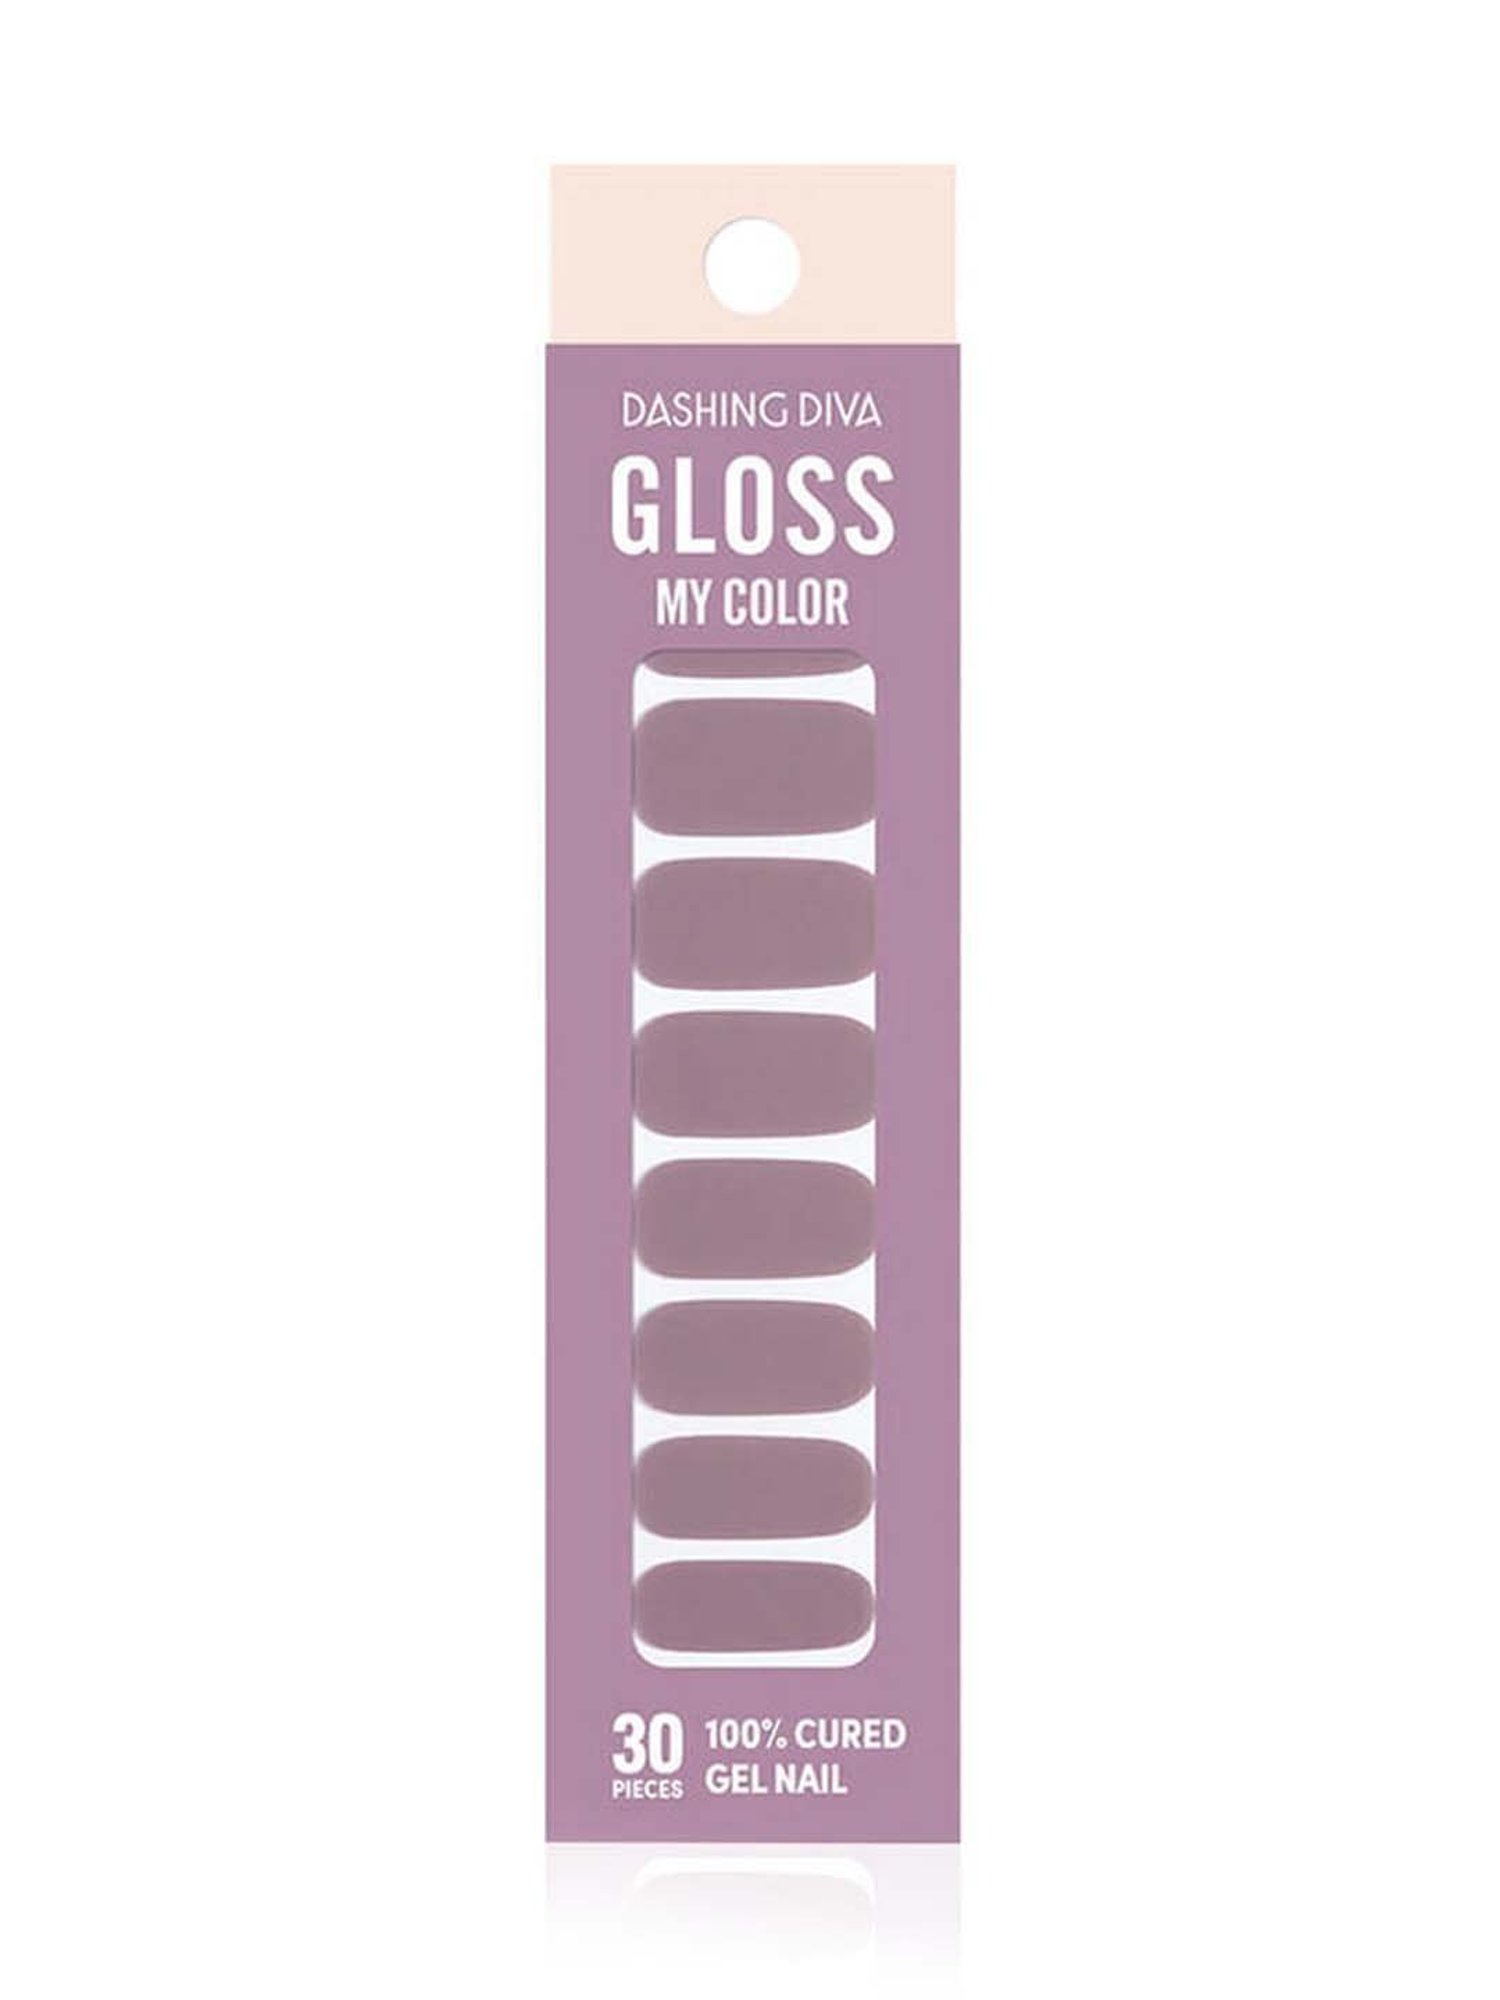
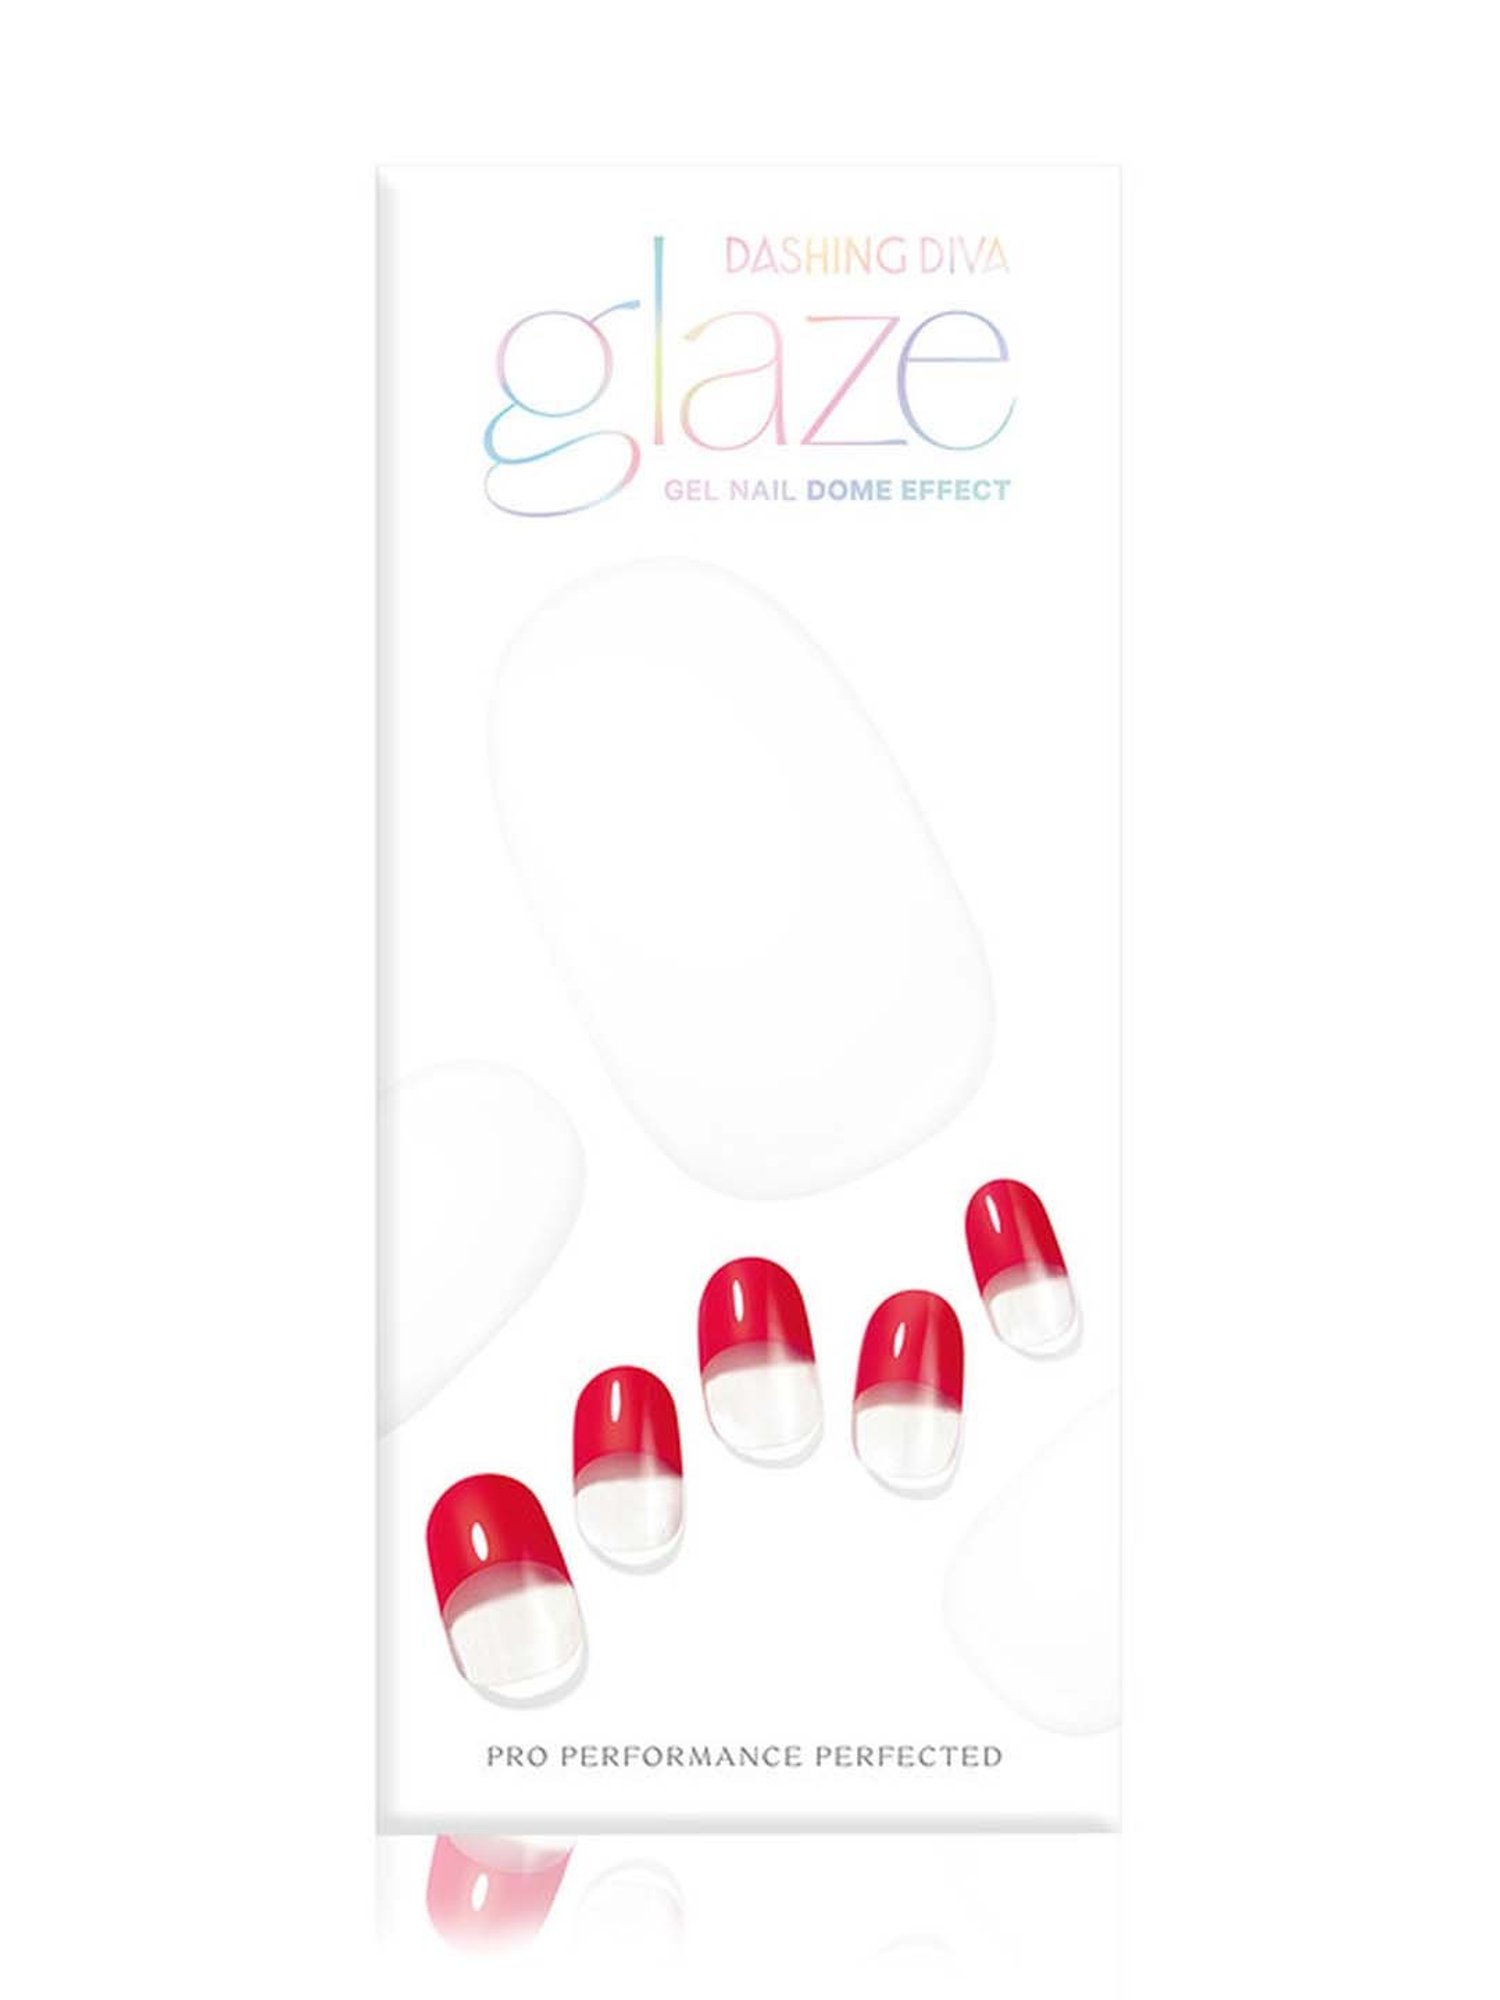
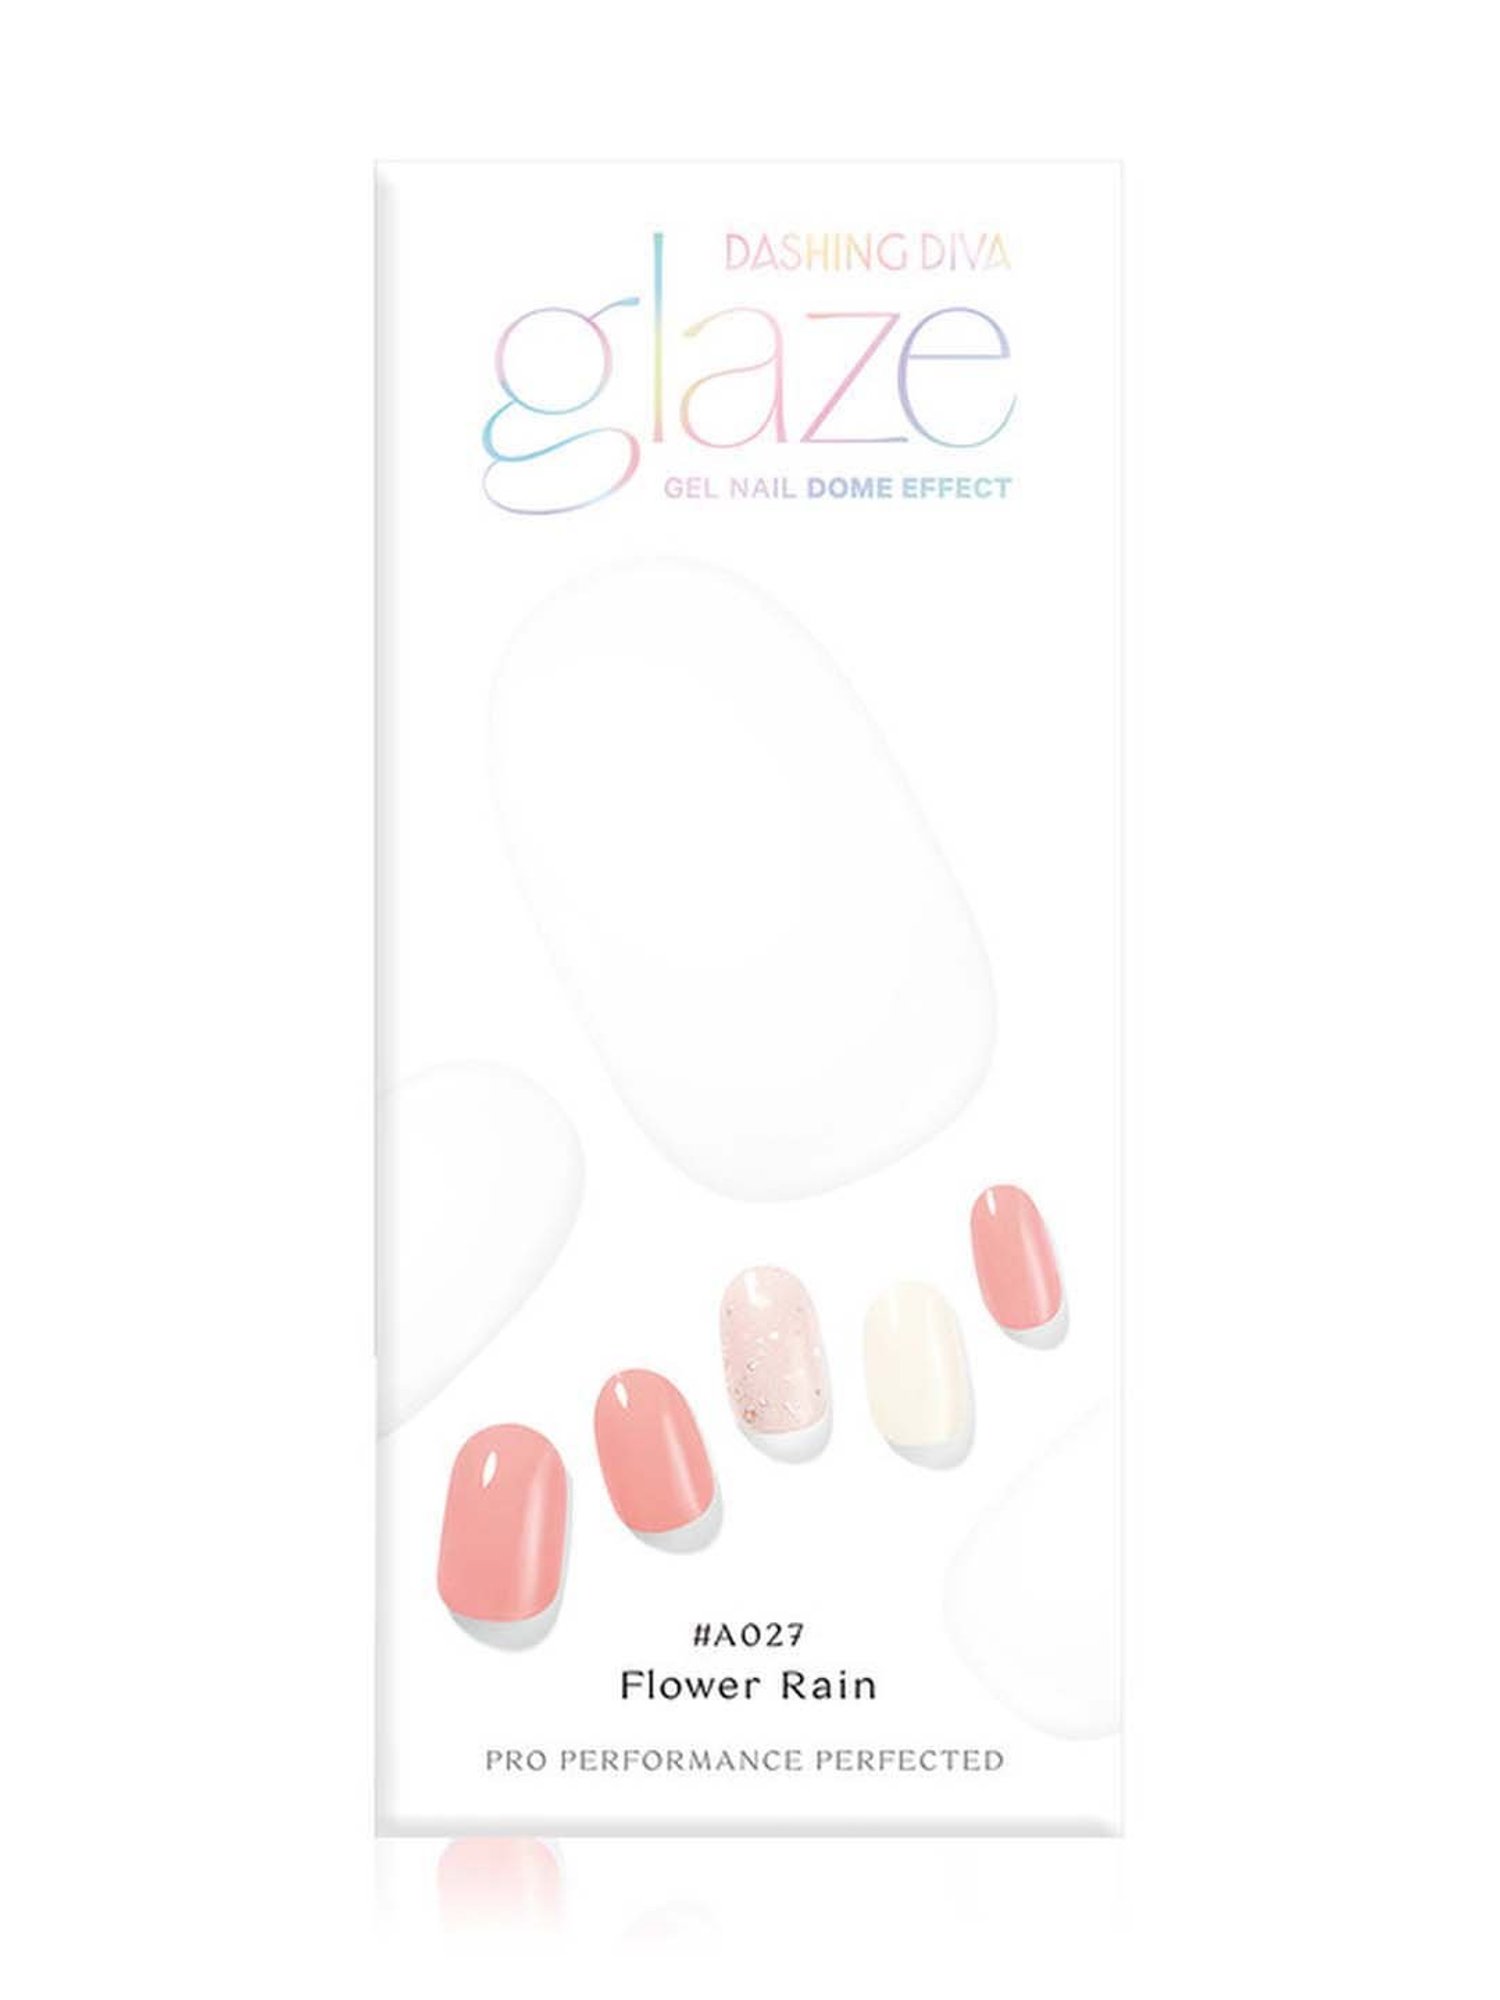
Dashing Diva Gloss Ultra Shine Gel Nail Art Kit - Frillseeker & Enchanted Lilac - 2pk
CTNR436350 096100114846 CTNR436350DASHING DIVA
2027-03-09
/itm/dashing-diva-gloss-ultra-shine-gel-nail-art-kit-frillseeker-enchanted-lilac-2pk-436350
USD
12.53
$ 12 $ 13 5% Off
Item Added to Cart
customer
*Product availability is subject to suppliers inventory
SHIPPING ALL OVER UNITED STATES
100% MONEY BACK GUARANTEE
EASY 30 DAYSRETURNS & REFUNDS
24/7 CUSTOMER SUPPORT
TRUSTED AND SAFE WEBSITE
100% SECURE CHECKOUT
Number of Pieces: 68
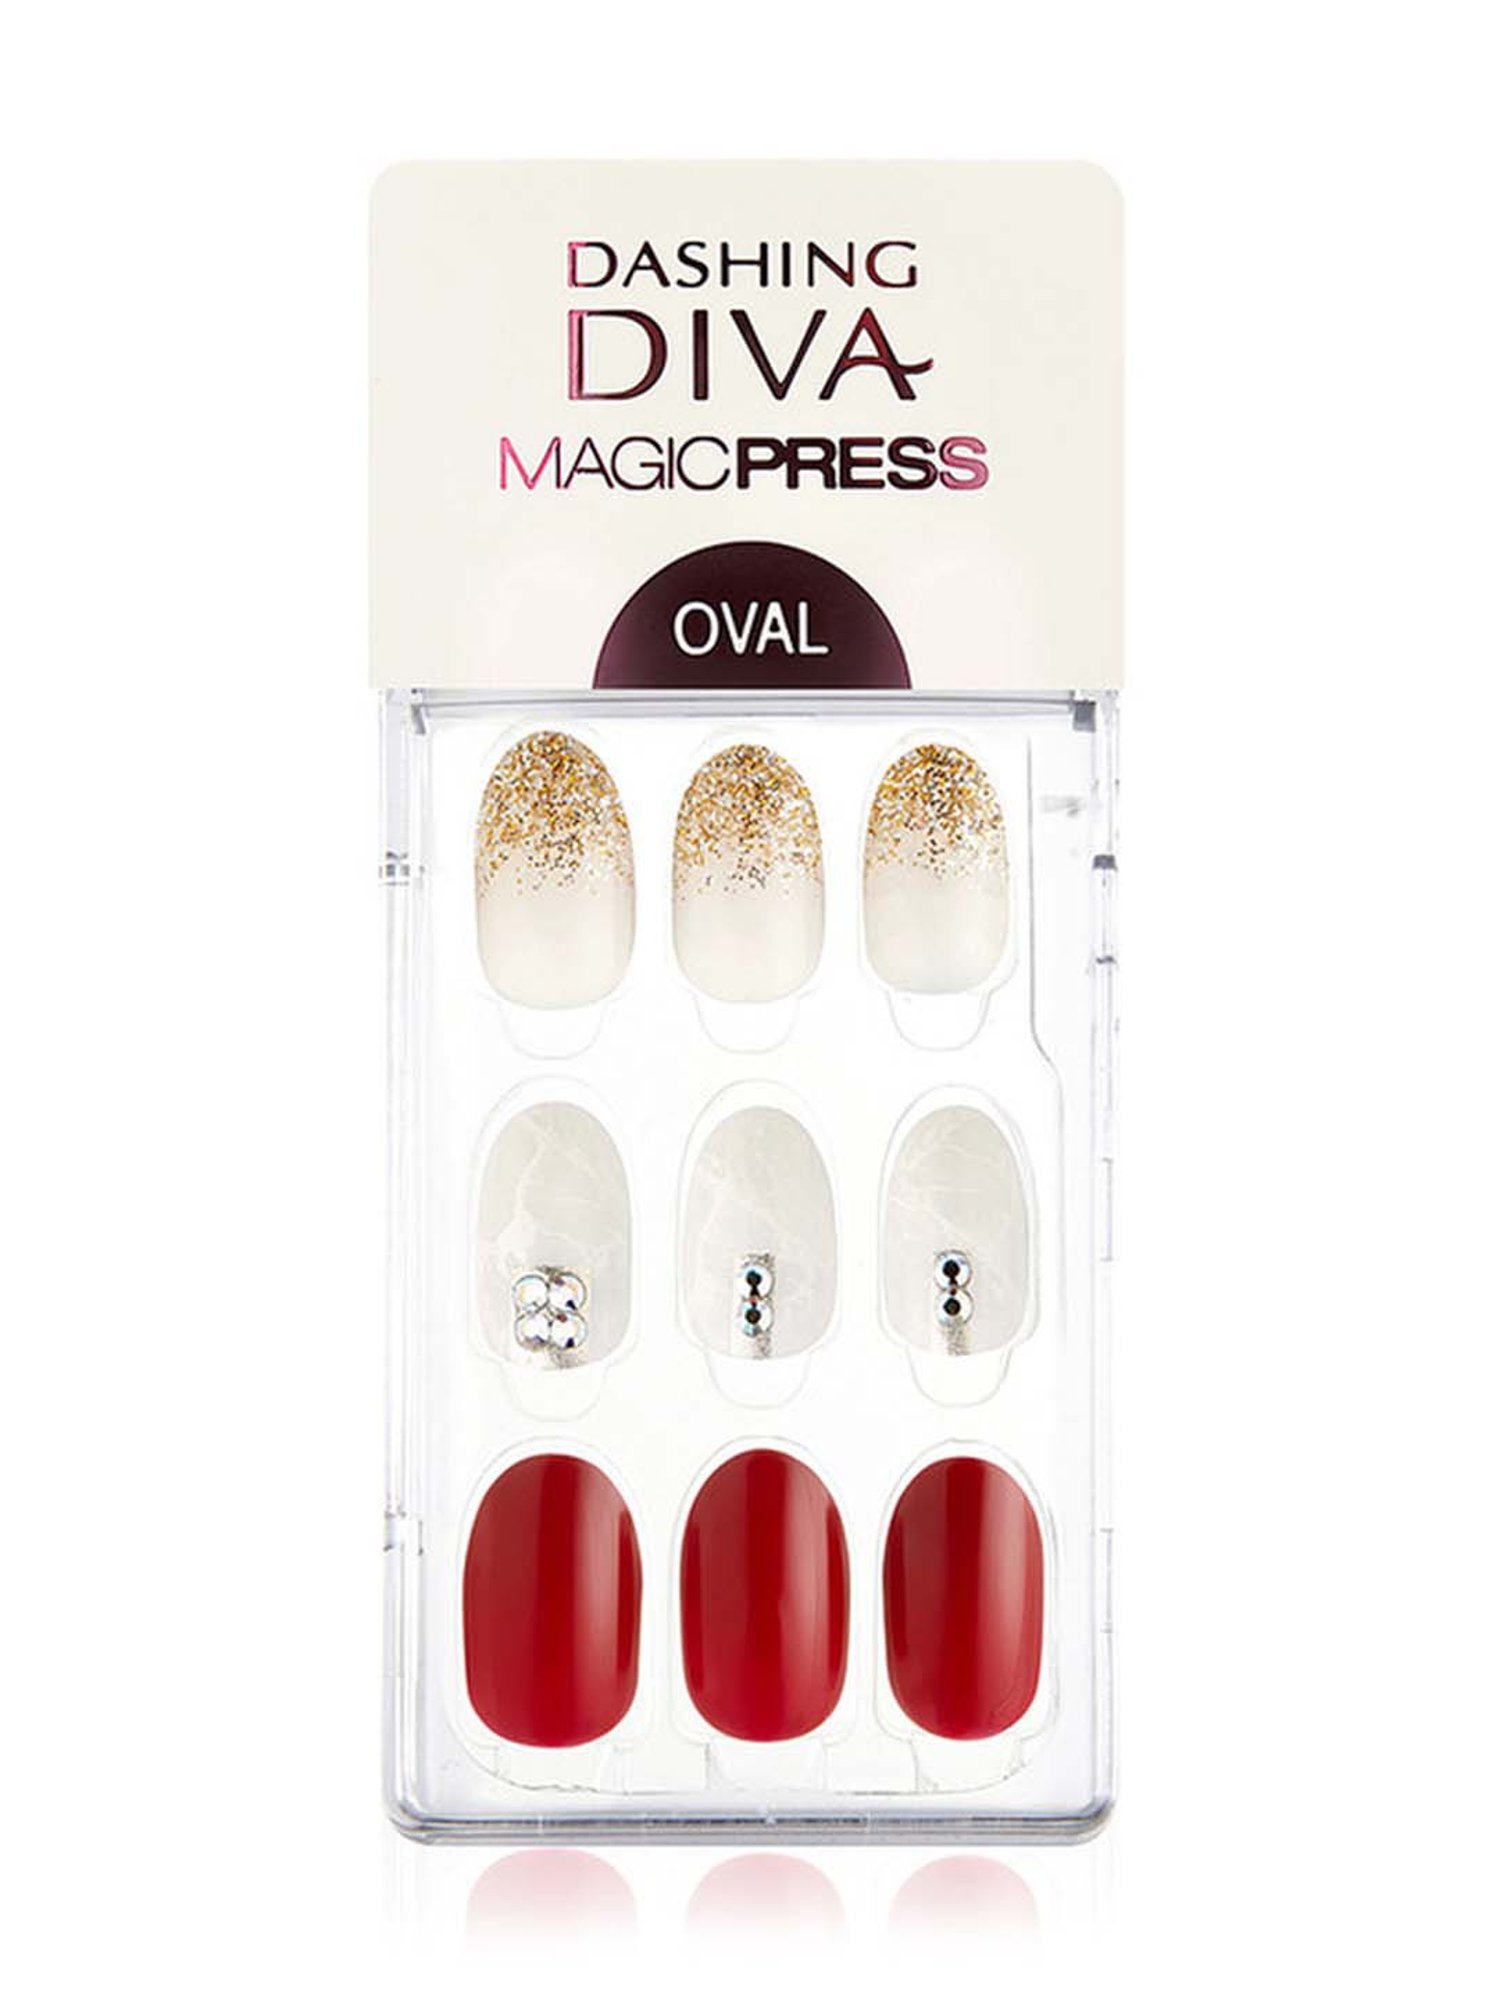
Color Family: Purple
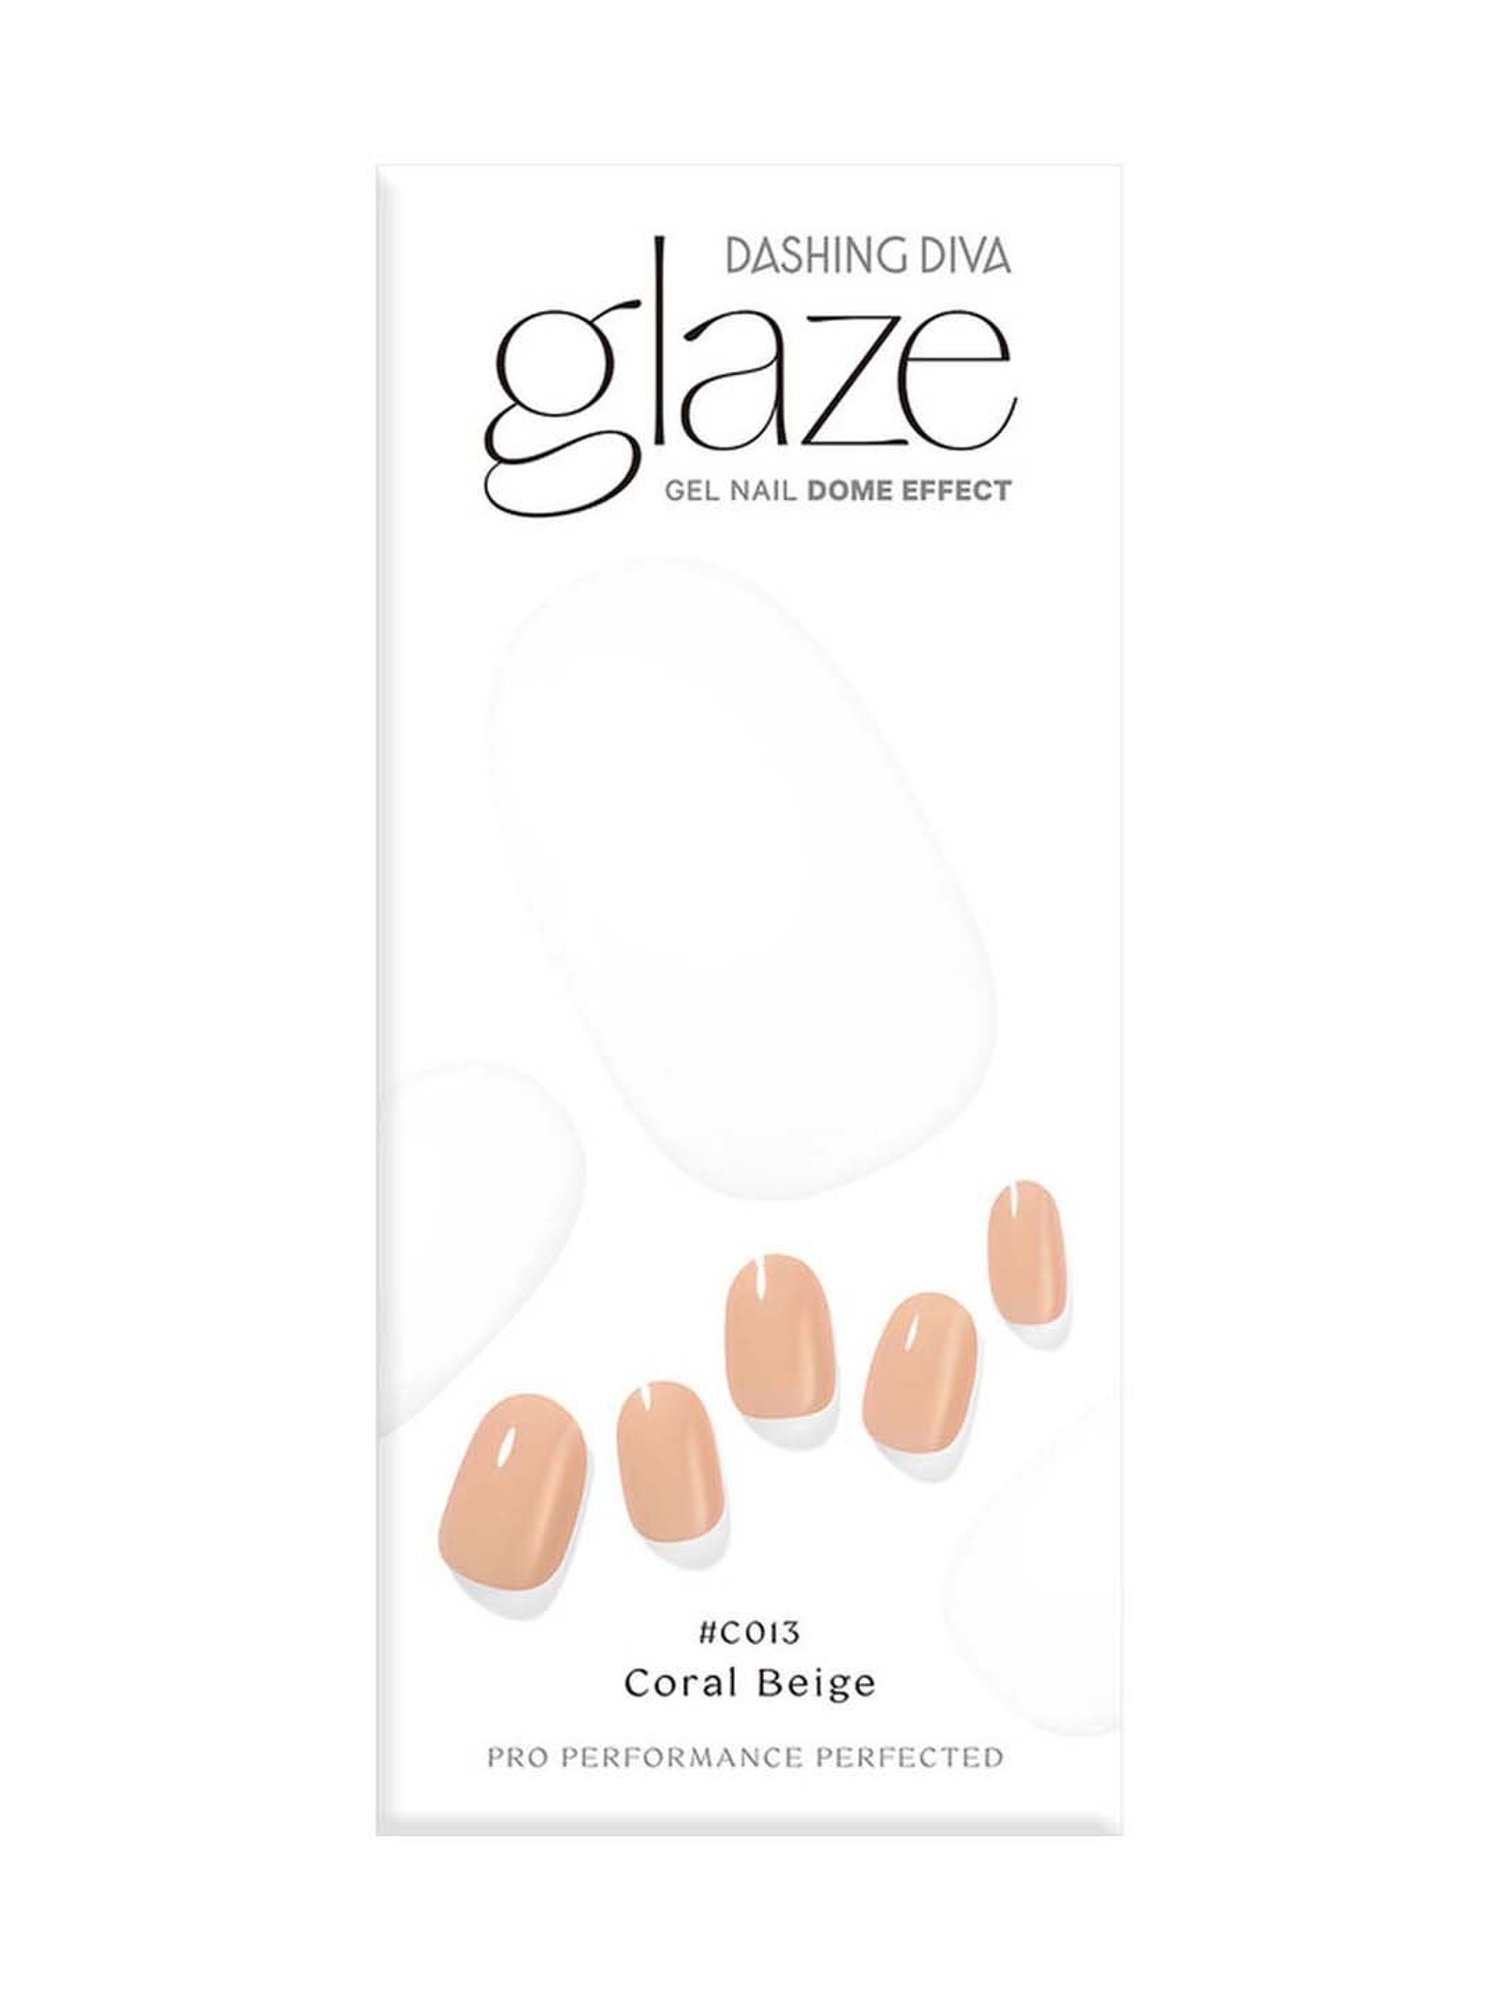
Color Finish: Gloss
Color Palette: Light Tones
•Super strong gel manicure: Chip-resistant, non-wrinkling formula that lasts up to 14 days
•Quick, simple & safe application: No UV dry time, no topcoat, no harsh smells
•Gentle, non-damaging removal: No soak off needed
•100% Vegan and Cruelty Free formula
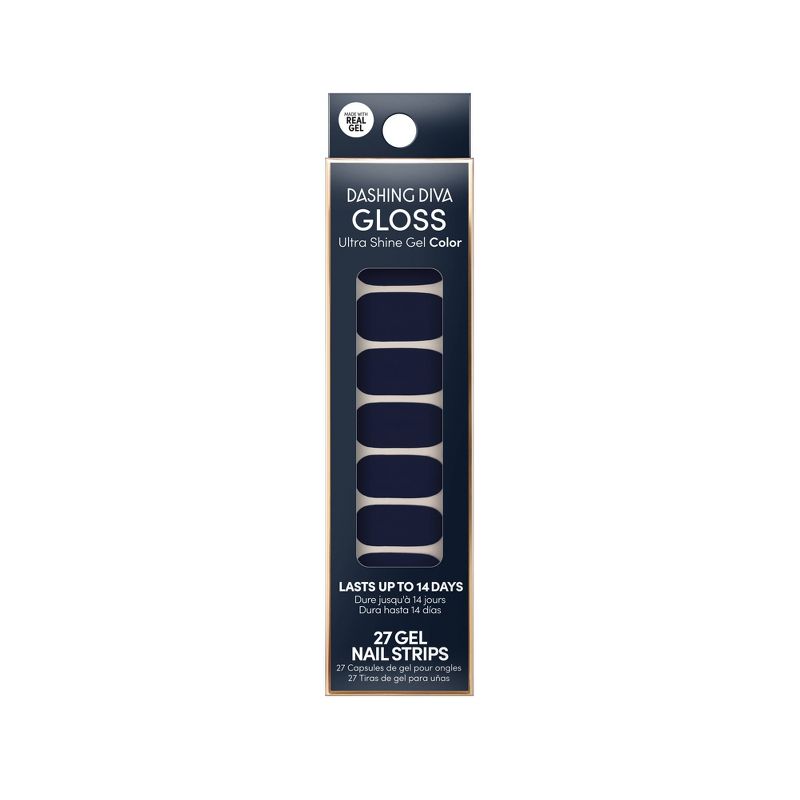
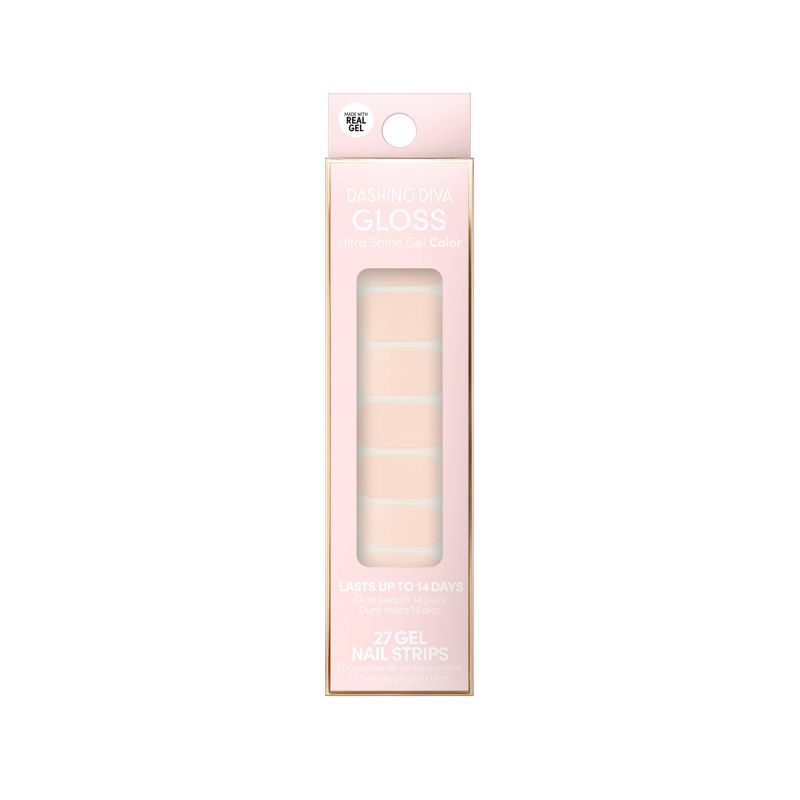
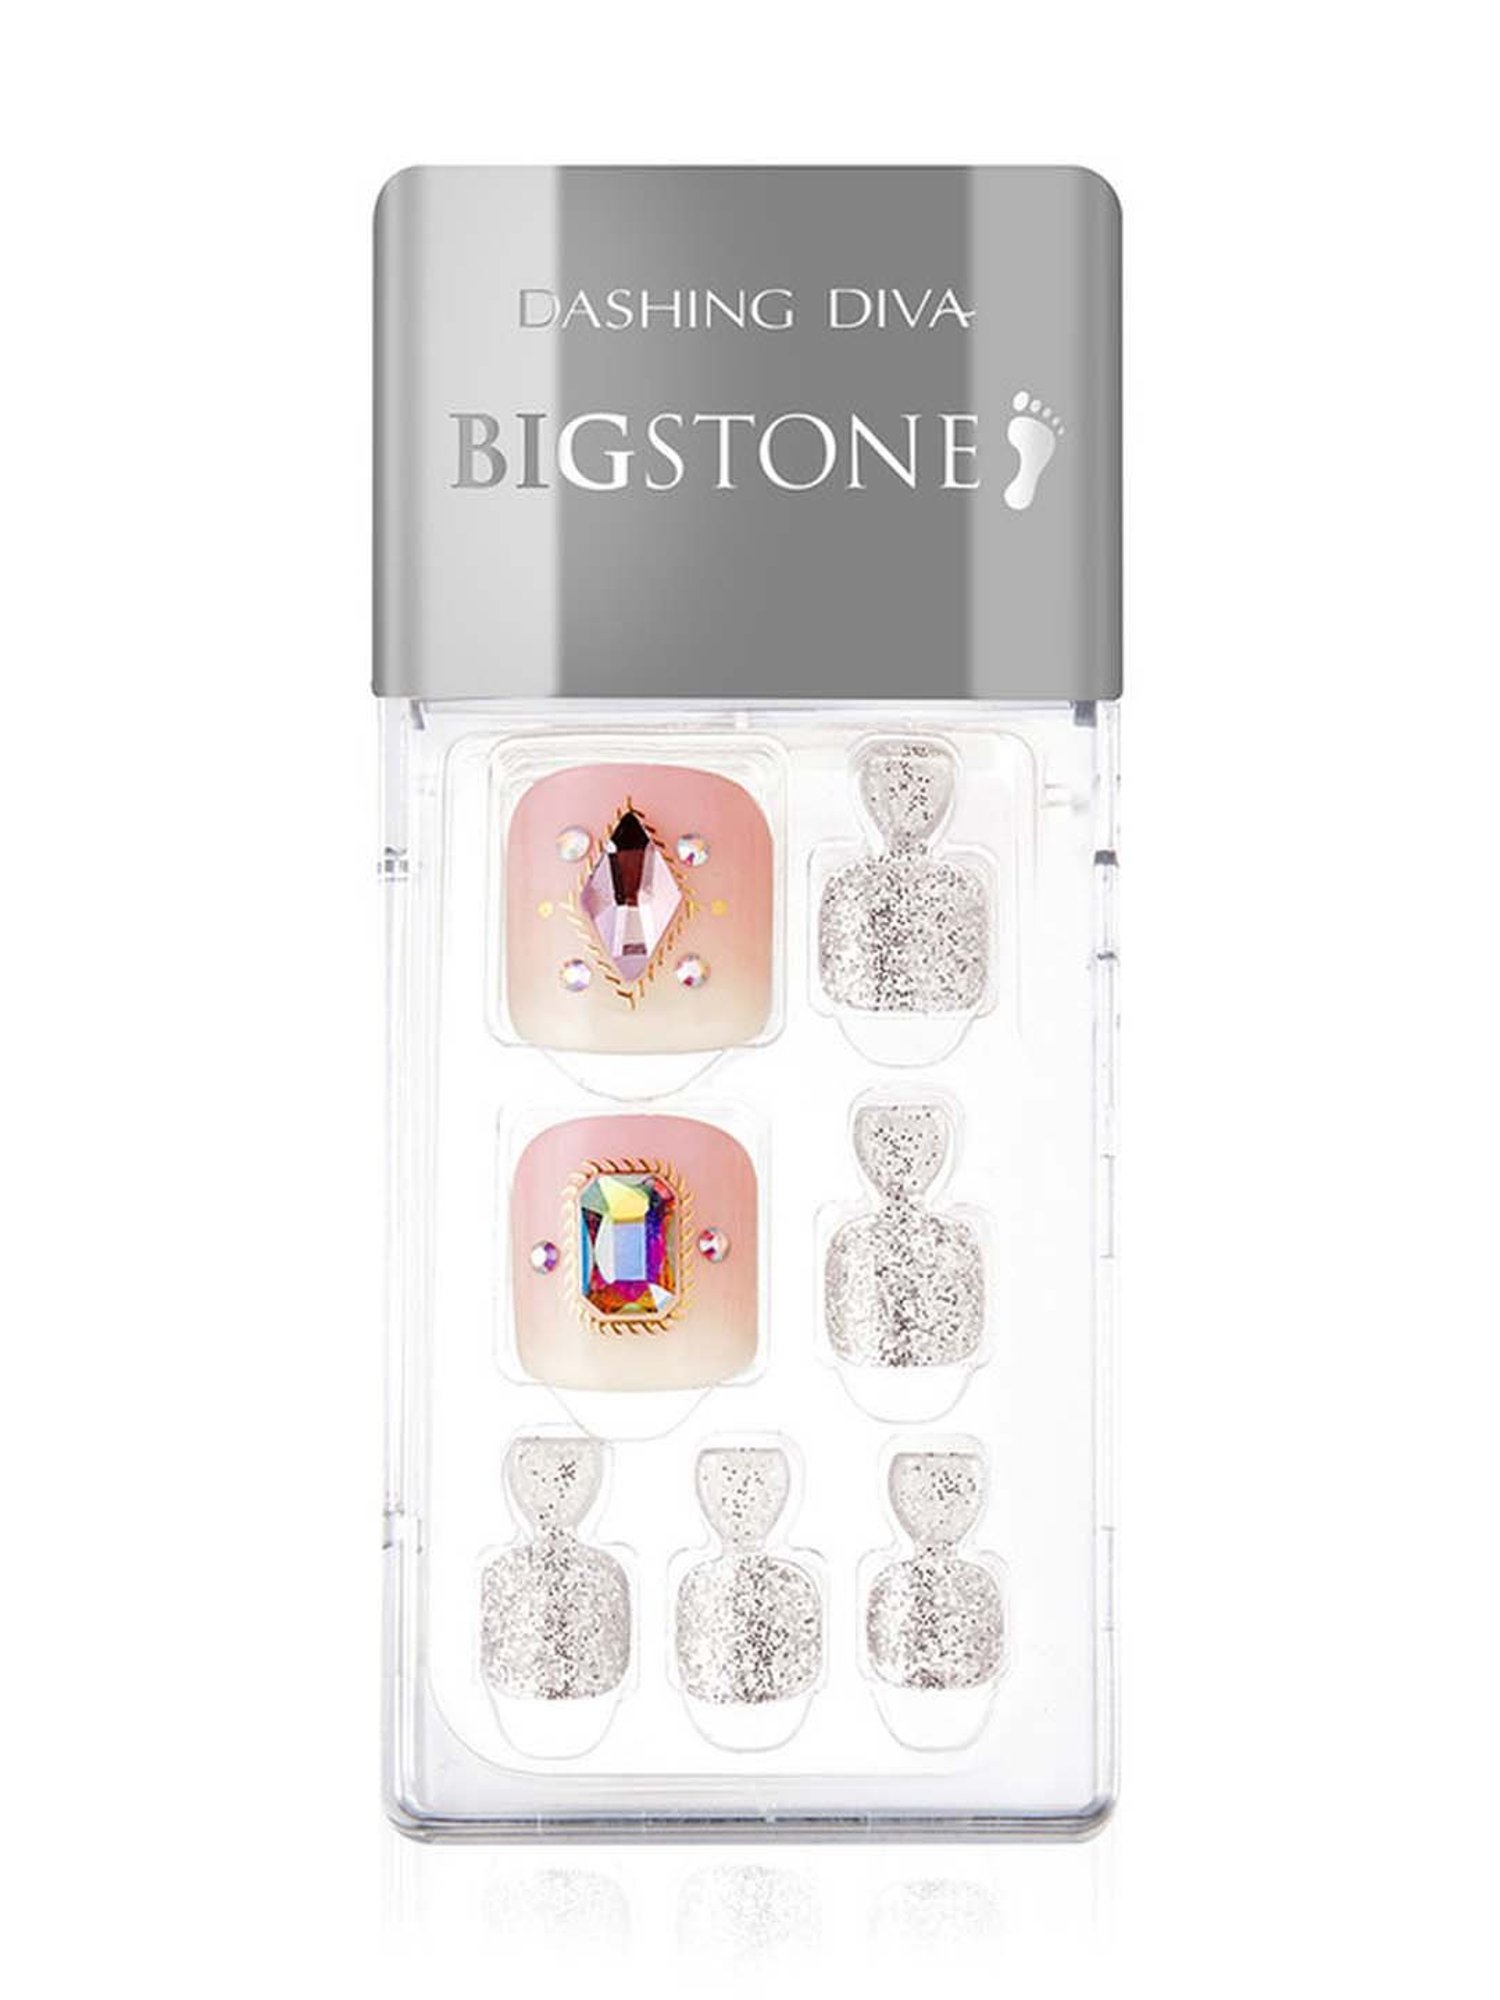
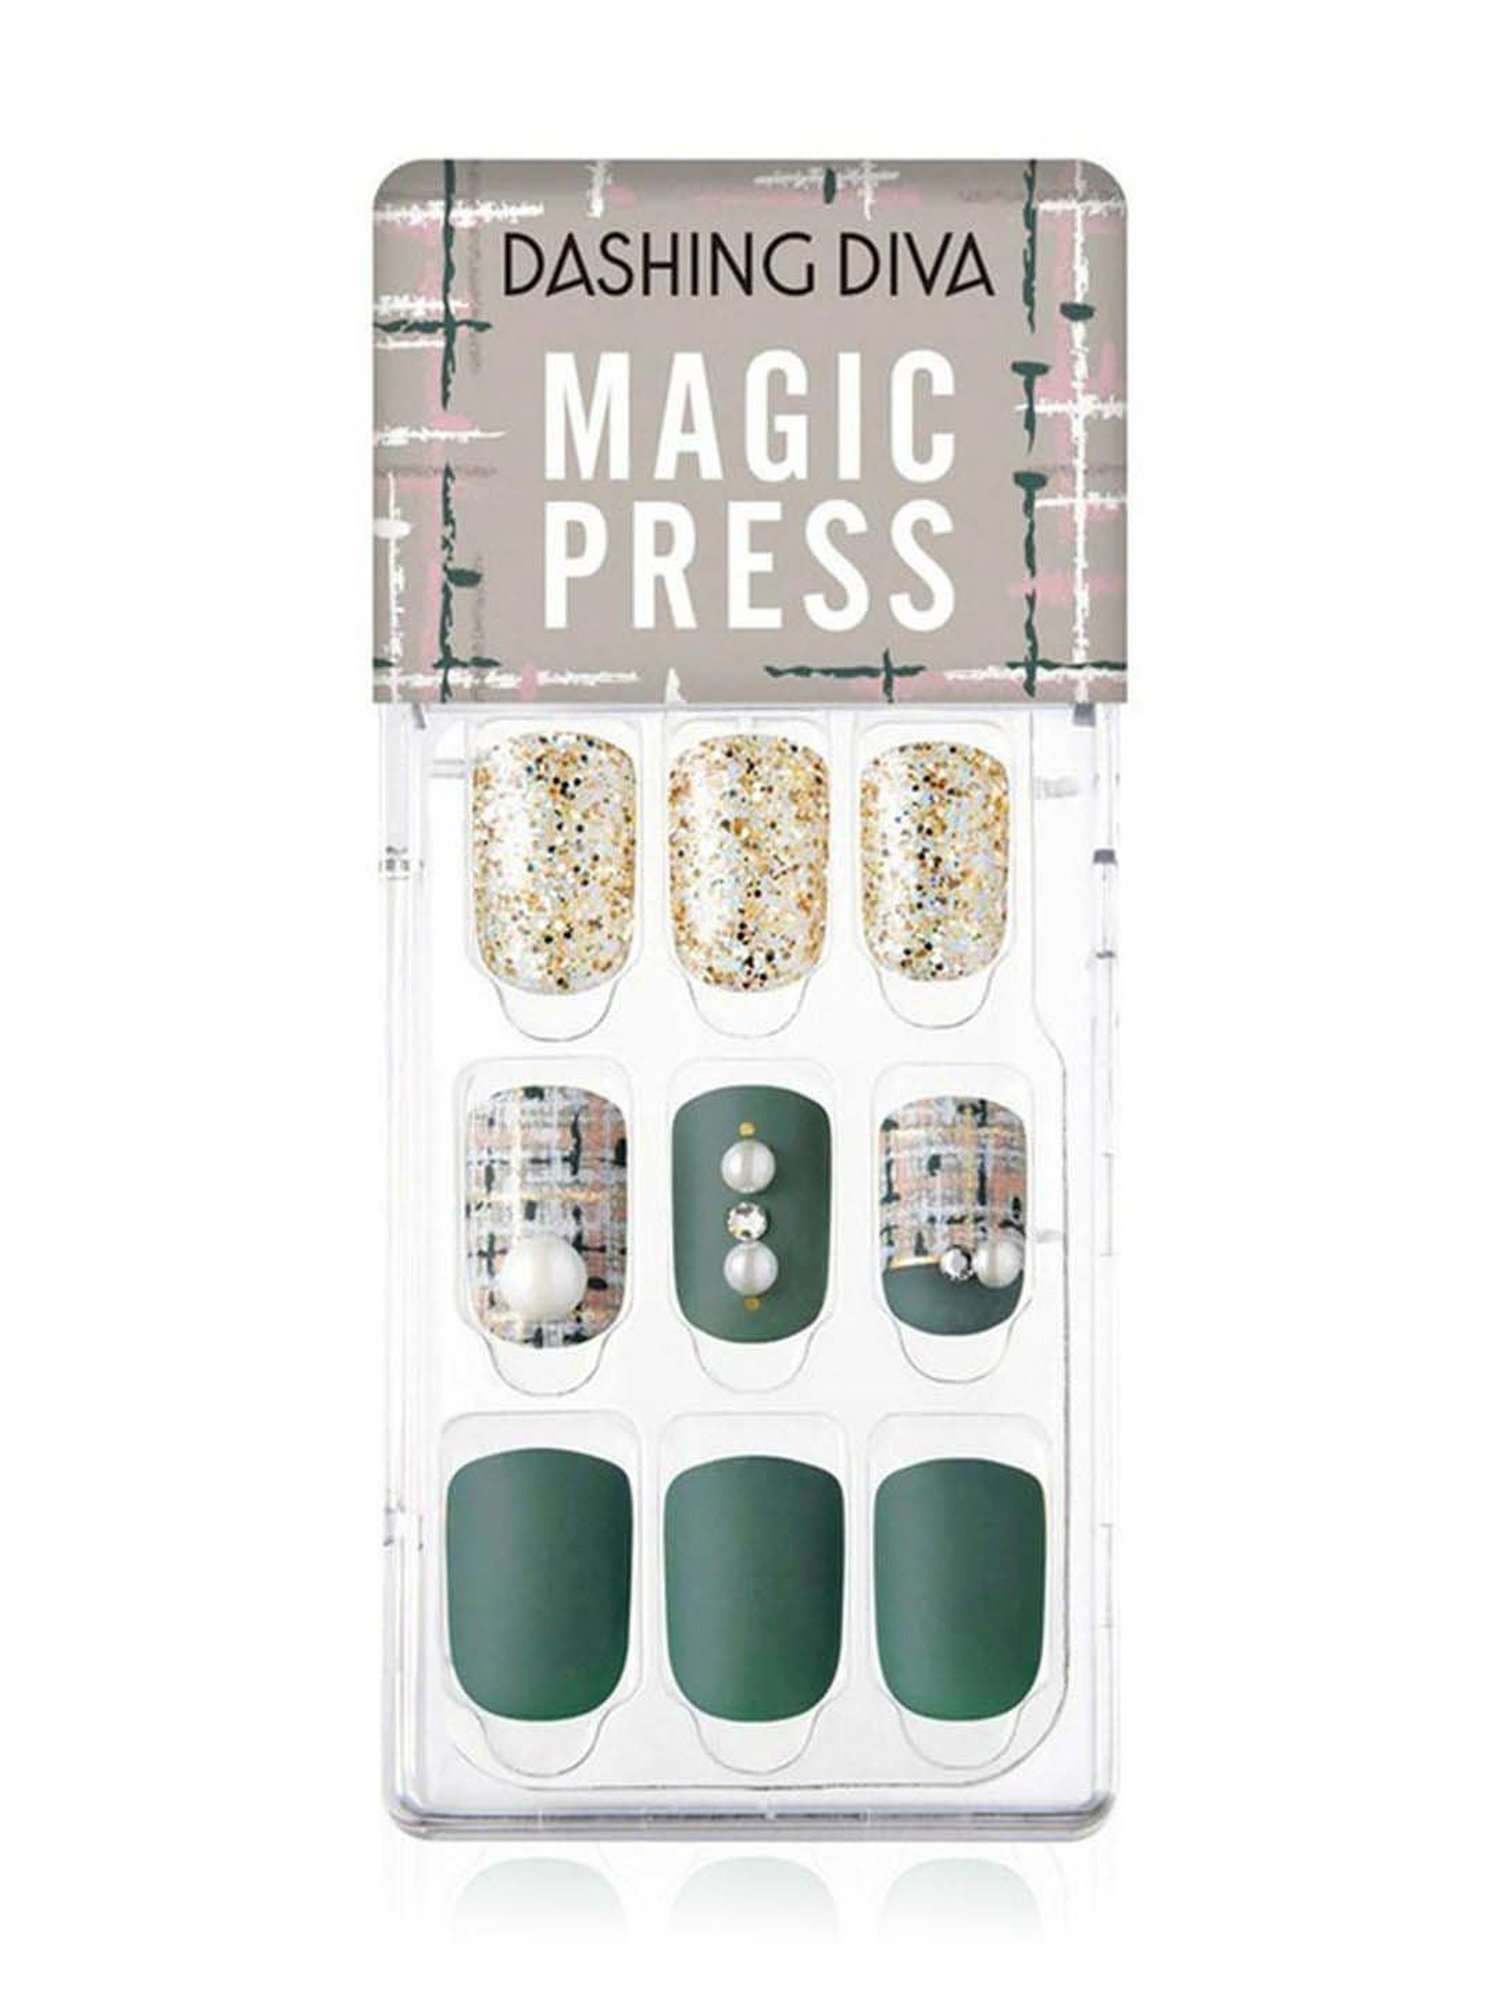
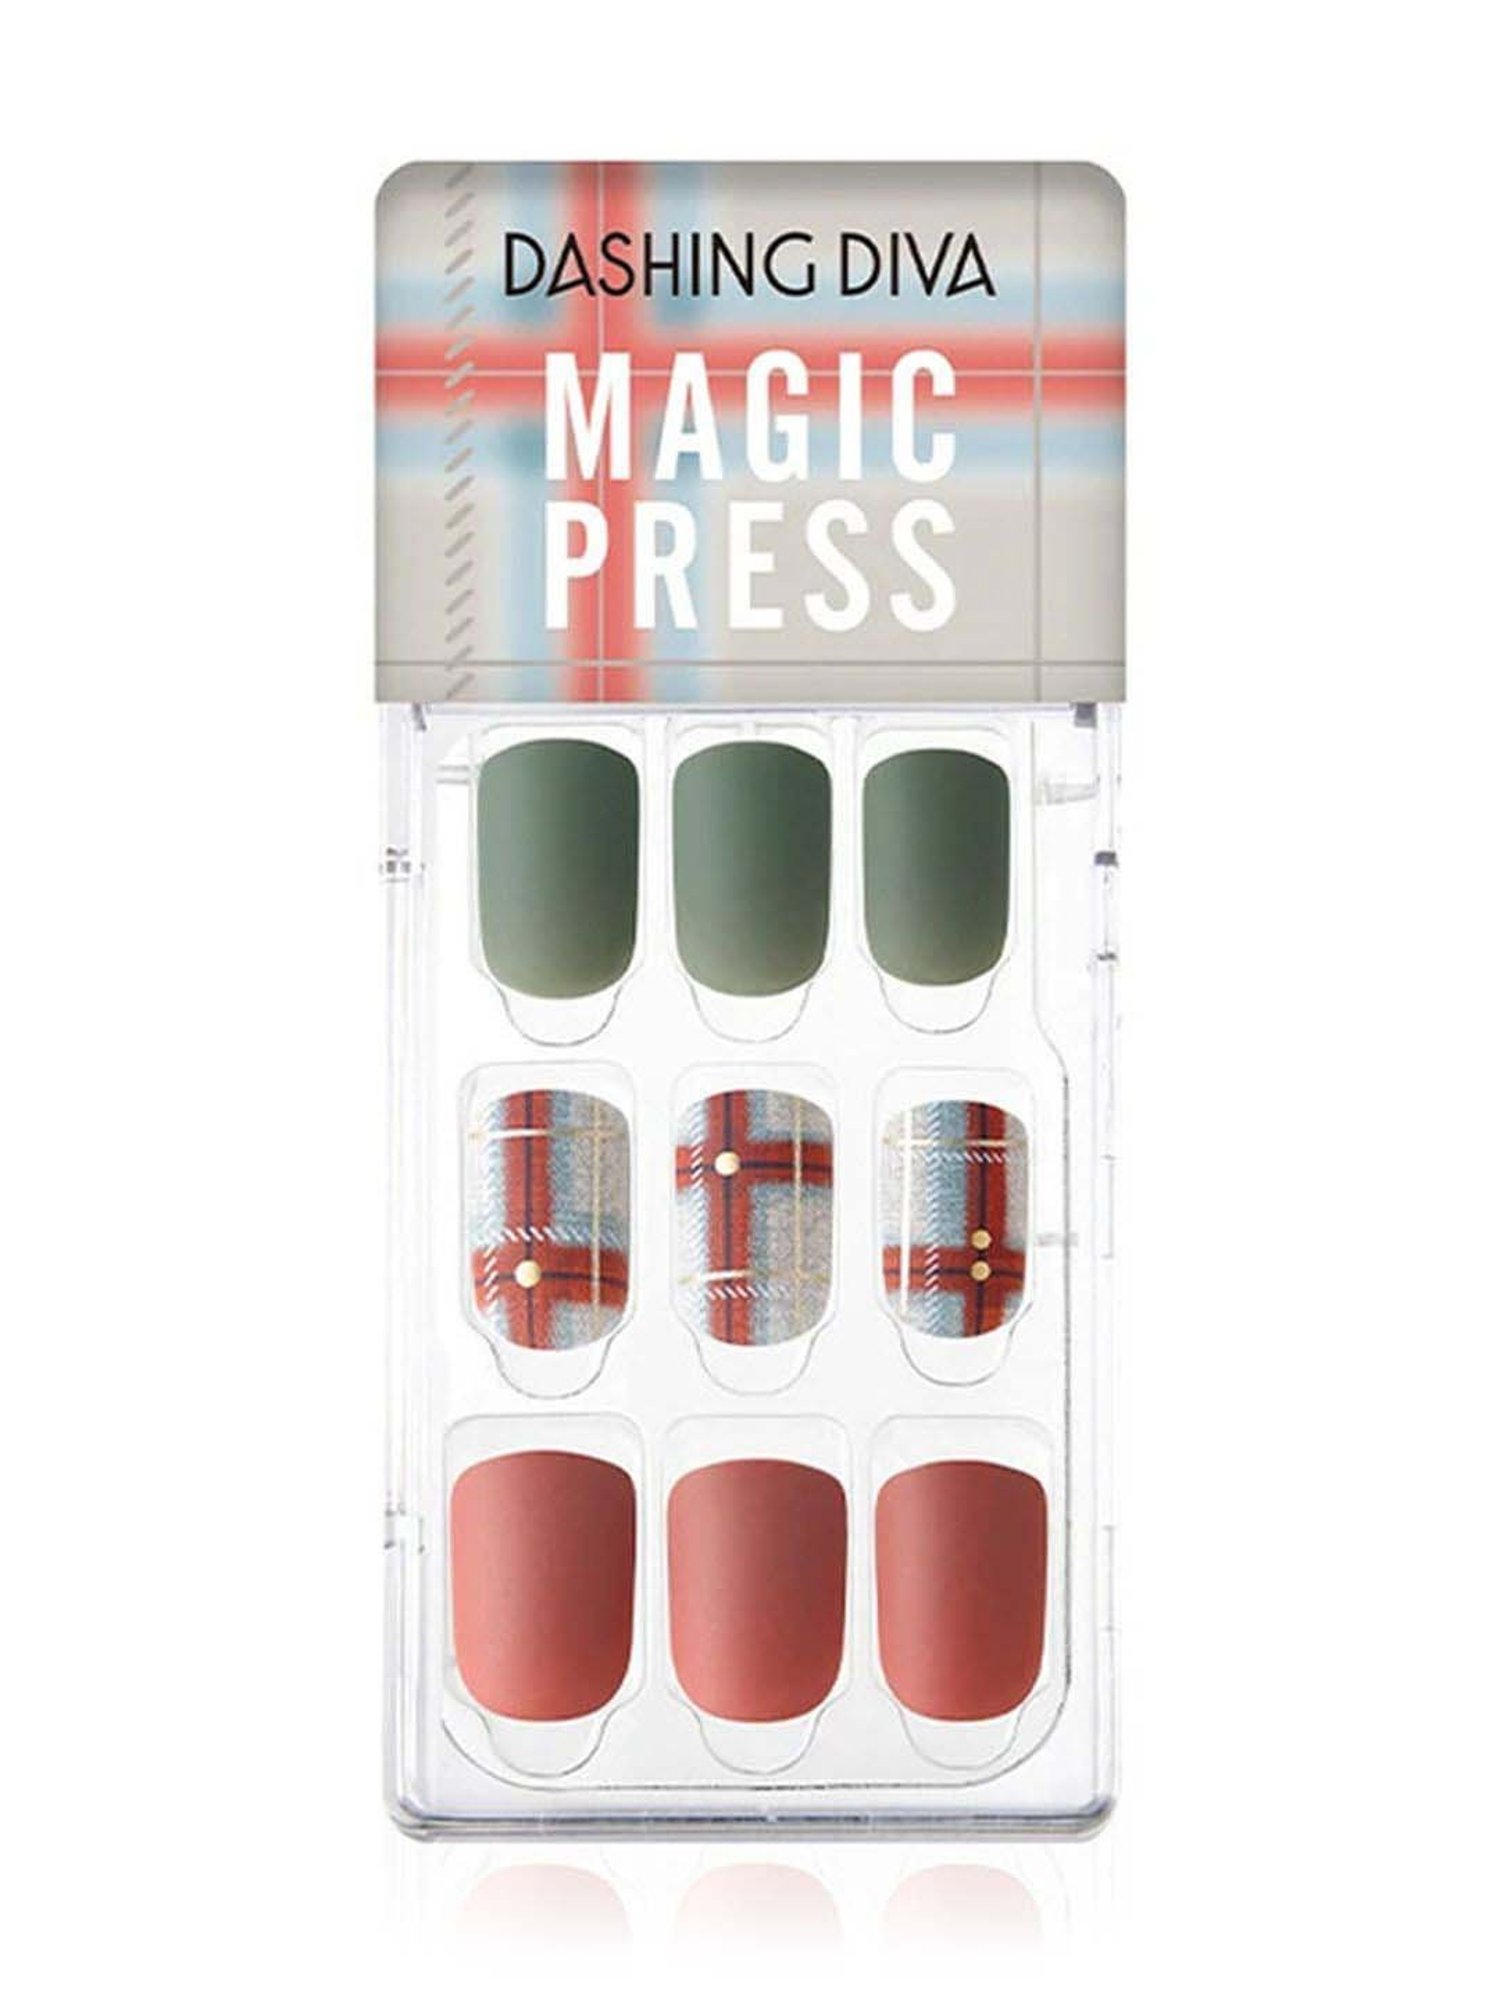
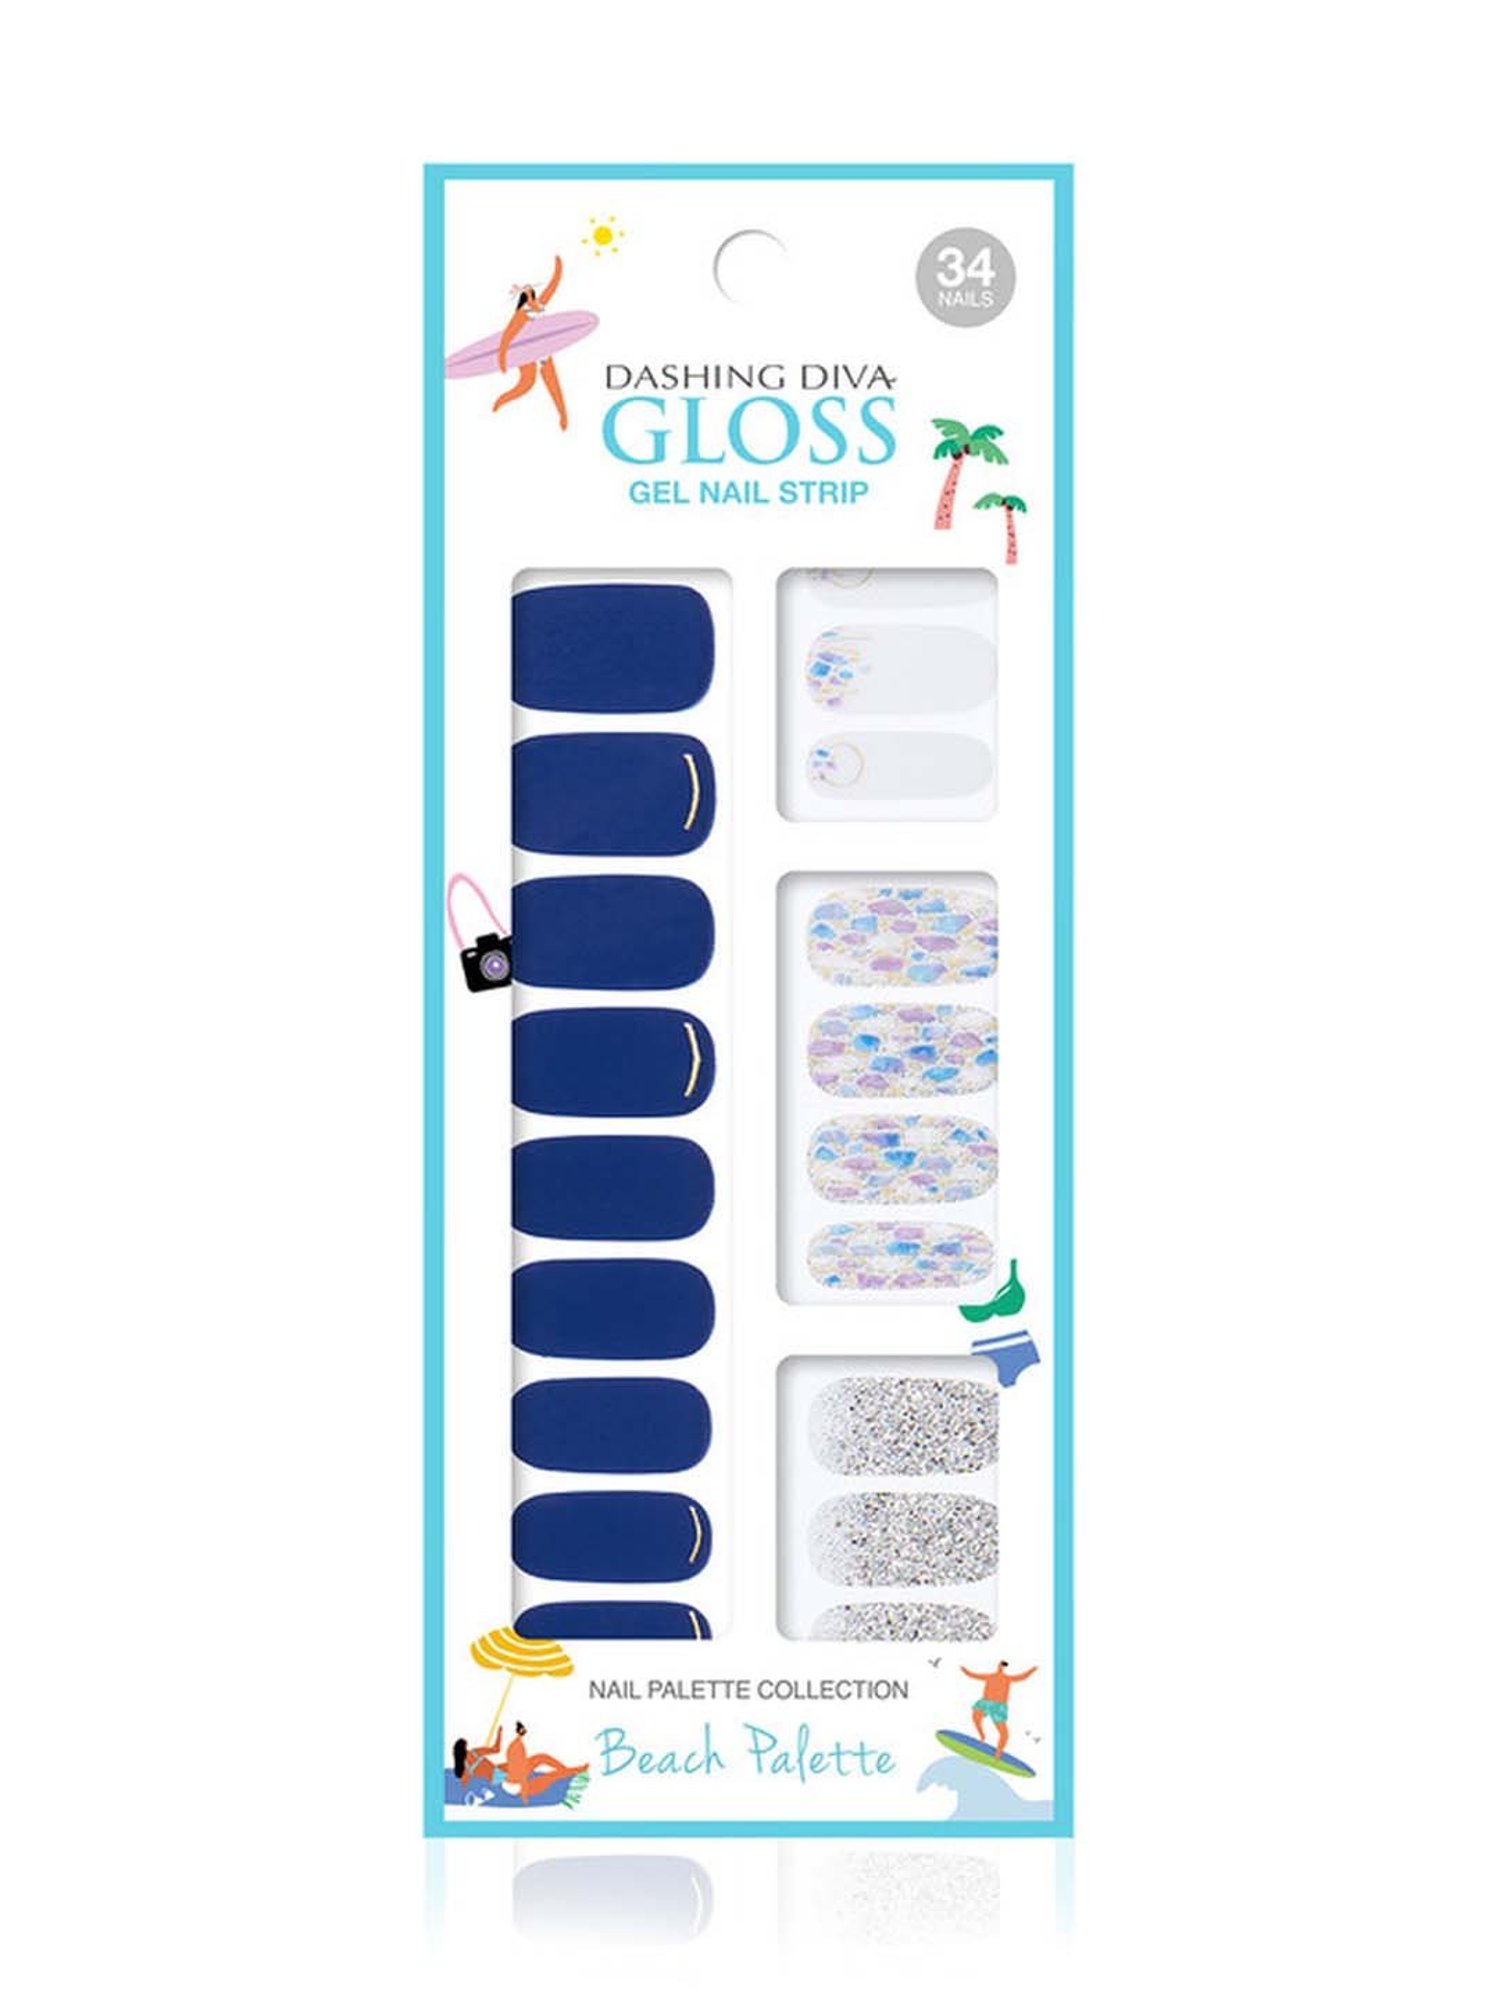
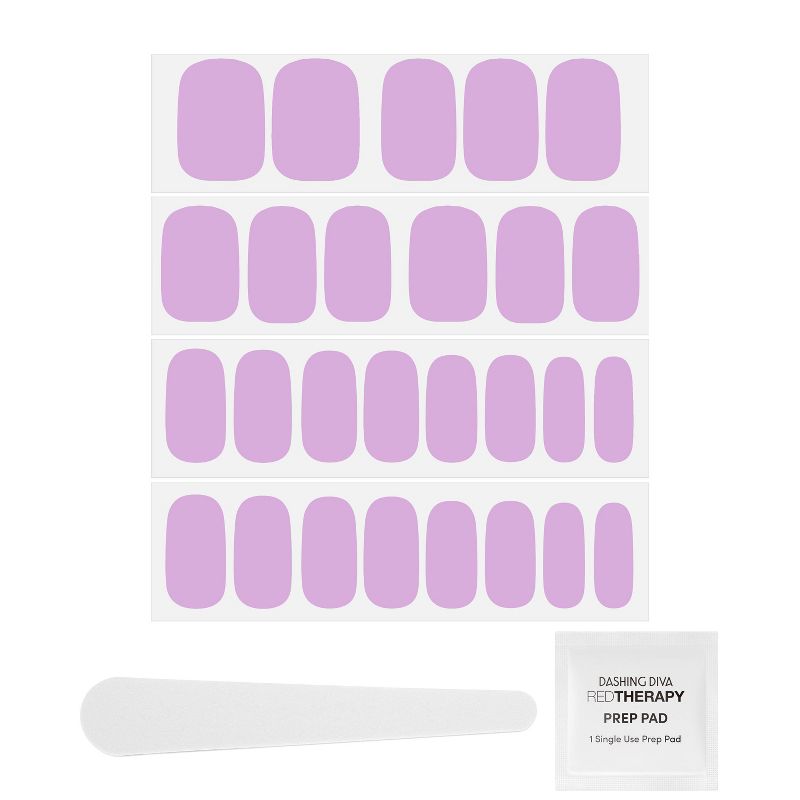
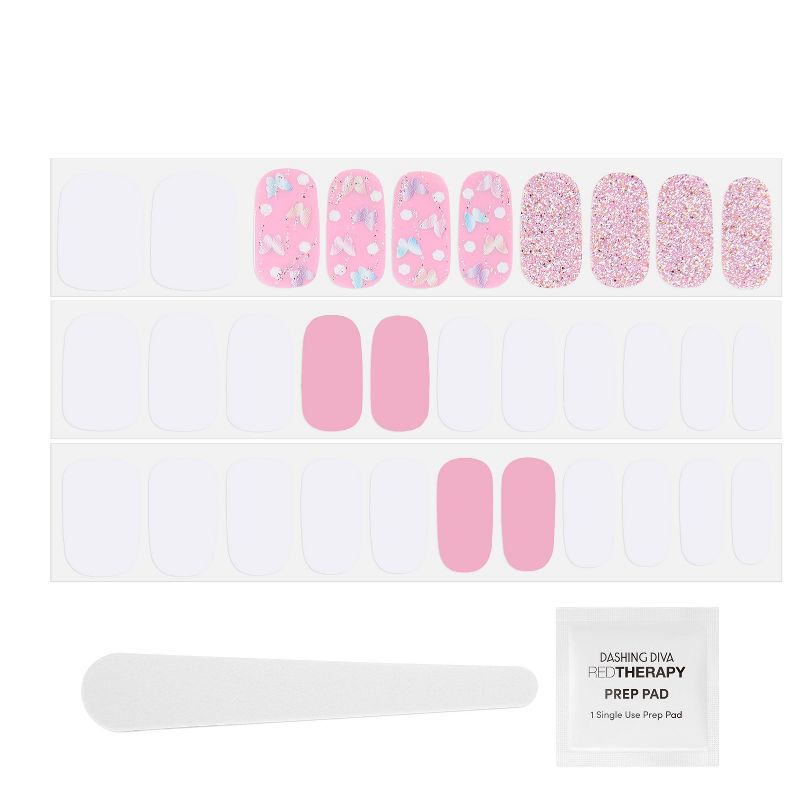
Pair your favorite GLOSS Ultra Shine Gel Palette with its mix-matching bestie GLOSS Ultra Shine Gel Color to make even more manis! Like nail wraps, but better - Try our GLOSS Color in Enchanted Lilac with GLOSS Palette, Frillseeker for endless design possibilities.
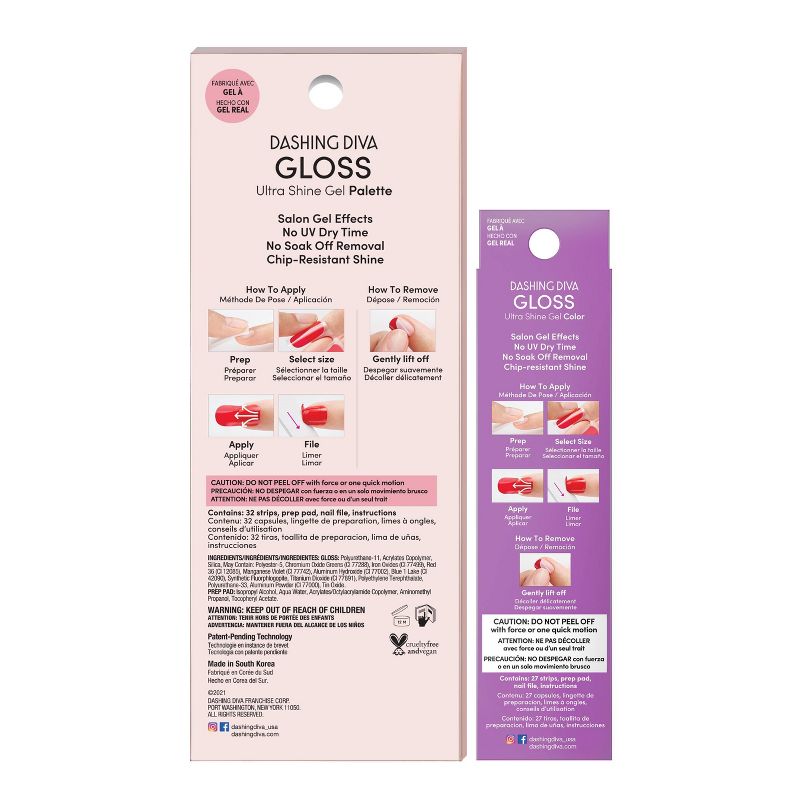
STEP 1: PREP
•Wash hands with soap and water.
• Shape nails and push back cuticles.
• Use enclosed Prep Pad to ensure nails are clear from oils and residue.
• Make sure your nails are completely dry before application.
Pro Tip: Try Red Therapy Base Seal Treatment for GLOSS to hydrate and strengthen natural nails while extending the wear of GLOSS.
STEP 2: SELECT SIZE
• Select strip size for each nail. For optimal fit, the strip should not exceed past the nail bed onto skin or cuticles.
• Gently lift strip from sheet starting from edge.
Pro Tip: If you are in between sizes always choose the smaller size for proper adhesion.
Pro Tip: Use a tweezer to lift strip from sheet more easily and limit compromising the adhesion.
STEP 3: APPLICATION
• Place strip over the center of your nail, starting at cuticle line and pressing outward.
• Press down firmly from center and side to side.
Pro Tip: Make sure strip is applied slightly above cuticle line, avoiding placement on skin.
STEP 4: FINISH
• Fold over excess material
• Position the nail file horizontally along the contour of your nail. With one sweeping motion, file firmly across your free edge. Be sure to file in one direction at a time, filing from side to side will tear the edges.
Pro tip: If you have excessive material when folding strip over nail edge, trim with a scissor or nail clipper before filing.
Pro tip: For optimal adhesion, avoid exposing nails to lotions, oils or water for at least one hour after application.
HOW TO REMOVE:
• Apply a drop of cuticle oil or acetone remover onto your nail.
• Use manicure stick to gently and slowly lift nail strip from corner of the cuticle area.
• Gradually roll the strip off your nail.
CAUTION: Do not peel off with force or in one quick motion
Color Family: Purple
Color Finish: Gloss
Color Palette: Light Tones
•Super strong gel manicure: Chip-resistant, non-wrinkling formula that lasts up to 14 days
•Quick, simple & safe application: No UV dry time, no topcoat, no harsh smells
•Gentle, non-damaging removal: No soak off needed
•100% Vegan and Cruelty Free formula
Pair your favorite GLOSS Ultra Shine Gel Palette with its mix-matching bestie GLOSS Ultra Shine Gel Color to make even more manis! Like nail wraps, but better - Try our GLOSS Color in Enchanted Lilac with GLOSS Palette, Frillseeker for endless design possibilities.
STEP 1: PREP
•Wash hands with soap and water.
• Shape nails and push back cuticles.
• Use enclosed Prep Pad to ensure nails are clear from oils and residue.
• Make sure your nails are completely dry before application.
Pro Tip: Try Red Therapy Base Seal Treatment for GLOSS to hydrate and strengthen natural nails while extending the wear of GLOSS.
STEP 2: SELECT SIZE
• Select strip size for each nail. For optimal fit, the strip should not exceed past the nail bed onto skin or cuticles.
• Gently lift strip from sheet starting from edge.
Pro Tip: If you are in between sizes always choose the smaller size for proper adhesion.
Pro Tip: Use a tweezer to lift strip from sheet more easily and limit compromising the adhesion.
STEP 3: APPLICATION
• Place strip over the center of your nail, starting at cuticle line and pressing outward.
• Press down firmly from center and side to side.
Pro Tip: Make sure strip is applied slightly above cuticle line, avoiding placement on skin.
STEP 4: FINISH
• Fold over excess material
• Position the nail file horizontally along the contour of your nail. With one sweeping motion, file firmly across your free edge. Be sure to file in one direction at a time, filing from side to side will tear the edges.
Pro tip: If you have excessive material when folding strip over nail edge, trim with a scissor or nail clipper before filing.
Pro tip: For optimal adhesion, avoid exposing nails to lotions, oils or water for at least one hour after application.
HOW TO REMOVE:
• Apply a drop of cuticle oil or acetone remover onto your nail.
• Use manicure stick to gently and slowly lift nail strip from corner of the cuticle area.
• Gradually roll the strip off your nail.
CAUTION: Do not peel off with force or in one quick motion