Trusted shipping
Easy returns
Secure shopping
Buy Crystal Clear Screen Protector for iPad (2018/2017) / iPad Pro 9.7 inch / iPad Air / iPad Air 2 in United States - Cartnear.com
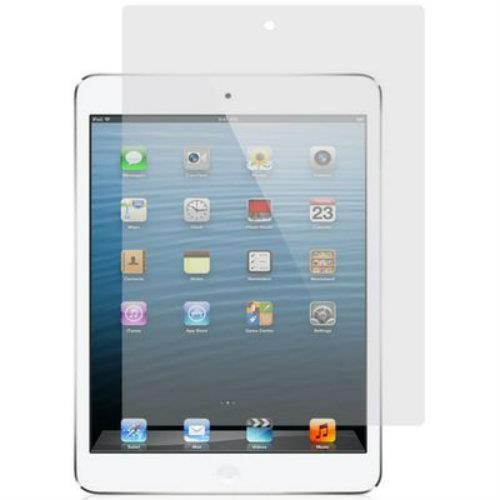
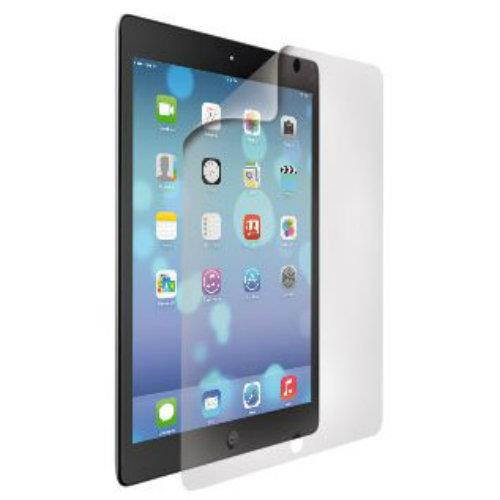
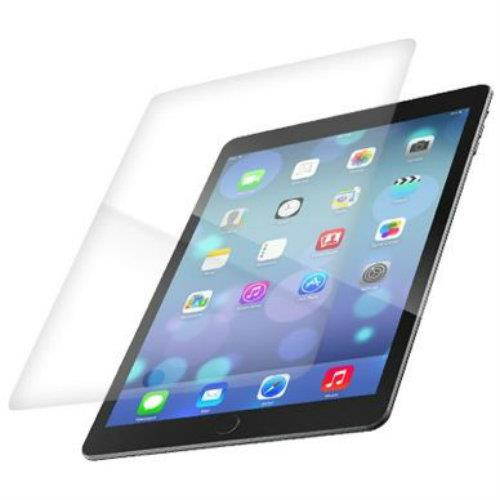
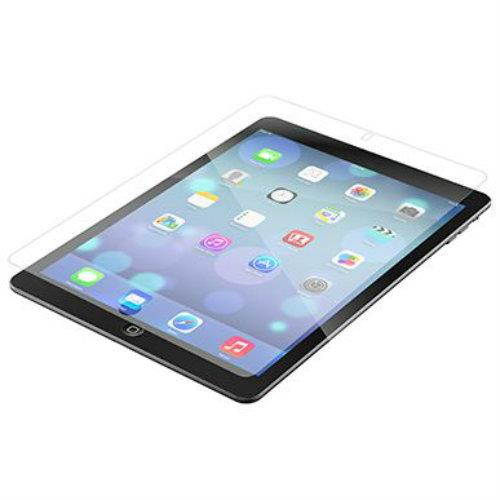
Crystal Clear Screen Protector for iPad (2018/2017) / iPad Pro 9.7 inch / iPad Air / iPad Air 2
CTNR1661000 0769748913897 CTNR1661000HD Accessory
2027-01-11
/itm/crystal-clear-screen-protector-for-ipad-20182017-ipad-pro-97-inch-ipad-air-ipad-air-2-1661000
USD
4.4
$ 4.40
Item Added to Cart
customer
*Product availability is subject to suppliers inventory
SHIPPING ALL OVER UNITED STATES
100% MONEY BACK GUARANTEE
EASY 30 DAYSRETURNS & REFUNDS
24/7 CUSTOMER SUPPORT
TRUSTED AND SAFE WEBSITE
100% SECURE CHECKOUT
| Brand | HD Accessory |
|---|---|
| Color | Clear |
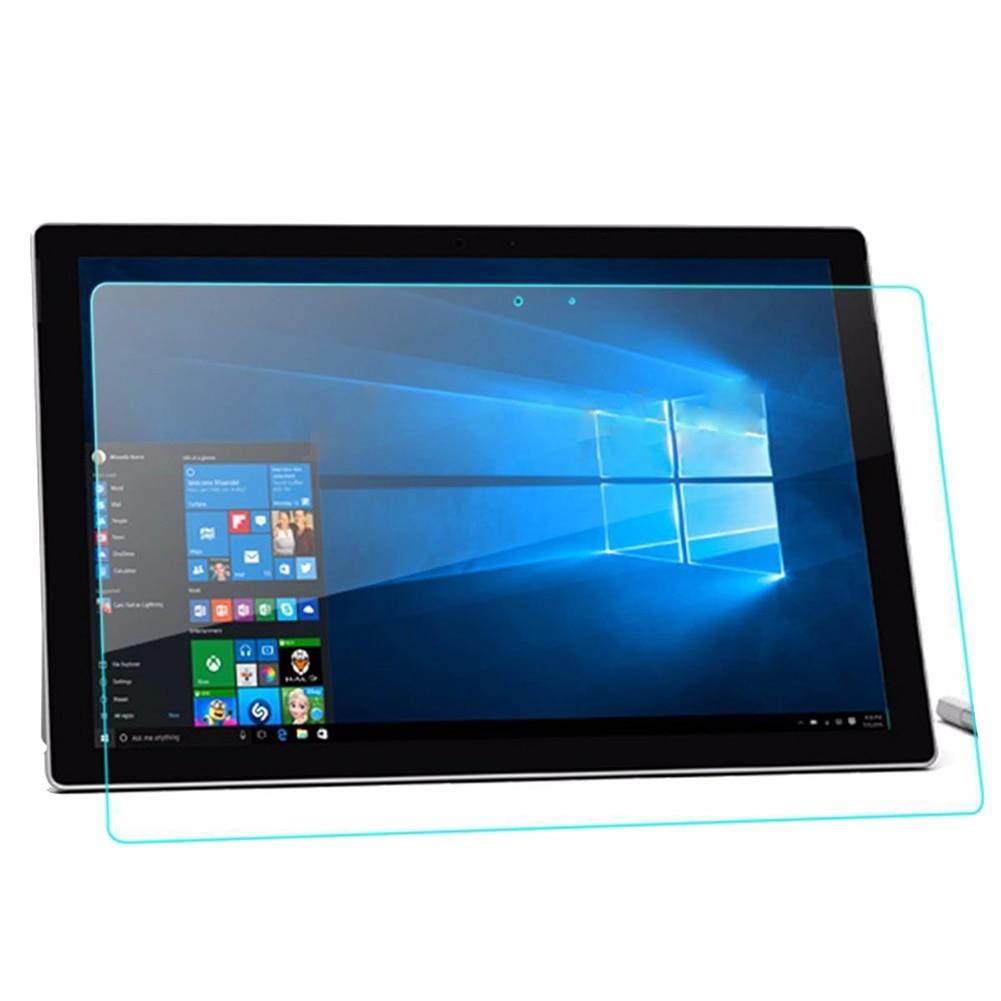
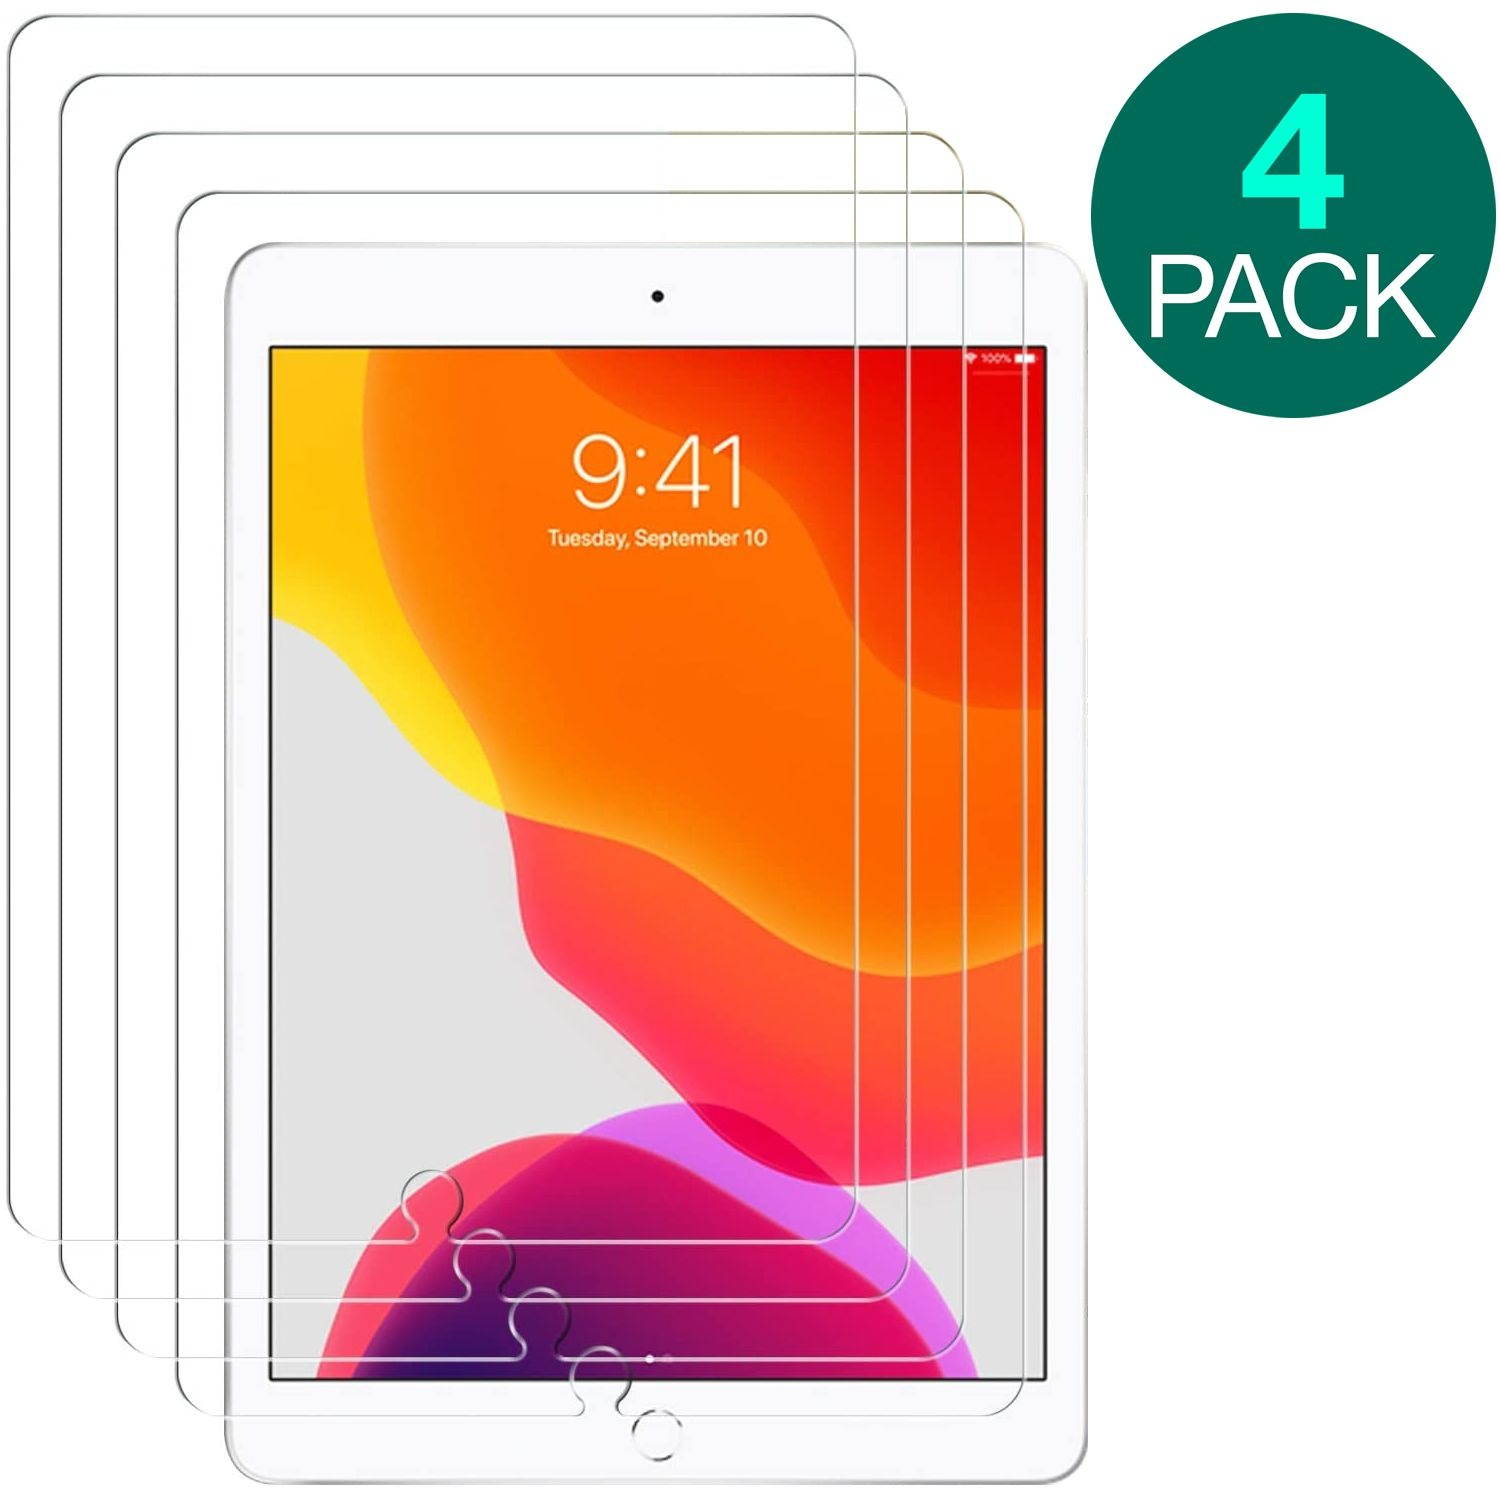
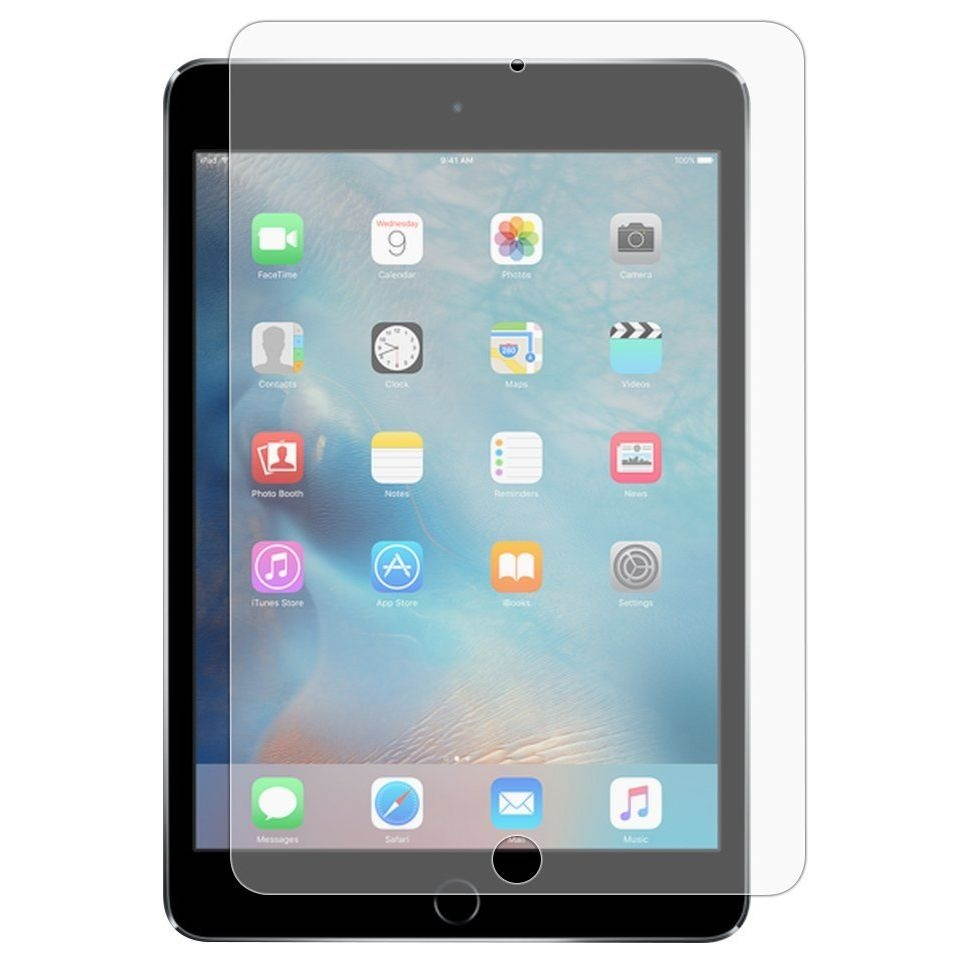
The Crystal Clear Screen Protector is the best and inexpensive way to scratch and smudge proof your Apple iPad with 9.7 inch screen's entire LCD screen. The ultra clear full LCD screen protector keeping your screen face always looking new. Ultra clear and super low profile that you barely know it is there. Miraculous glass like crystal clarity! This screen protector will maintain the life and vivid color of your device. A special mixture in the plastic refracts 99% of UV rays from reflected light which in turn protects your eyes.
Features: Complete full protection of iPad front side which covers the entire LCD screen. UV protection and color improvement. Guards against tarnishes. Dust repelling. Anti-scratch. Touch screen recognition improvement. 99% Crystal clear. No sticky residue. Compatible with Apple iPad Pro 9.7 / iPad Air 2 / iPad Air / iPad (2018 6th Generation) / iPad (2017 5th Generation).
Film Installation Instructions: Step
1: Before installing a screen protector on the iPad, it is important to completely turn the device off.
Step 2: Next, take your lint free cloth (preferably microfiber) and apply a small amount of water to it so that it is damp. Now gently wipe down the screen until any visible fingerprints, smudges, or other signs of contaminants are gone. Make sure that there are no dust particles or oil deposits on your screen.
Step 3: Before removing the screen protector from it's lining, place it next to the iPad screen so that you can see how it lines up. Once you remove the lining and apply it to the screen, it is very hard to correct.
Step 4: Making sure the button cut out on the screen protector matches the home button on the iPad, remove only the bottom of the screen protector from the lining.
Step 5: Hold the screen protector above the iPad and apply the exposed portion of the screen protector to the iPad screen. Using your fingers, press down on the center of the screen protector and move toward the outside.
Step 6: Once the bottom of the iPad screen protector is secured to the screen and you have confirmed it is not crooked, proceed with removing the rest of the liner.
Step 7: Carefully apply the remainder of the screen protector to the screen, ensuring there are no bubbles formed. Be sure to firmly press the screen protector to the screen to ensure a proper seal.
Step 8: Use a lint-free cloth to secure the film to your screen and rub out the air bubbles to ensure proper adhesion. There may be temporary air bubbles in the adhesive. Unless there is dust trapped under the film, these air bubbles will disappear in time. If dust is trapped under the film, attach a piece of cellophane tape to the corner of the film closest to the air bubble and lift up. Take a second piece of tape and dab the piece of dust. Once the piece of dust has been removed from the film or the screen, lay the film back down using a lint-free cloth to push out any air bubbles.
Step 9: If you wish to remove the film from your screen, apply a strip of cellophane tape to the corner of the film and use it to peel the film off of the surface of the screen.

