Trusted shipping
Easy returns
Secure shopping
Buy Eveready LED Floating Lantern Flashlight in United States - Cartnear.com
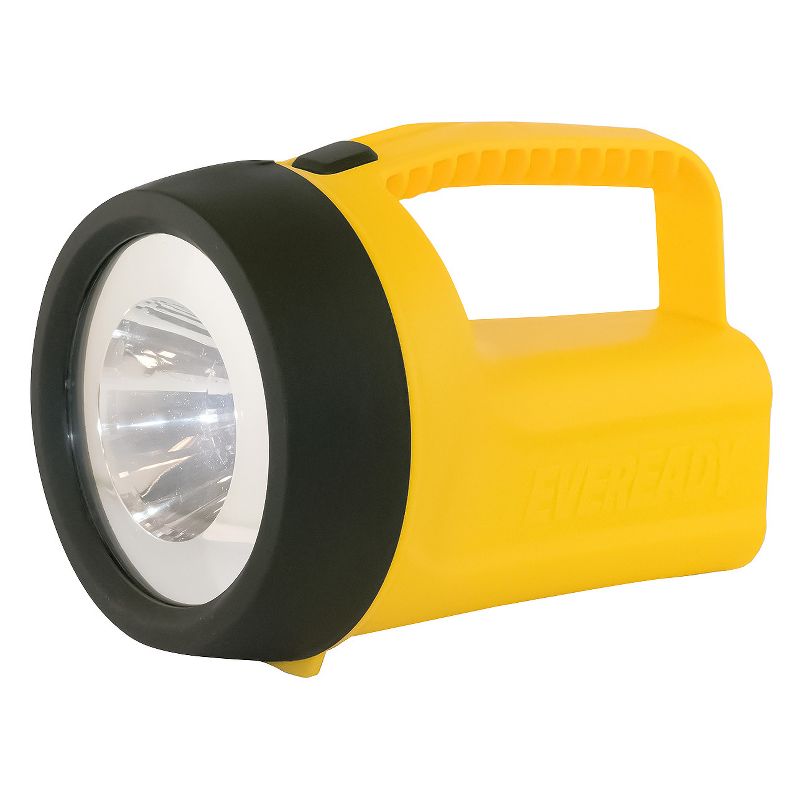
Eveready LED Floating Lantern Flashlight
CTNR120565 039800125651 CTNR120565Eveready
2027-02-07
/itm/eveready-led-floating-lantern-flashlight-120565
USD
5.98
$ 5.98 $ 6.04 1% Off
Item Added to Cart
customer
*Product availability is subject to suppliers inventory
SHIPPING ALL OVER UNITED STATES
100% MONEY BACK GUARANTEE
EASY 30 DAYSRETURNS & REFUNDS
24/7 CUSTOMER SUPPORT
TRUSTED AND SAFE WEBSITE
100% SECURE CHECKOUT
Dimensions (Overall): 125 Millimeter (H) x 125 Millimeter (W) x 177 Millimeter (D)
Weight: 250 Grams
Lumens: 80
Assembly Details: No Assembly Required
Number of Light Bulb Sockets: 1
Run Time: 140 Hours
Protective Qualities: Waterproof
Light Bulb Type: LED
Maximum Light Bulb Wattage: Non-Replaceable Fixed Bulb
Maximum Distance: 175 Meter
Material: Plastic
Power Source: Battery
Battery: 2 D, Required, Included
Warranty: No Applicable Warranty. To obtain a copy of the manufacturer's or supplier's warranty for this item prior to purchasing the item,
•One EVEREADY Readyflex Floating LED Lantern
•Provides bright light during power outages, while moving about outdoors or during water activities
•Great camping or LED pool light and an ideal addition to survival kits and boating supplies
•Delivers 80 lumens of bright light with a beam distance up to 175 meters
•Includes two D carbon zinc batteries to power this emergency lantern for up to 70 hours
•Operates with either two or four D batteries. To operate on two D batteries, be sure to install both batteries so they are stacked on top of each other in either of the battery chambers.
EVEREADY Readyflex Floating LED Lantern gives you bright light when you need it. Because it floats for easy recovery in water, this battery powered lantern is ideal for storing in boats, kayaks or canoes. Equipped with 80 lumens of bright LED light, this water lantern has an impressive beam distance of up to 175 meters. Two included D carbon zinc batteries keep this LED camping lantern shining brightly for up to 70 hours, giving you reliable, long lasting light. EVEREADY is always trusted and always ready to provide dependable light for any situation.
This light comes with two D batteries and operates with either two or four D batteries. To install batteries, remove the light’s black bezel from the yellow base by unscrewing the bezel counter-clockwise. Insert four D cell batteries in the two battery chambers. To operate on two D cell batteries, insert both batteries into a single battery chamber so they are stacked on top of each other. Re-install the bezel by pushing down slightly as you align it with the yellow base. If you are having difficulty aligning the bezel with the base, turn the bezel counter-clockwise slightly until it squares up with the base, and then turn clockwise to tighten.

