Trusted shipping
Easy returns
Secure shopping
Buy mendini mctbl+sd+pb blue abs b flat clarinet with case, stand, pocketbook, mouthpiece, 10 reeds and more in United States - Cartnear.com

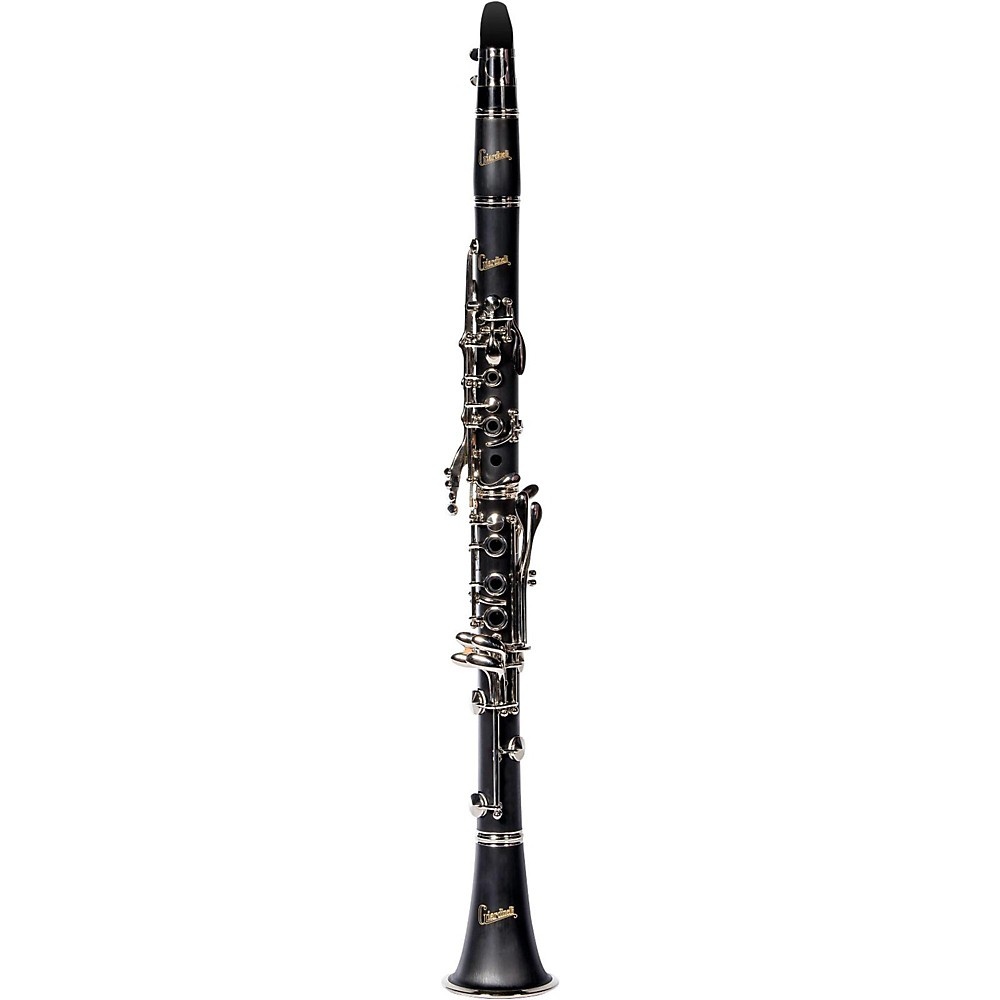
mendini mctbl+sd+pb blue abs b flat clarinet with case, stand, pocketbook, mouthpiece, 10 reeds and more
CTNR1278170 0847848017094 CTNR1278170Cecilio Musical Instruments
2027-01-12
/itm/mendini-mctblsdpb-blue-abs-b-flat-clarinet-with-case-stand-pocketbook-mouthpiece-10-reeds-and-more-1278170
USD
132.35
$ 132.35 $ 133.69 1% Off
Item Added to Cart
customer
*Product availability is subject to suppliers inventory
SHIPPING ALL OVER UNITED STATES
100% MONEY BACK GUARANTEE
EASY 30 DAYSRETURNS & REFUNDS
24/7 CUSTOMER SUPPORT
TRUSTED AND SAFE WEBSITE
100% SECURE CHECKOUT
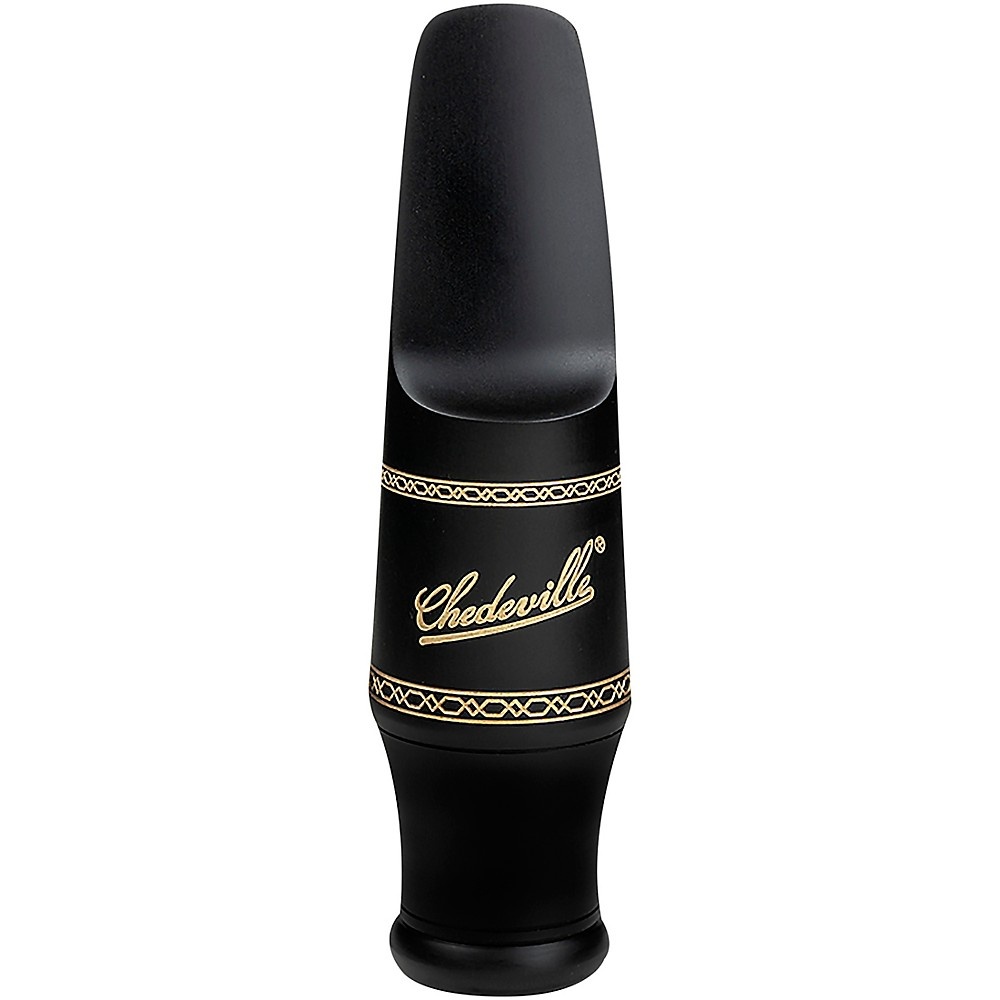
Clarinet Part From the Manufacturer Congratulations and thank you for choosing Cecilio Clarinet for your musical instrument needs. All goods are inspected upon arrival to our distribution center and again prior to shipping. Clarinet Owner's Manual Please read through the manual below to familiarize yourself with your new instrument. If you received your instrument damaged or received the wrong instrument, please notify your seller immediately. Getting Started The clarinet needs to be assembled, cleaned, and tuned prior to playing. Handle the clarinet with care as it can be damaged easily if it is not assembled correctly. We recommend first time players to seek assistance from an instructor. If an instructor is not available, follow these steps below. To remove the clarinet from case by lifting it from the edges. Never grab the clarinet by its keys. Compact Clarinet Stand Portable Compact Clarinet Stand The compact clarinet stand is stored inside the clarinet bell. Assembling Instructions: 1. Unscrew cap at the bottom of the stand. 2. Extend the legs. 3. Screw cap back on with the legs extended. Mouthpiece Attaching the mouthpiece 6. Attaching the reed: a) Moisten the thin end of the reed in mouth or in cup of water. b) Remove the ligature from the mouthpiece and then position the reed on the mouthpiece so that the tip of the mouthpiece is seen just over the end of the reed. c) While holding the reed in place, slide the ligature over the reed and mouthpiece, adjust to fit, and tighten the ligature screws. Large ring key Holding the Clarinet 1. Lubricate all tenon-corks on the mouthpiece, upper and lower joints with cork-grease (included with package). Make sure to apply an even coat of grease. 2. In a twisting motion, gently attach the barrel to the upper joint of the clarinet. 3. In a twisting motion, gently attach the bell to the lower joint of the clarinet.4. In a gentle twisting motion, connect the upper joint to the lower joint while gently pressing the large ring key to bring the upper bridge key up. (See photo on the left of the ring key on the upper joint). Using this method will prevent damaging the keys. Tuning Pitch is affected by temperature, so warm up the clarinet before playing by blowing air through it. Use a chromatic tuner or piano can help tune the clarinet. The tuning pitches for the clarinet are C and G. Play a C and G on the piano or find it on the tuner. To tune, pull barrel slightly away from the body. The length of the barrel to the body depends on individual preference and method of playing. To further adjust the intonation of the clarinet, put out on the upper and lower joints. Upper joint bridge above the lower joint bridge Joining the Upper and Lower Bridge Joints 5. The lower joint bridge key will slide under the upper joint bridge key. Be careful, as careless assembly can cause damage to the bridge keys. Align the upper joint bridge key on top of the lower joint bridge key. The keys of the upper and lower joints will be aligned as well. (See image on the left) Other helpful hints In addition to the steps described below, it is recommended to bring the clarinet to a skilled technician at least once a year to be serviced. It is important to disassemble and thoroughly clean the clarinet after playing then stored in its case. Rinse mouth after eating / drinking prior to playing. Always disassemble clarinet when not in use. Use a small amount of cork grease on joints to help ease assembly of the clarinet. Wipe off excess grease. Always store the clarinet in its case when not in use to prevent damage. Avoid direct and extended exposure to: sunlight, rain, heaters, air conditioners.
UPC NO:847848017094
SKU:ADIB005CXMORW
UPC NO:847848017094
SKU:ADIB005CXMORW

