Trusted shipping
Easy returns
Secure shopping
Buy Dashing Diva Gloss Palette More Manis Nail Art Kit - In the Blush - 2pc in United States - Cartnear.com
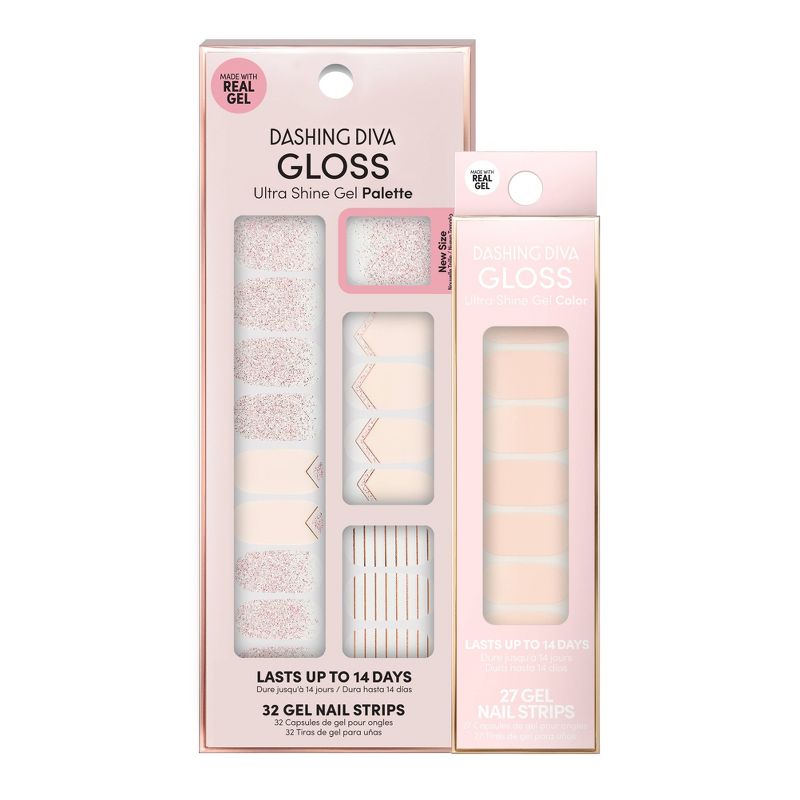
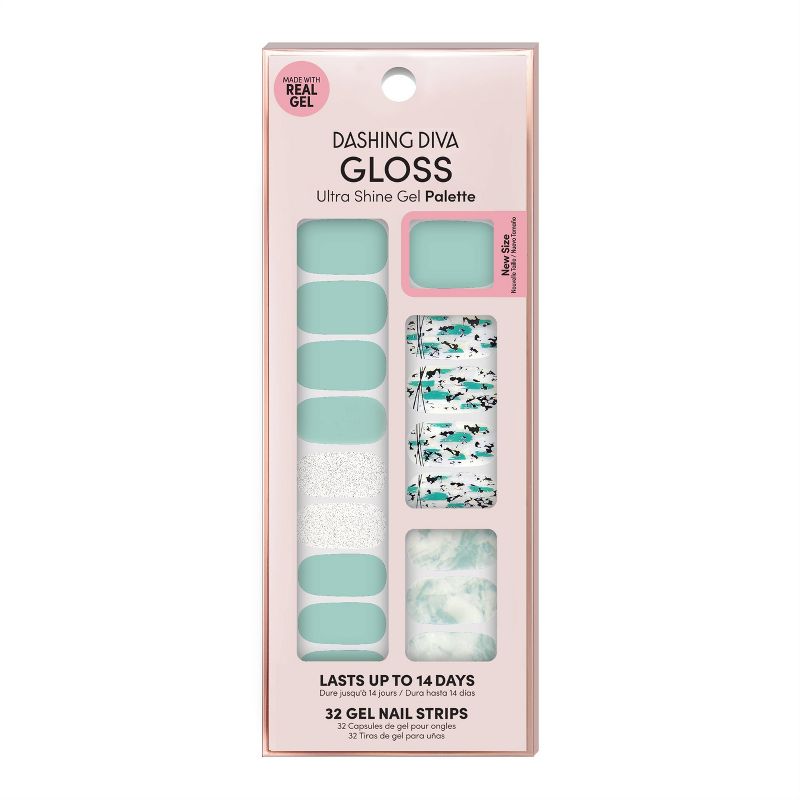
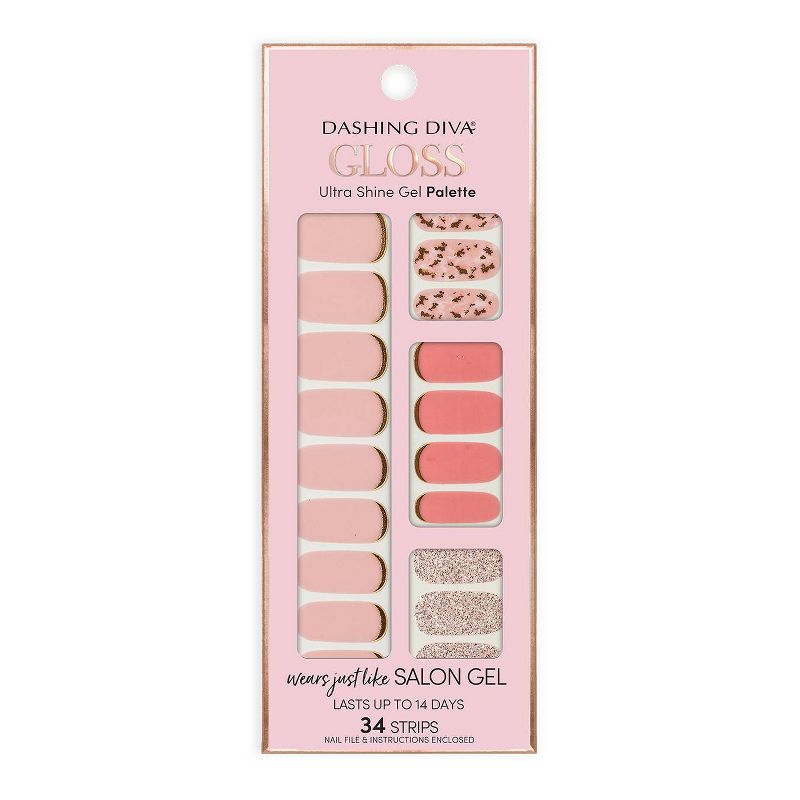
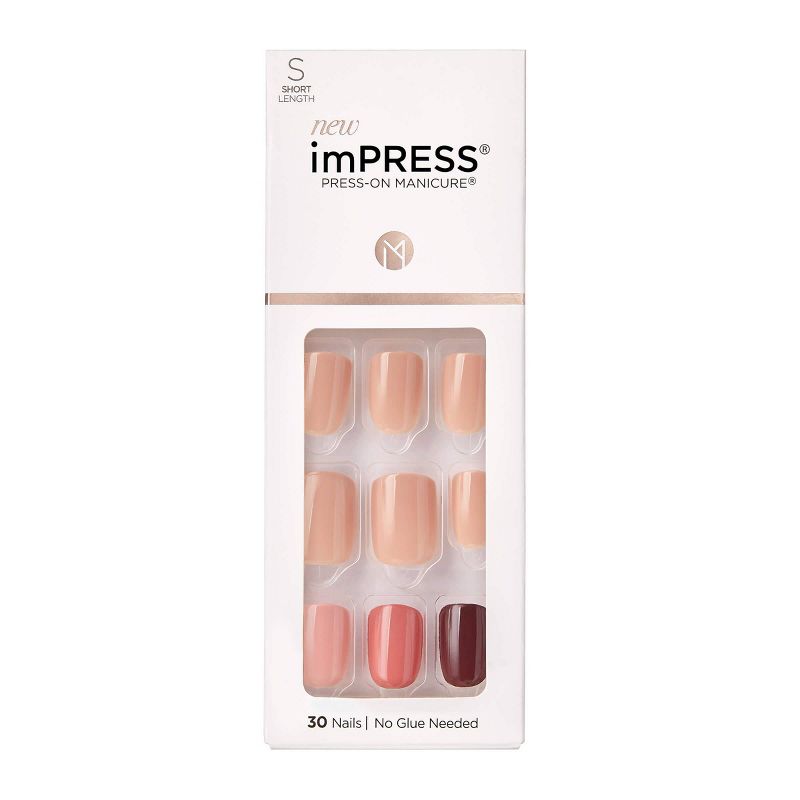
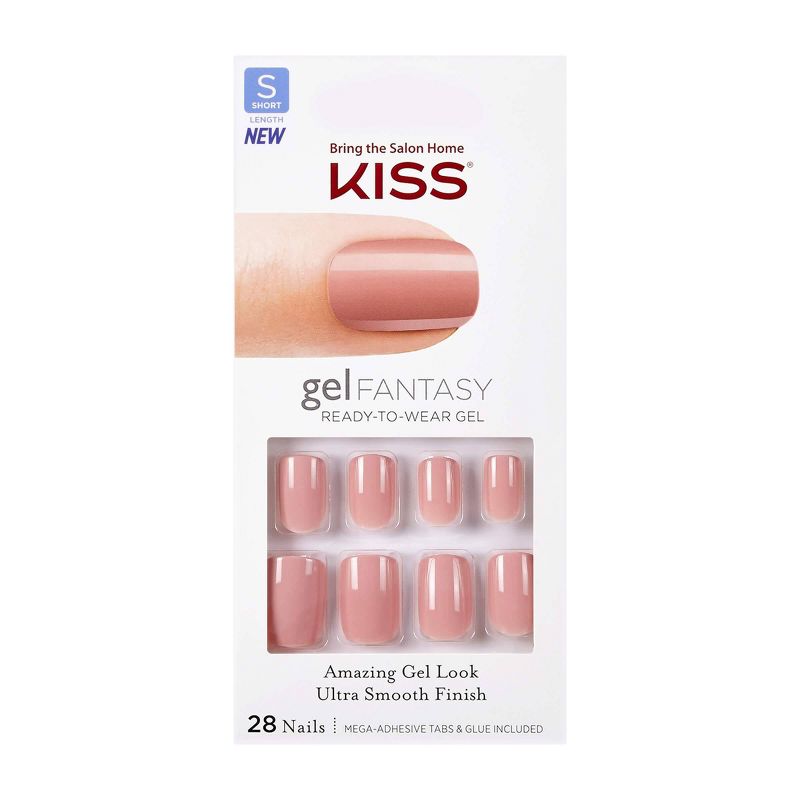
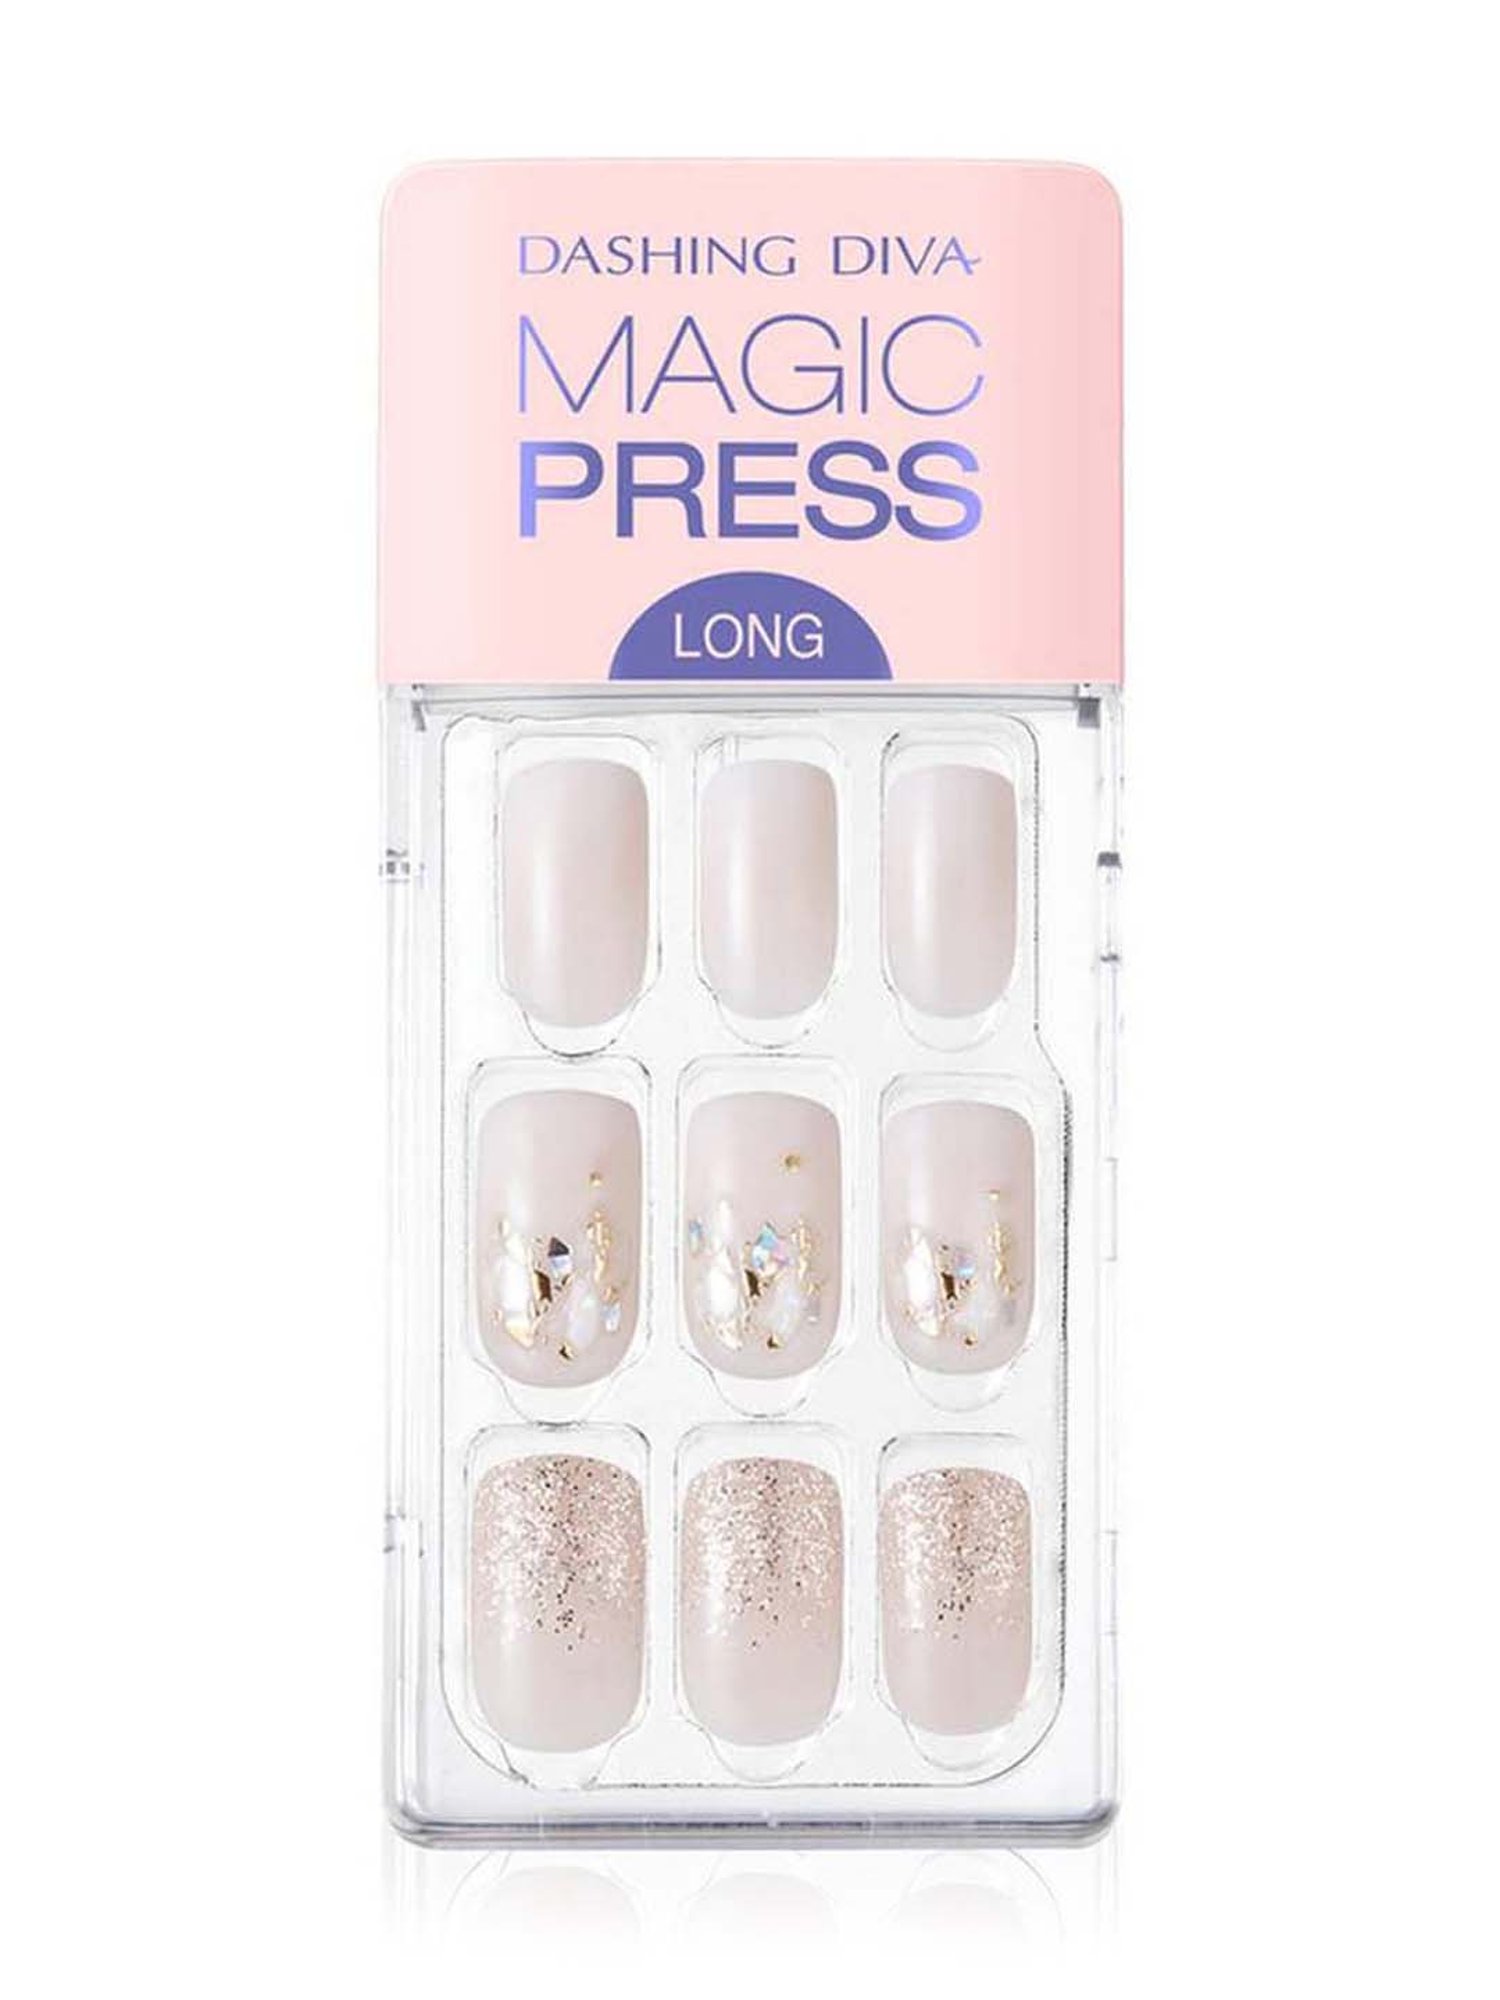
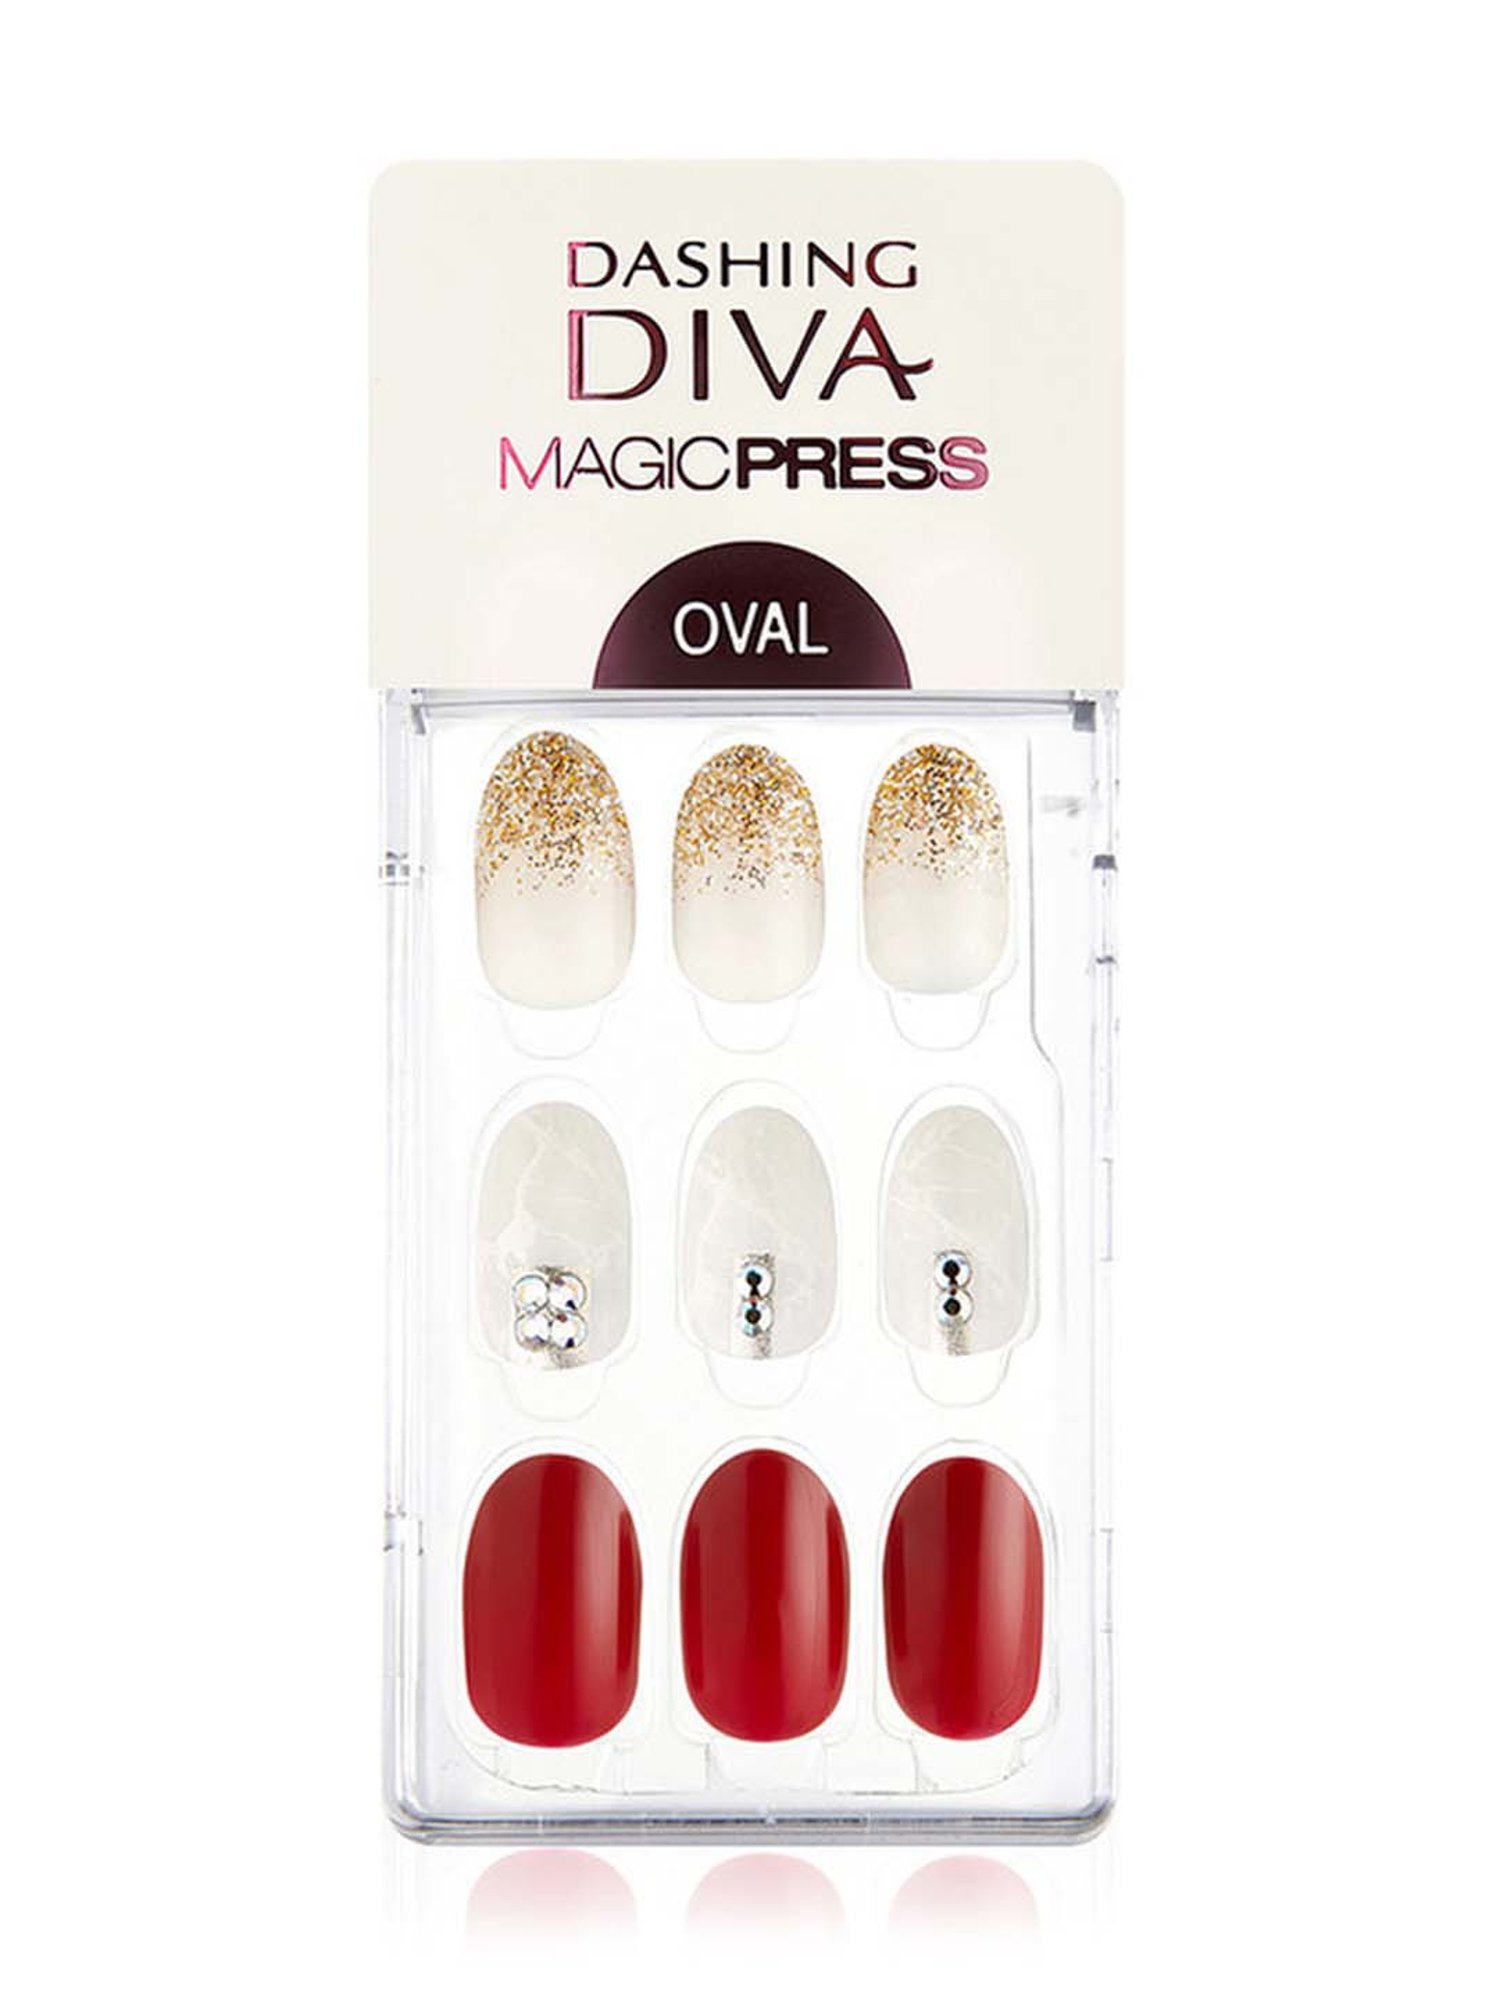
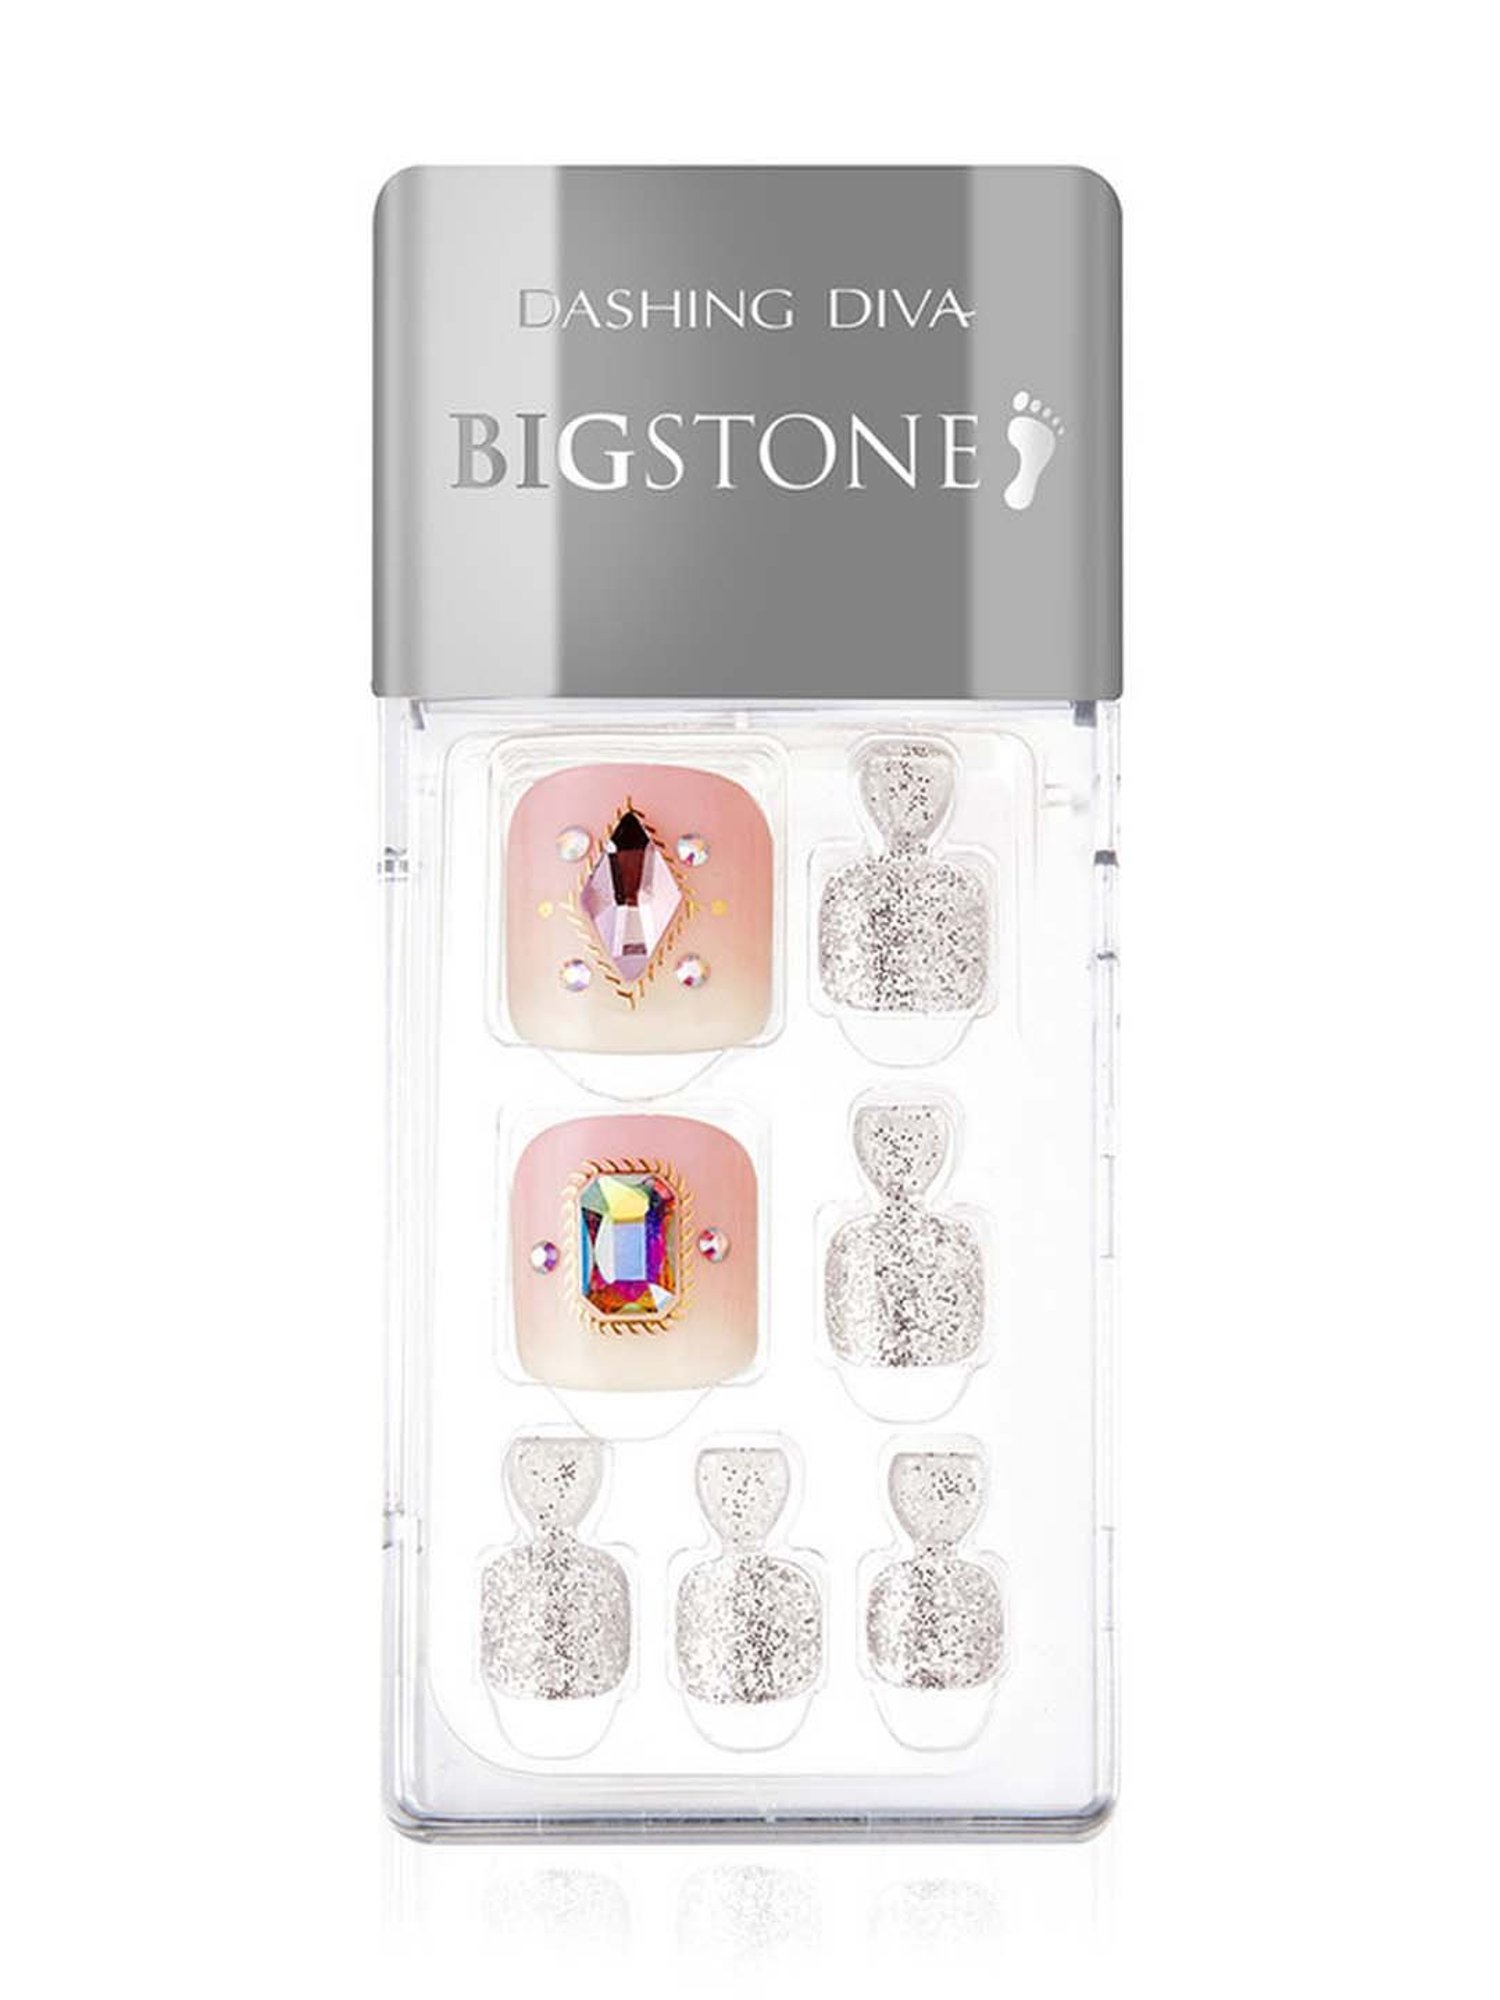
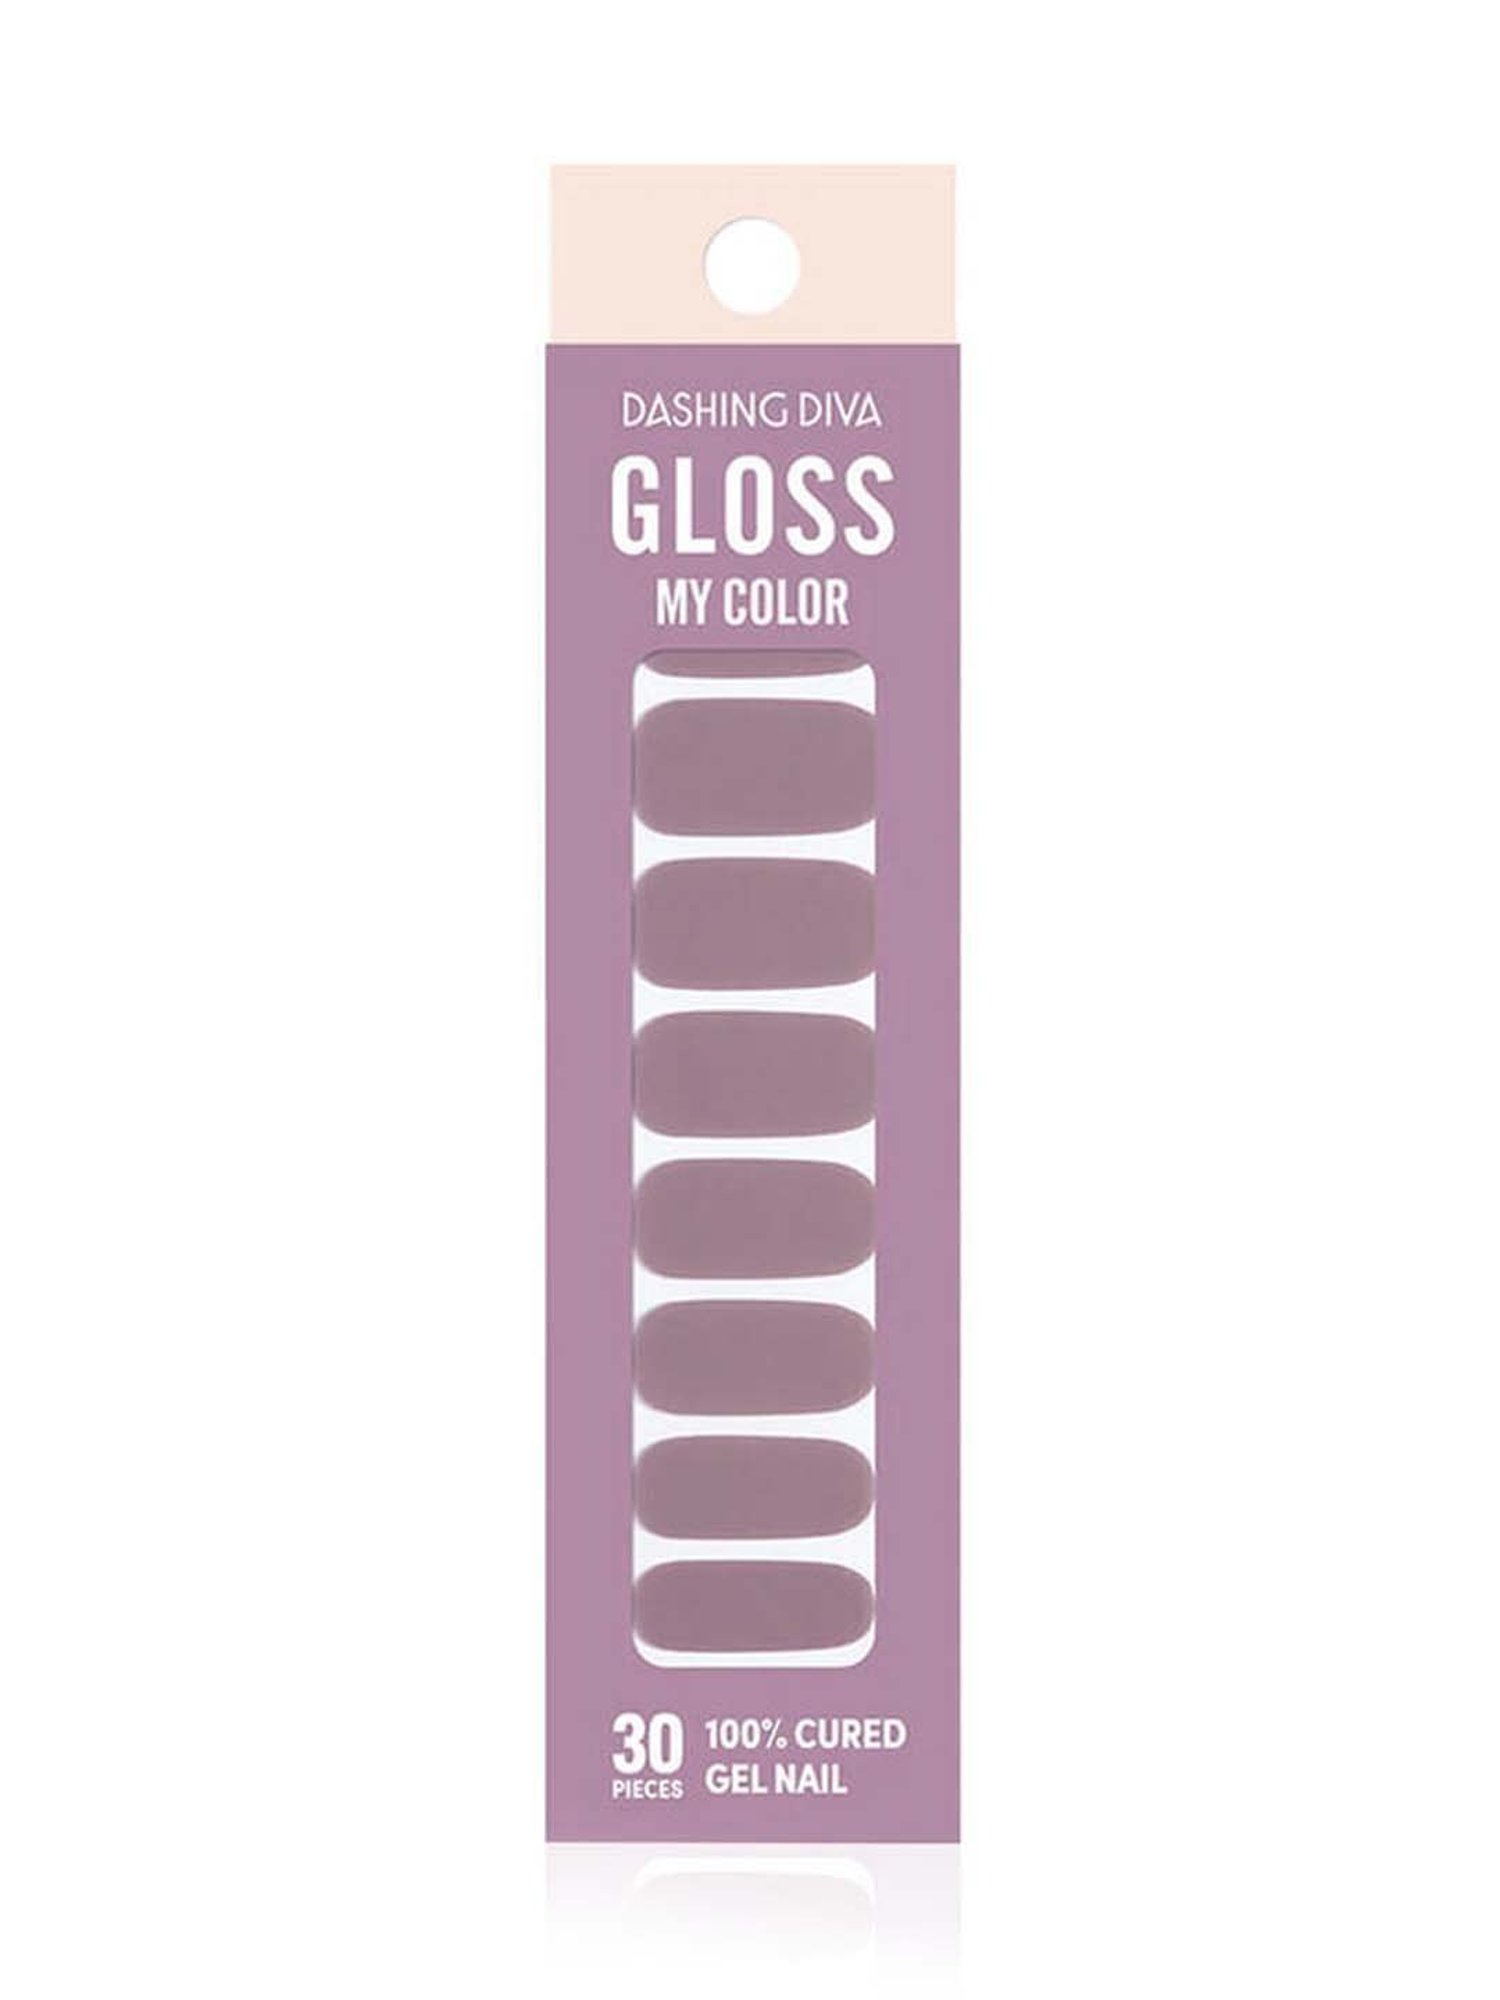
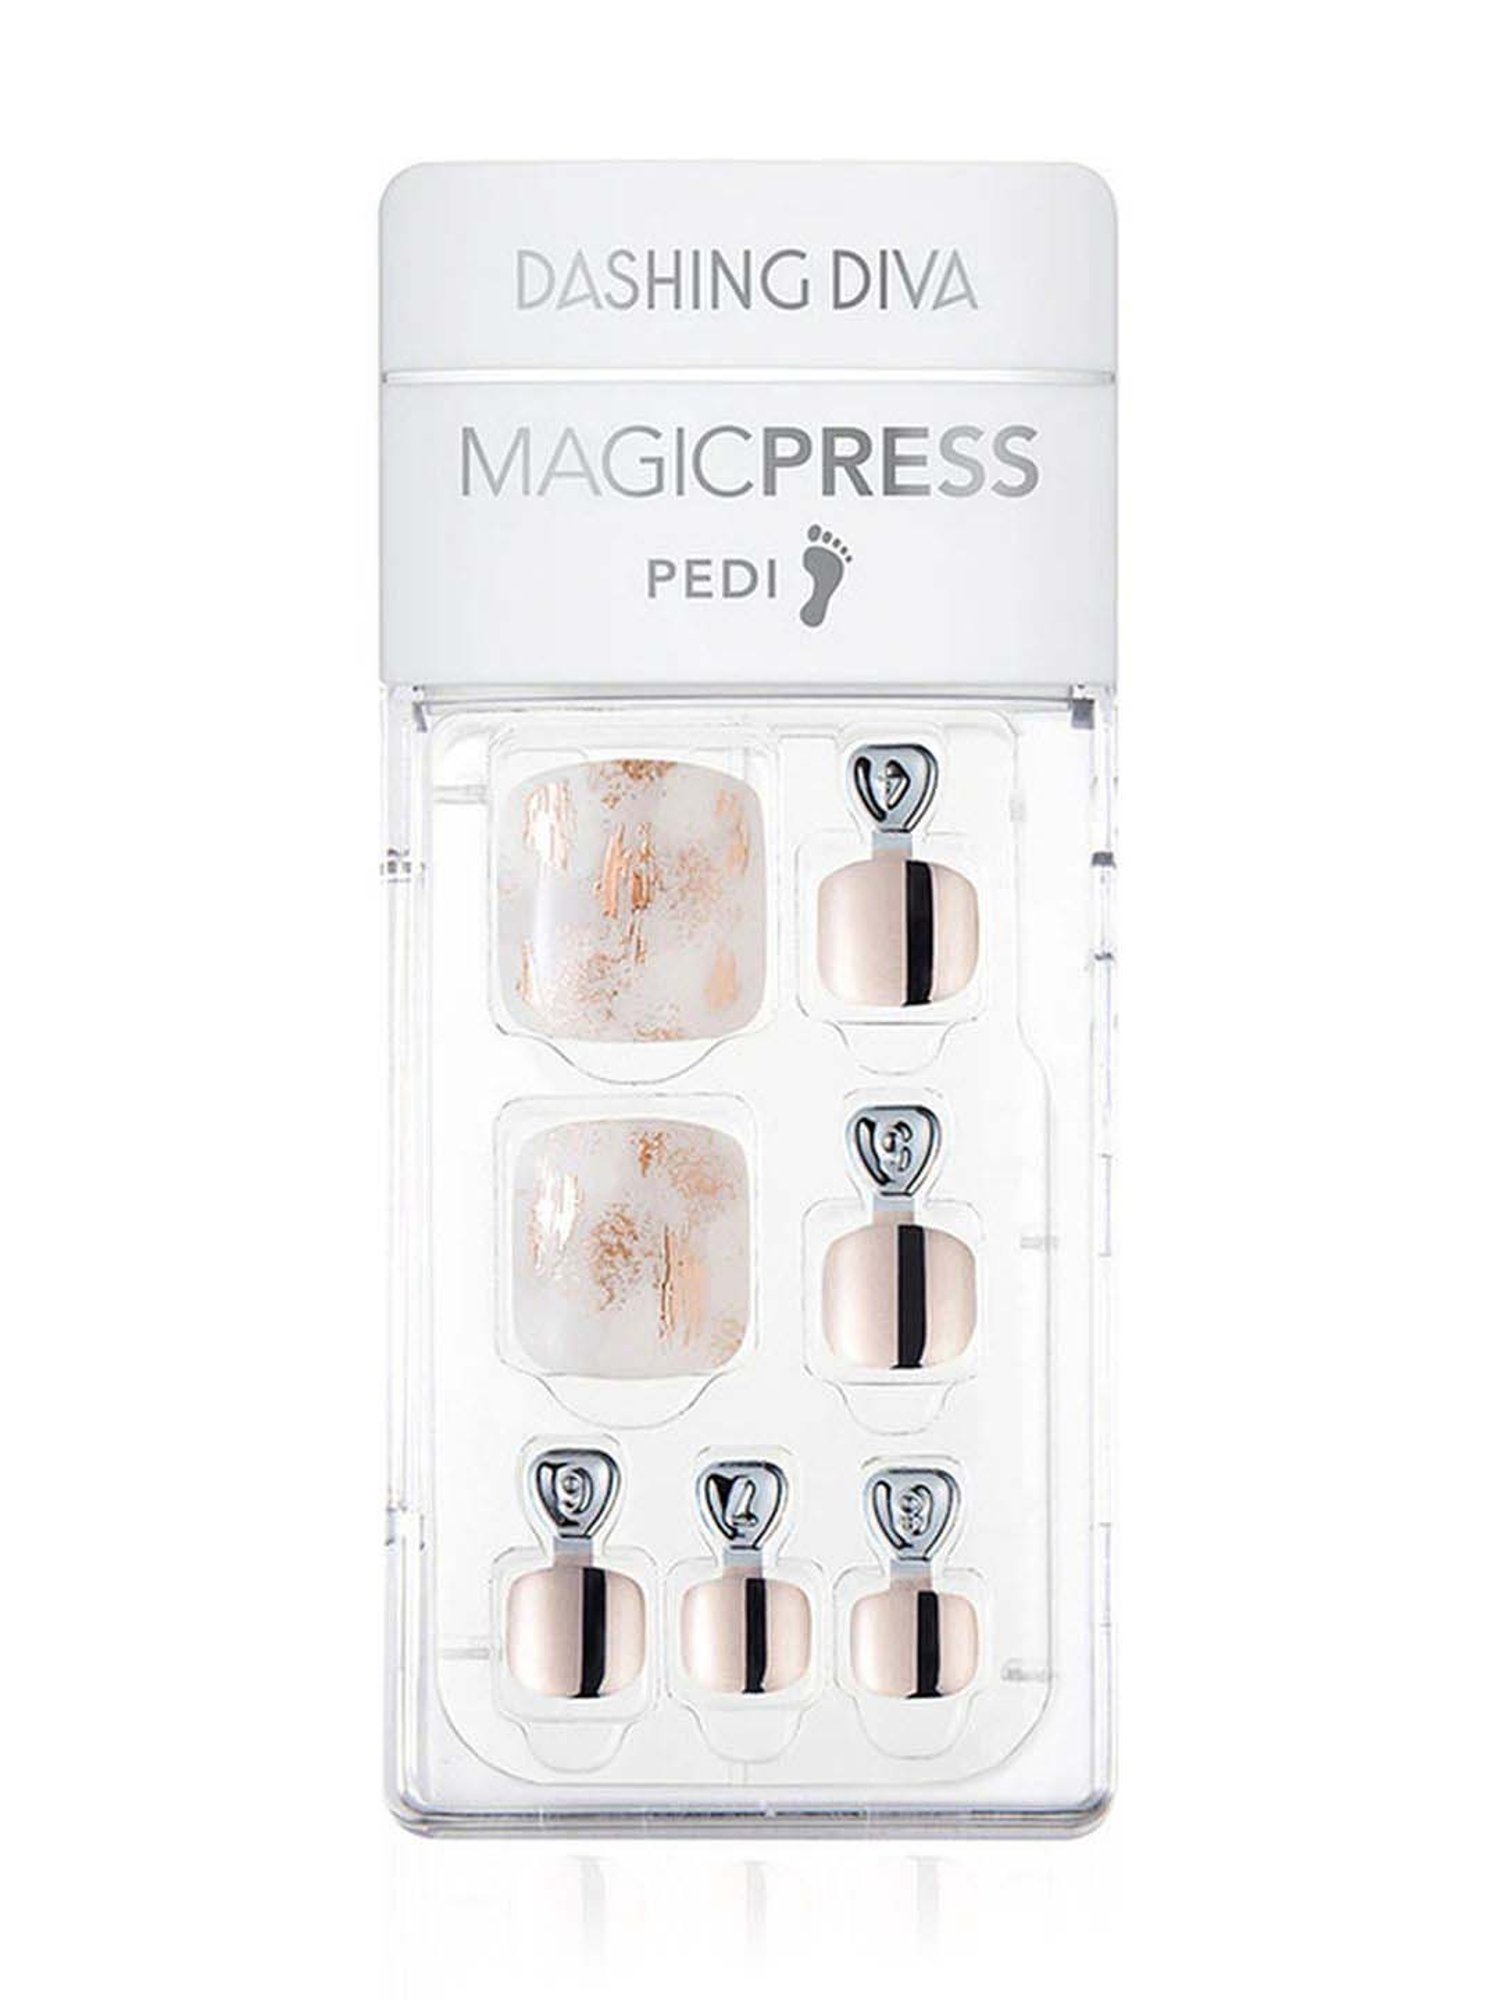
Dashing Diva Gloss Palette More Manis Nail Art Kit - In the Blush - 2pc
CTNR481868 096100110718 CTNR481868DASHING DIVA
2027-04-21
/itm/dashing-diva-gloss-palette-more-manis-nail-art-kit-in-the-blush-2pc-481868
USD
12.53
$ 12 $ 13 5% Off
Item Added to Cart
customer
*Product availability is subject to suppliers inventory
SHIPPING ALL OVER UNITED STATES
100% MONEY BACK GUARANTEE
EASY 30 DAYSRETURNS & REFUNDS
24/7 CUSTOMER SUPPORT
TRUSTED AND SAFE WEBSITE
100% SECURE CHECKOUT
Number of Pieces: 2
Capacity (Volume): 2 Ounces
Color Family: Multiple Colors
Color Finish: Gloss
Color Palette: Medium Tones
•Ultra Shine Gel nail strips made with REAL gel polish
•Now available in larger sizes
•Super strong, wrinkle-free, chip resistant color
•No UV dry time or soak off removal necessary
•Store and save - strips do not dry out
•Long lasting wear for up to 14 days
•Upgraded nail file for easier filing
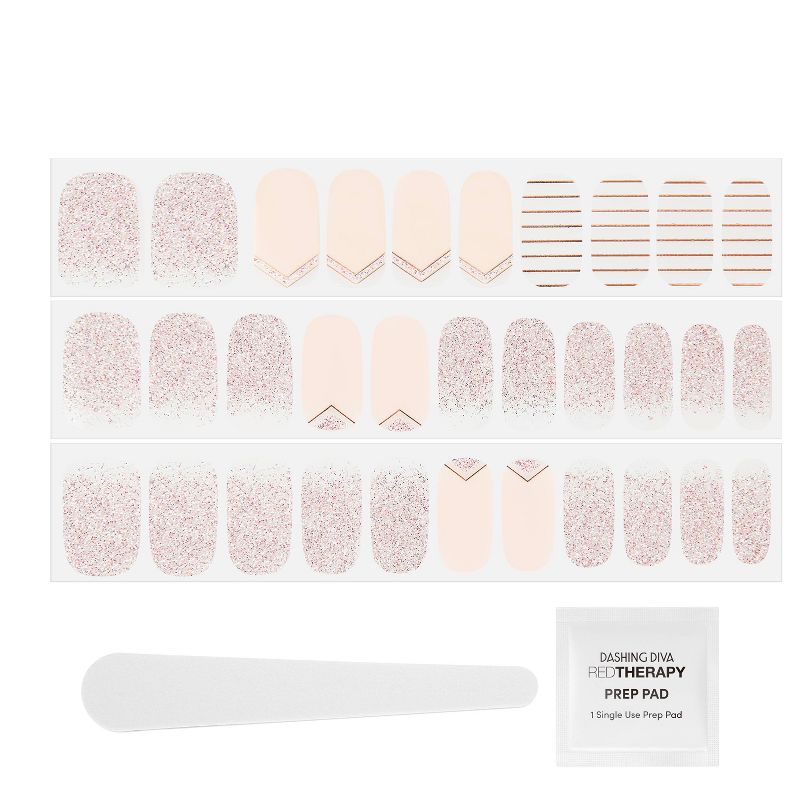
•Includes: 1 x In The Blush Palette, 1 x Baby Pink Color
Like nail wraps, but better - Pair your favorite GLOSS Ultra Shine Gel Palette with its matching GLOSS Ultra Shine Gel Color to make even more manis! Try our GLOSS Color in Baby Pink with GLOSS Palette, In The Blush for endless design possibilities.
INSTRUCTIONS:
STEP 1: PREP
•Wash hands with soap and water.
• Shape nails and push back cuticles.
• Use enclosed Prep Pad to ensure nails are clear from oils and residue.
• Make sure your nails are completely dry before application.
Pro Tip: Try Red Therapy Base Seal Treatment for GLOSS to hydrate and strengthen natural nails while extending the wear of GLOSS.
STEP 2: SELECT SIZE
• Select strip size for each nail. For optimal fit, the strip should not exceed past the nail bed onto skin or cuticles.
• Gently lift strip from sheet starting from edge.
Pro Tip: If you are in between sizes always choose the smaller size for proper adhesion.
Pro Tip: Use a tweezer to lift strip from sheet more easily and limit compromising the adhesion.
STEP 3: APPLICATION
• Place strip over the center of your nail, starting at cuticle line and pressing outward.
• Press down firmly from center and side to side.
Pro Tip: Make sure strip is applied slightly above cuticle line, avoiding placement on skin.
STEP 4: FINISH
• Fold over excess material
• Position the nail file horizontally along the contour of your nail. With one sweeping motion, file firmly across your free edge. Be sure to file in one direction at a time, filing from side to side will tear the edges.
Pro tip: If you have excessive material when folding strip over nail edge, trim with a scissor or nail clipper before filing.
Pro tip: For optimal adhesion, avoid exposing nails to lotions, oils or water for at least one hour after application.
HOW TO REMOVE:
• Apply a drop of cuticle oil or acetone remover onto your nail.
• Use manicure stick to gently and slowly lift nail strip from corner of the cuticle area.
• Gradually roll the strip off your nail.
CAUTION: Do not peel off with force or in one quick motion
Capacity (Volume): 2 Ounces
Color Family: Multiple Colors
Color Finish: Gloss
Color Palette: Medium Tones
•Ultra Shine Gel nail strips made with REAL gel polish
•Now available in larger sizes
•Super strong, wrinkle-free, chip resistant color
•No UV dry time or soak off removal necessary
•Store and save - strips do not dry out
•Long lasting wear for up to 14 days
•Upgraded nail file for easier filing
•Includes: 1 x In The Blush Palette, 1 x Baby Pink Color
Like nail wraps, but better - Pair your favorite GLOSS Ultra Shine Gel Palette with its matching GLOSS Ultra Shine Gel Color to make even more manis! Try our GLOSS Color in Baby Pink with GLOSS Palette, In The Blush for endless design possibilities.
INSTRUCTIONS:
STEP 1: PREP
•Wash hands with soap and water.
• Shape nails and push back cuticles.
• Use enclosed Prep Pad to ensure nails are clear from oils and residue.
• Make sure your nails are completely dry before application.
Pro Tip: Try Red Therapy Base Seal Treatment for GLOSS to hydrate and strengthen natural nails while extending the wear of GLOSS.
STEP 2: SELECT SIZE
• Select strip size for each nail. For optimal fit, the strip should not exceed past the nail bed onto skin or cuticles.
• Gently lift strip from sheet starting from edge.
Pro Tip: If you are in between sizes always choose the smaller size for proper adhesion.
Pro Tip: Use a tweezer to lift strip from sheet more easily and limit compromising the adhesion.
STEP 3: APPLICATION
• Place strip over the center of your nail, starting at cuticle line and pressing outward.
• Press down firmly from center and side to side.
Pro Tip: Make sure strip is applied slightly above cuticle line, avoiding placement on skin.
STEP 4: FINISH
• Fold over excess material
• Position the nail file horizontally along the contour of your nail. With one sweeping motion, file firmly across your free edge. Be sure to file in one direction at a time, filing from side to side will tear the edges.
Pro tip: If you have excessive material when folding strip over nail edge, trim with a scissor or nail clipper before filing.
Pro tip: For optimal adhesion, avoid exposing nails to lotions, oils or water for at least one hour after application.
HOW TO REMOVE:
• Apply a drop of cuticle oil or acetone remover onto your nail.
• Use manicure stick to gently and slowly lift nail strip from corner of the cuticle area.
• Gradually roll the strip off your nail.
CAUTION: Do not peel off with force or in one quick motion